Home Studio Progress


Processed with VSCOcam with f2 preset

My husband is the absolute best. While I was out of town this weekend, he made me this beautifully framed dry erase board. I intend to make it into a large calendar with washi tape.

Lucy Feagins' office in Brunswick, Melbourne

Maybe something like this? // Design Sponge

We have had this dry erase board for a couple years, and it has been collecting dust in our garage. It had been acquired through my husband’s old job, and we always thought we might use it in the kitchen for reminders or the dinner menu. Now, I can see that it was meant to be framed and hung in my studio. I’m so excited about the possibilities, and I just love the way it looks. He did a great job.

xo


Laundry Room, New & Improved


DSCF3072

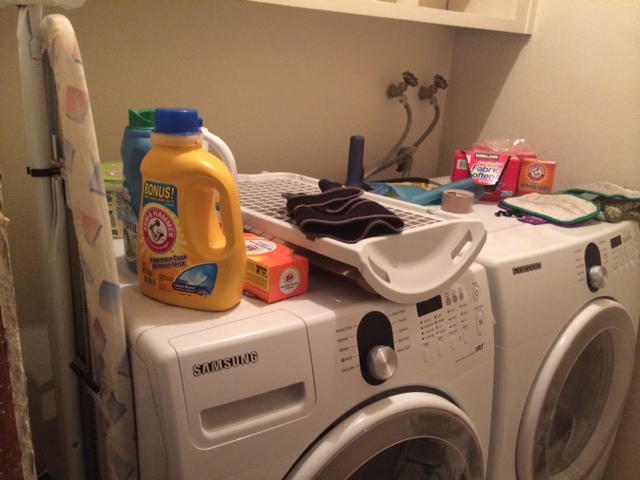
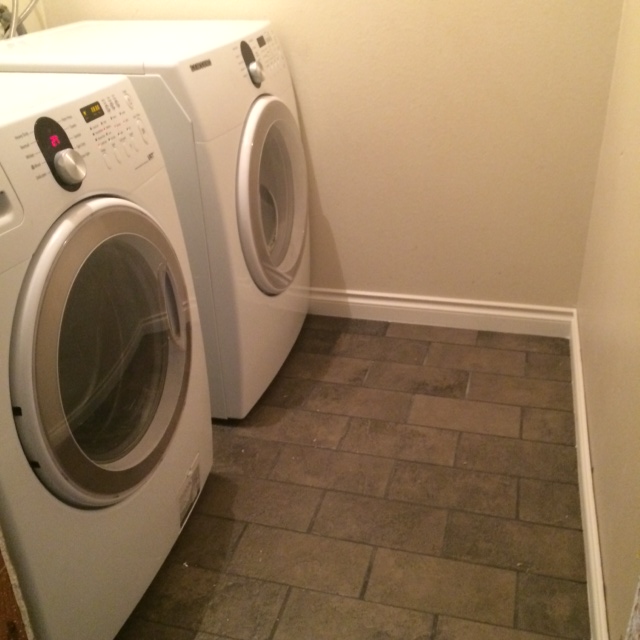
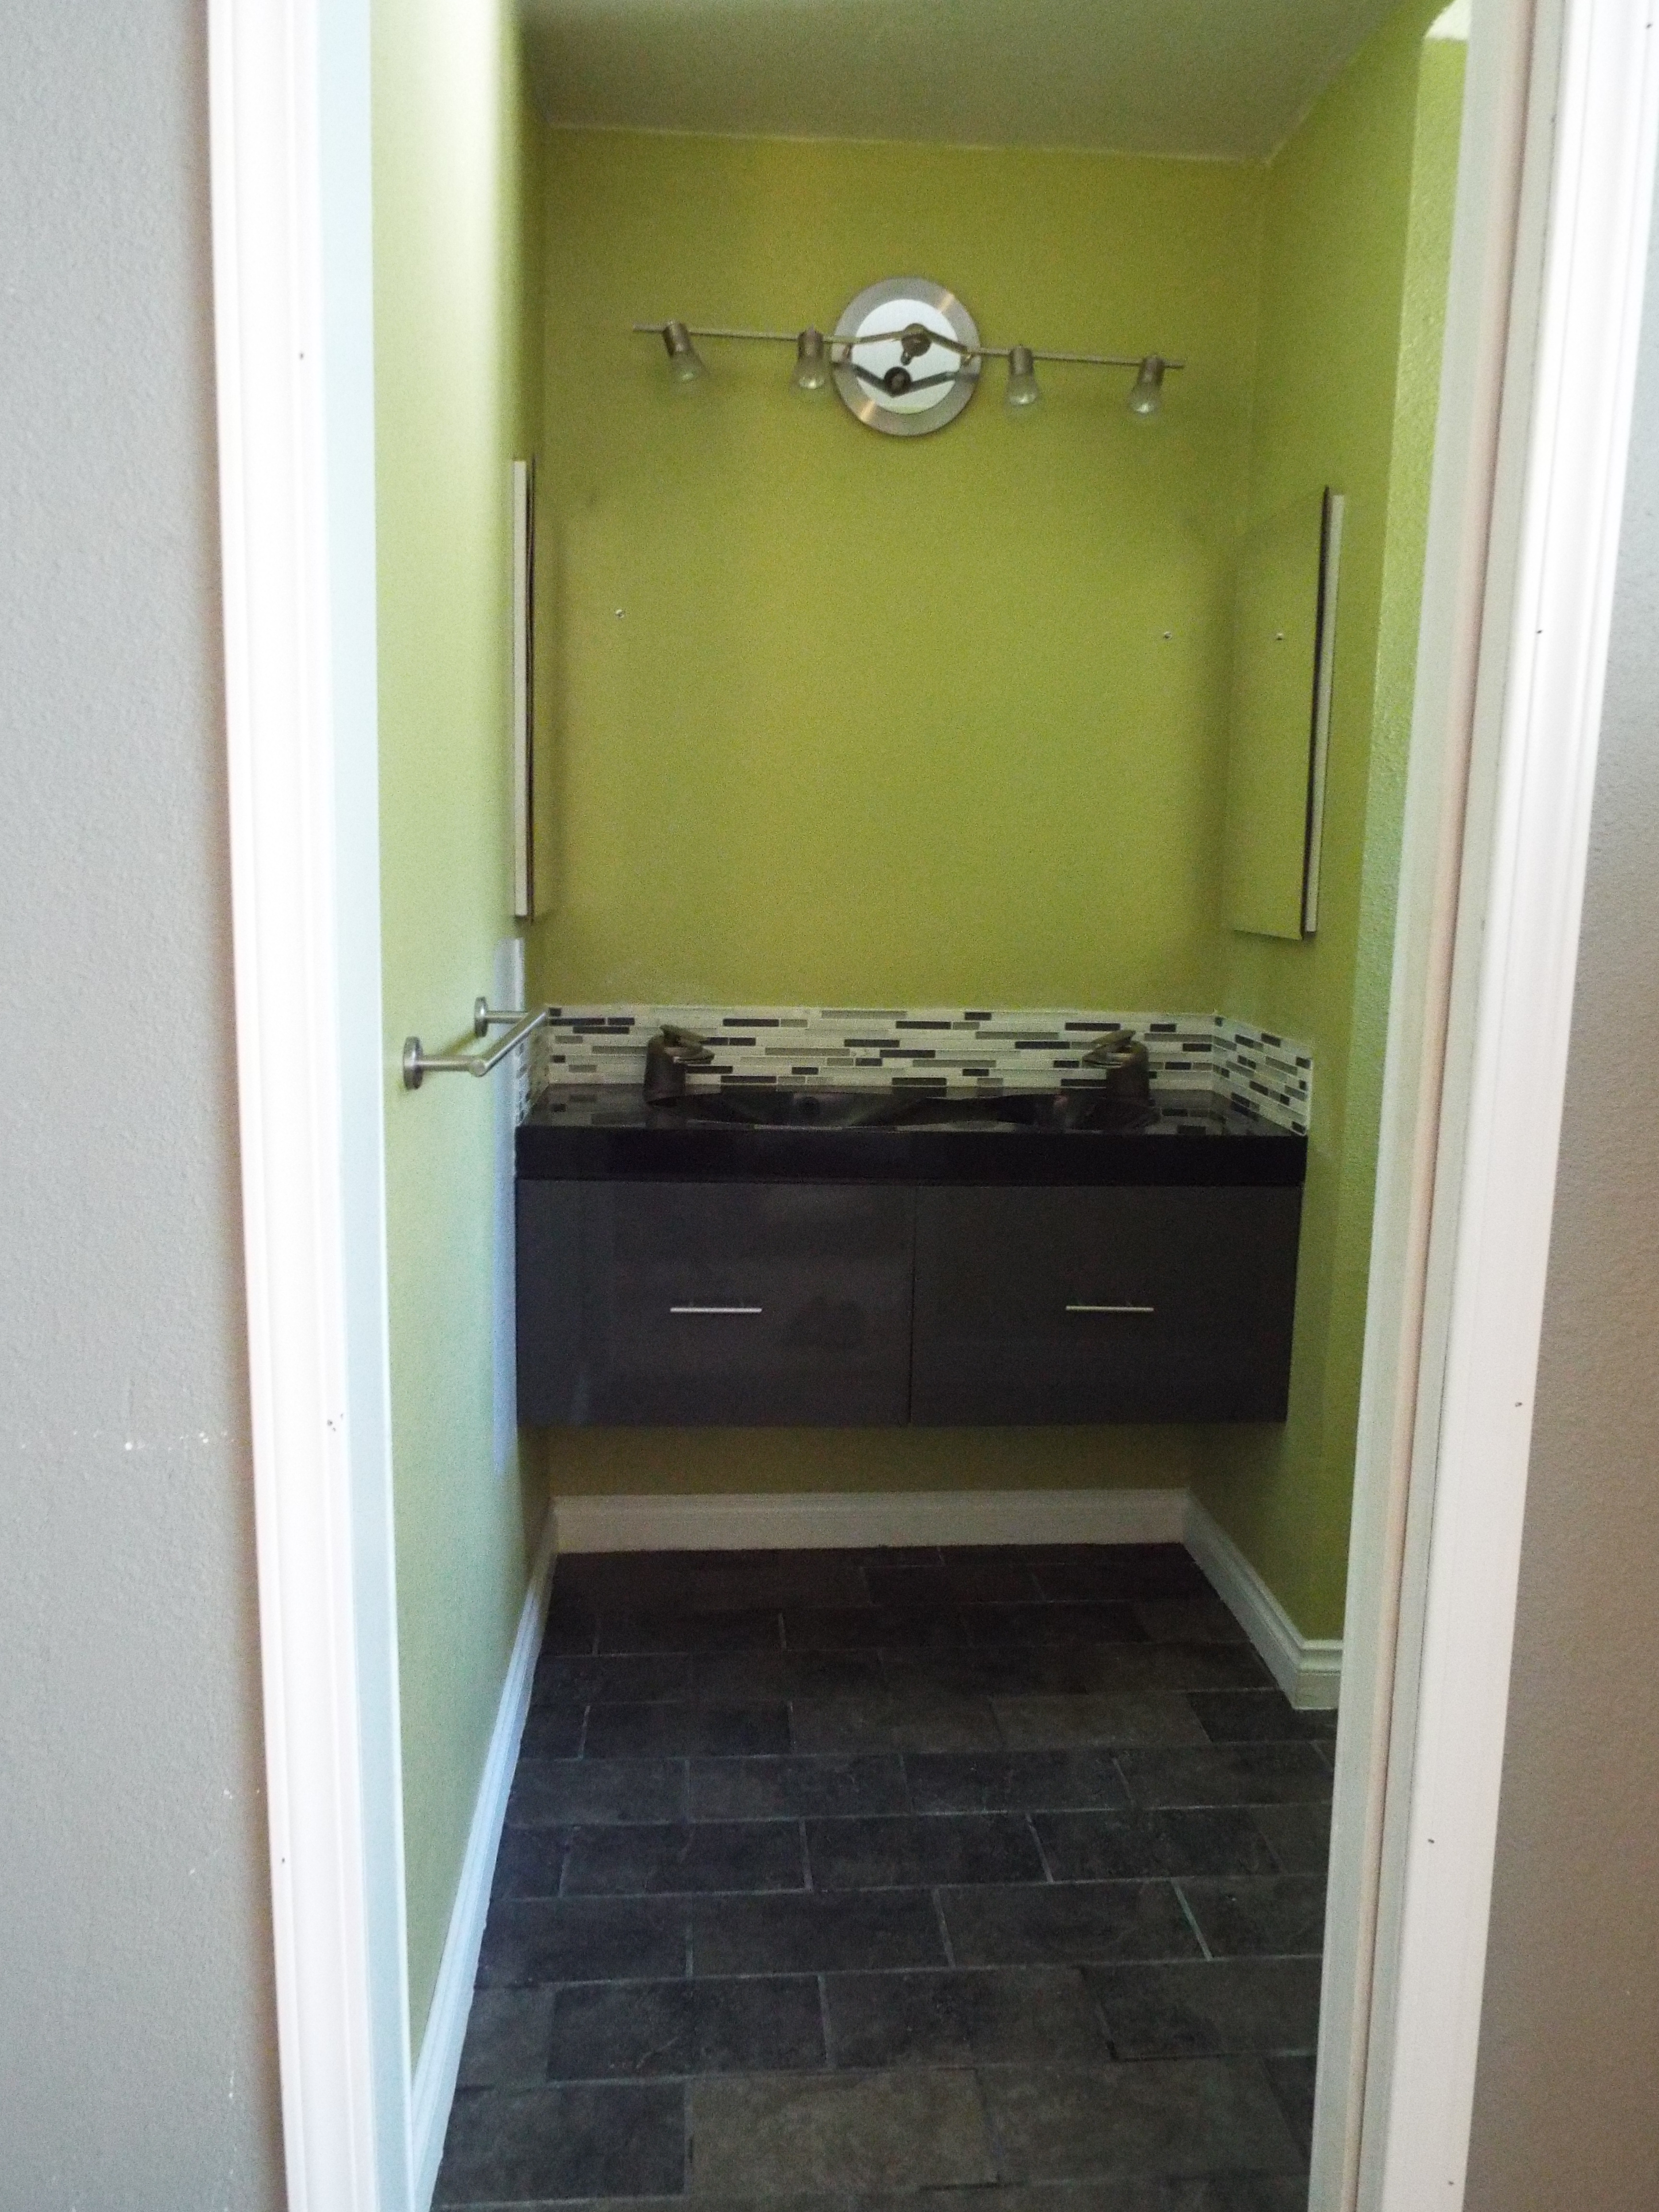
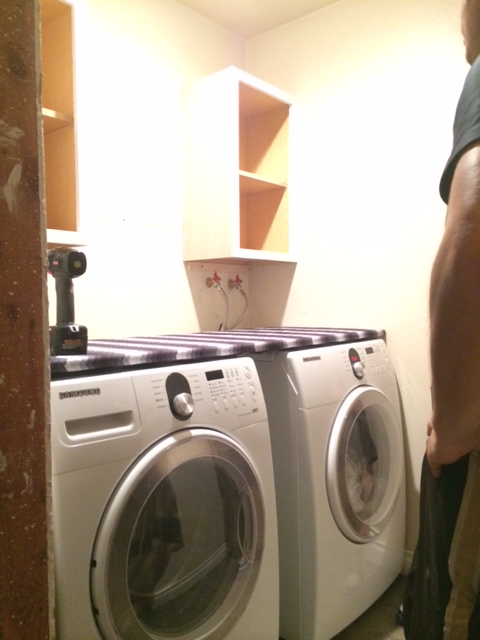
You guys, my laundry has received a pretty serious overhaul. We already had a nice washer and dryer, but the room itself was a disaster. We had not touched a thing since moving in 5 years ago.

photo 3photo 1 (1)photo 4 (1)

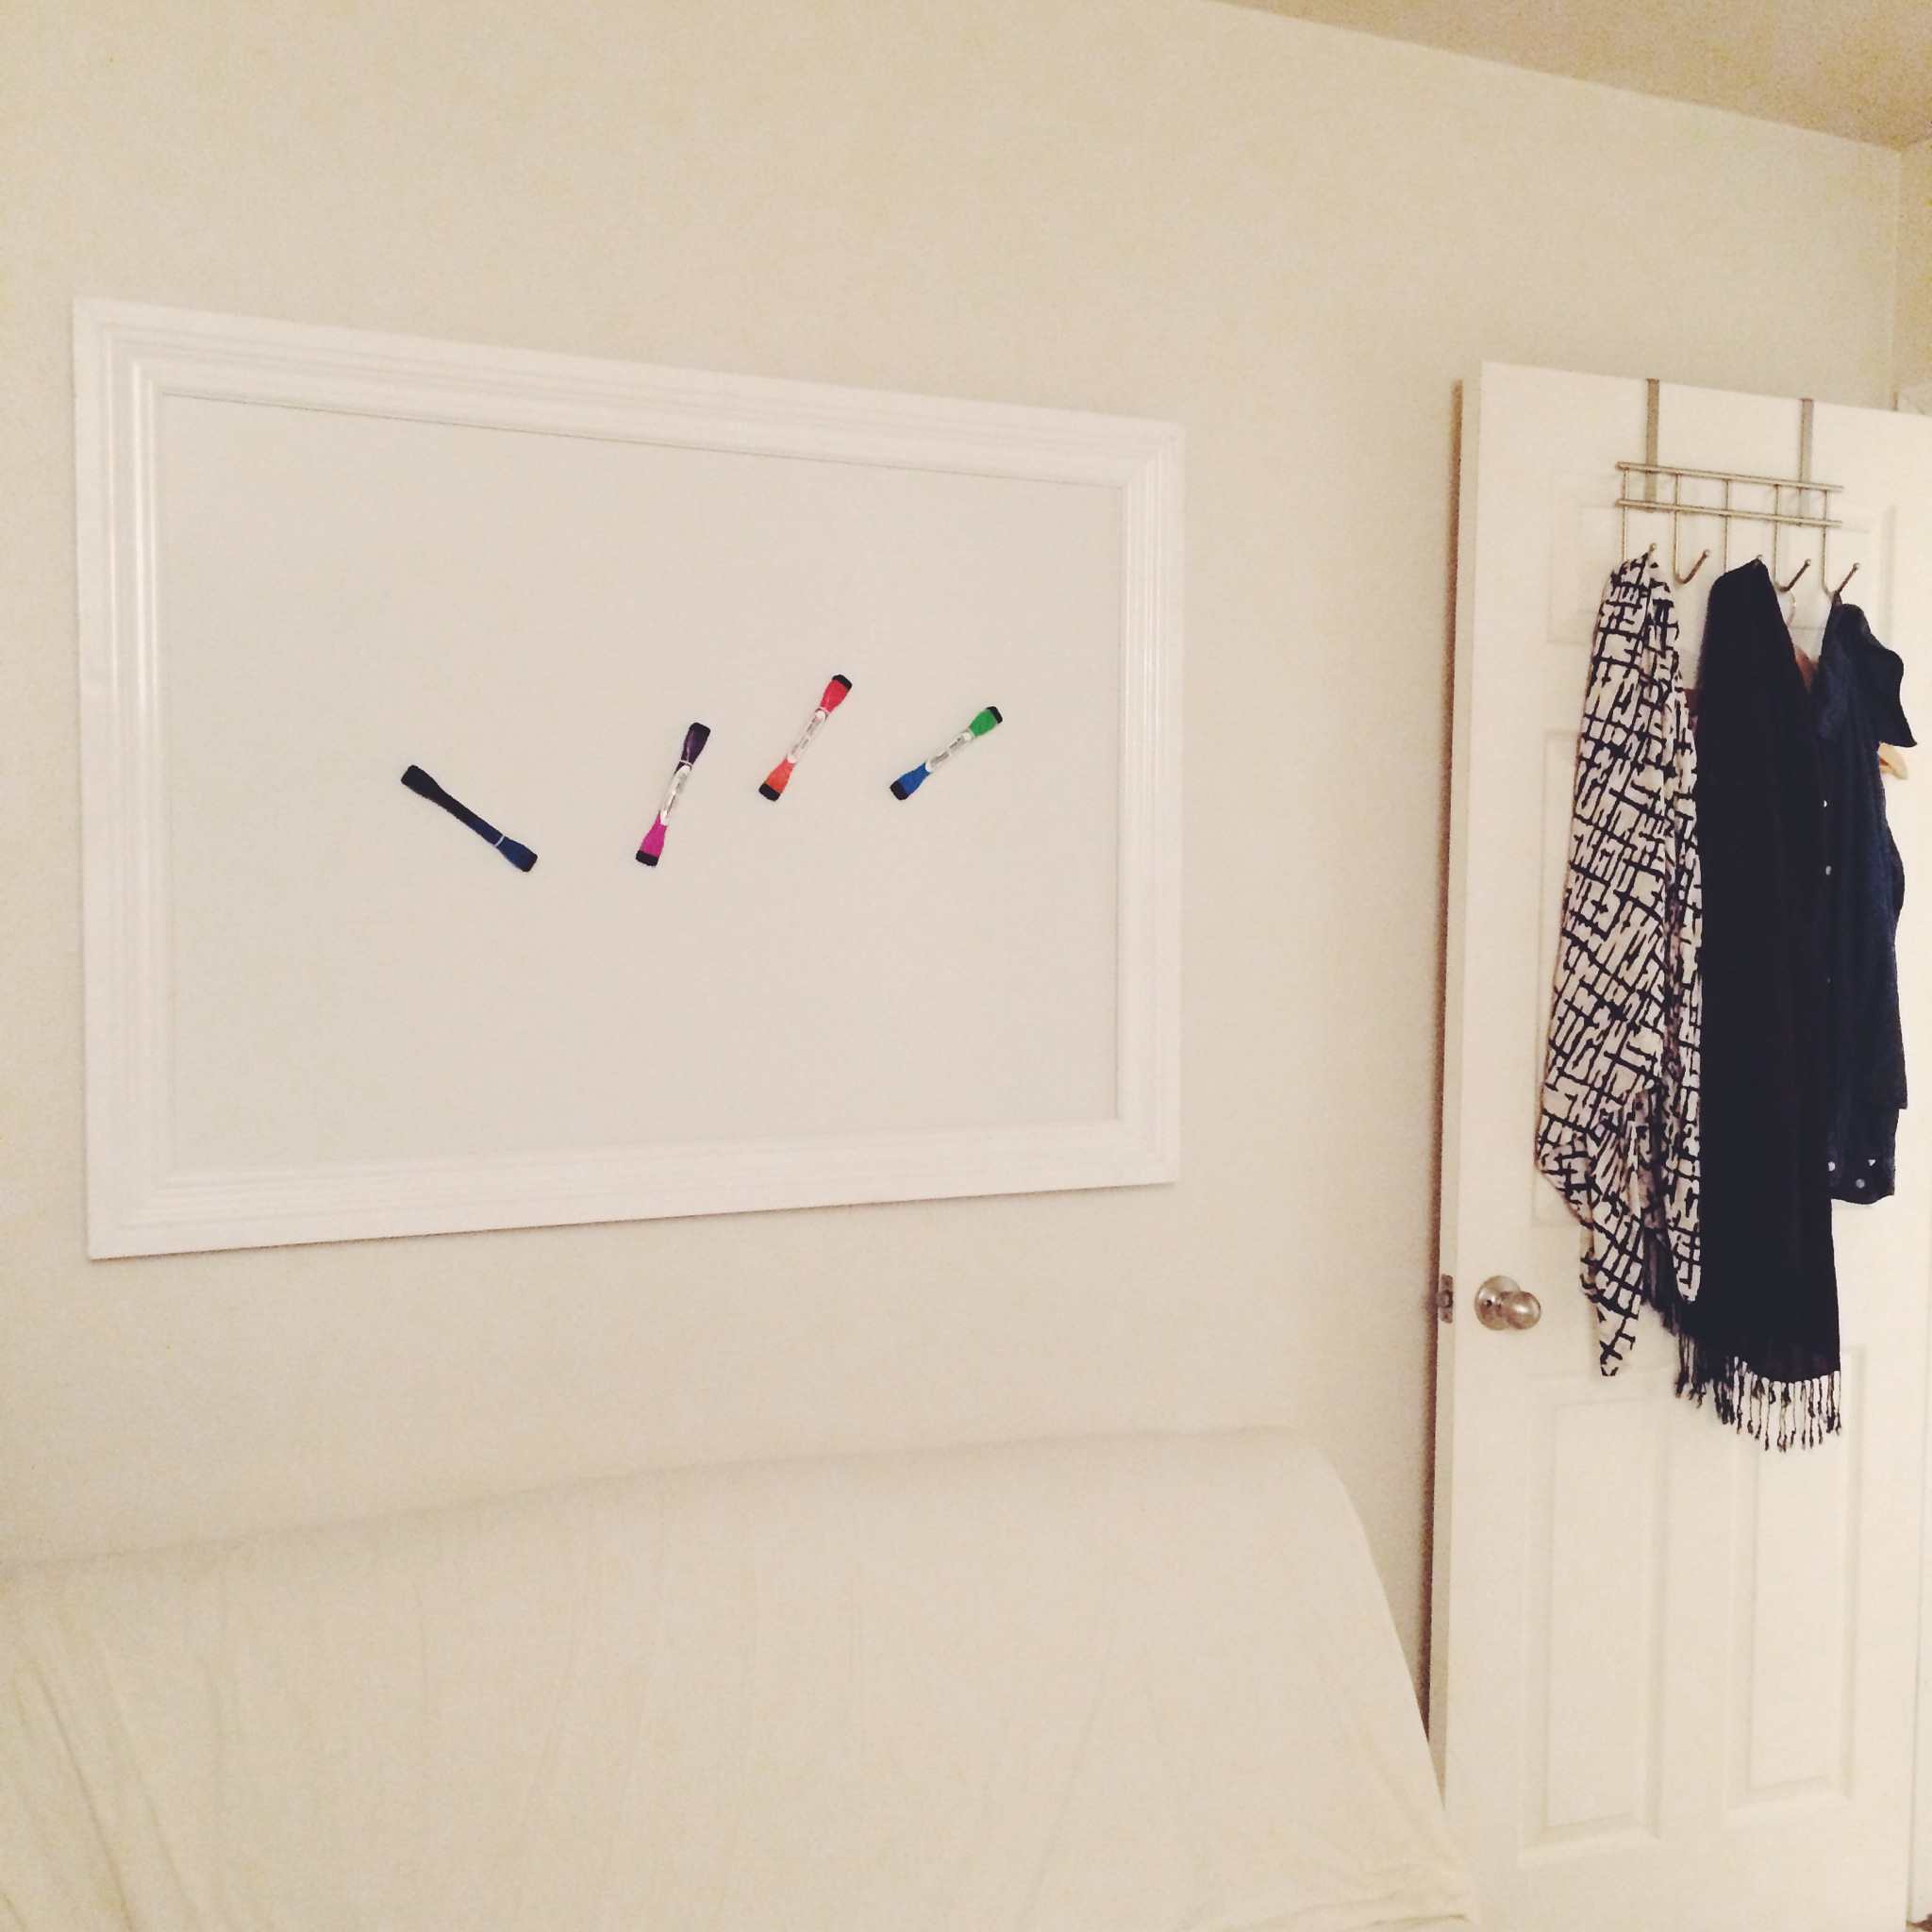
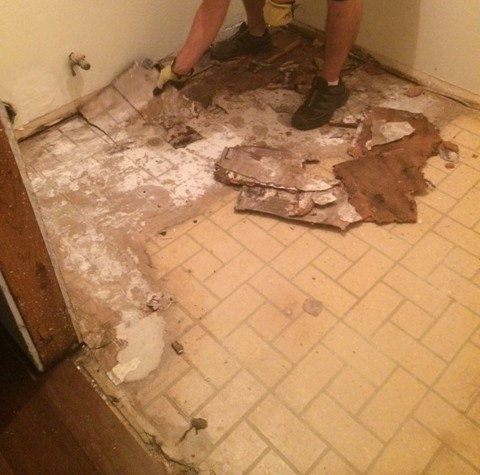
The floors were linoleum, but even better, the flooring in the laundry room sat lower than the flooring in the hallway, so dust and dog hair always settled in the laundry room. The room also needed a fresh coat of paint and better organization. The shelving in the laundry room was too high so I couldn’t reach it, and it had become a dumping ground for all kinds of odds and ends…light bulbs, batteries, random tools, dog brushes, etc. It was embarrassing how gross it used to be. I can’t believe I’m posting these pics, but here it is guys, real life.

DSCF3074

I am far from embarrassed now. I’m so proud of this room. I had little to nothing to do with this, but I love it so much. Here is a rundown of what got done…

photo 3 (1)photo 1 (2)

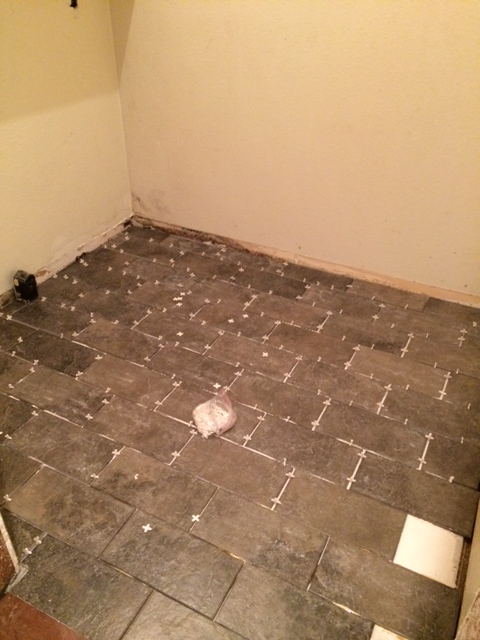
My husband tiled the floor and installed baseboard trim, and that changed everything. It immediately looked so fresh.

He also noticed a leak with the hoses, so he replaced them.

photo 4 (2)

photo 1 (3)

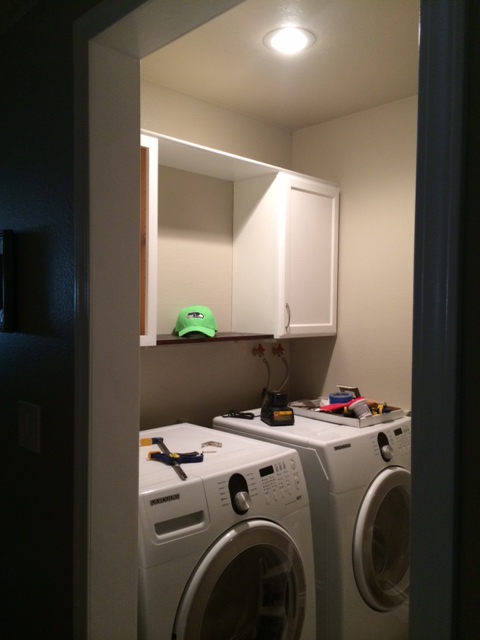
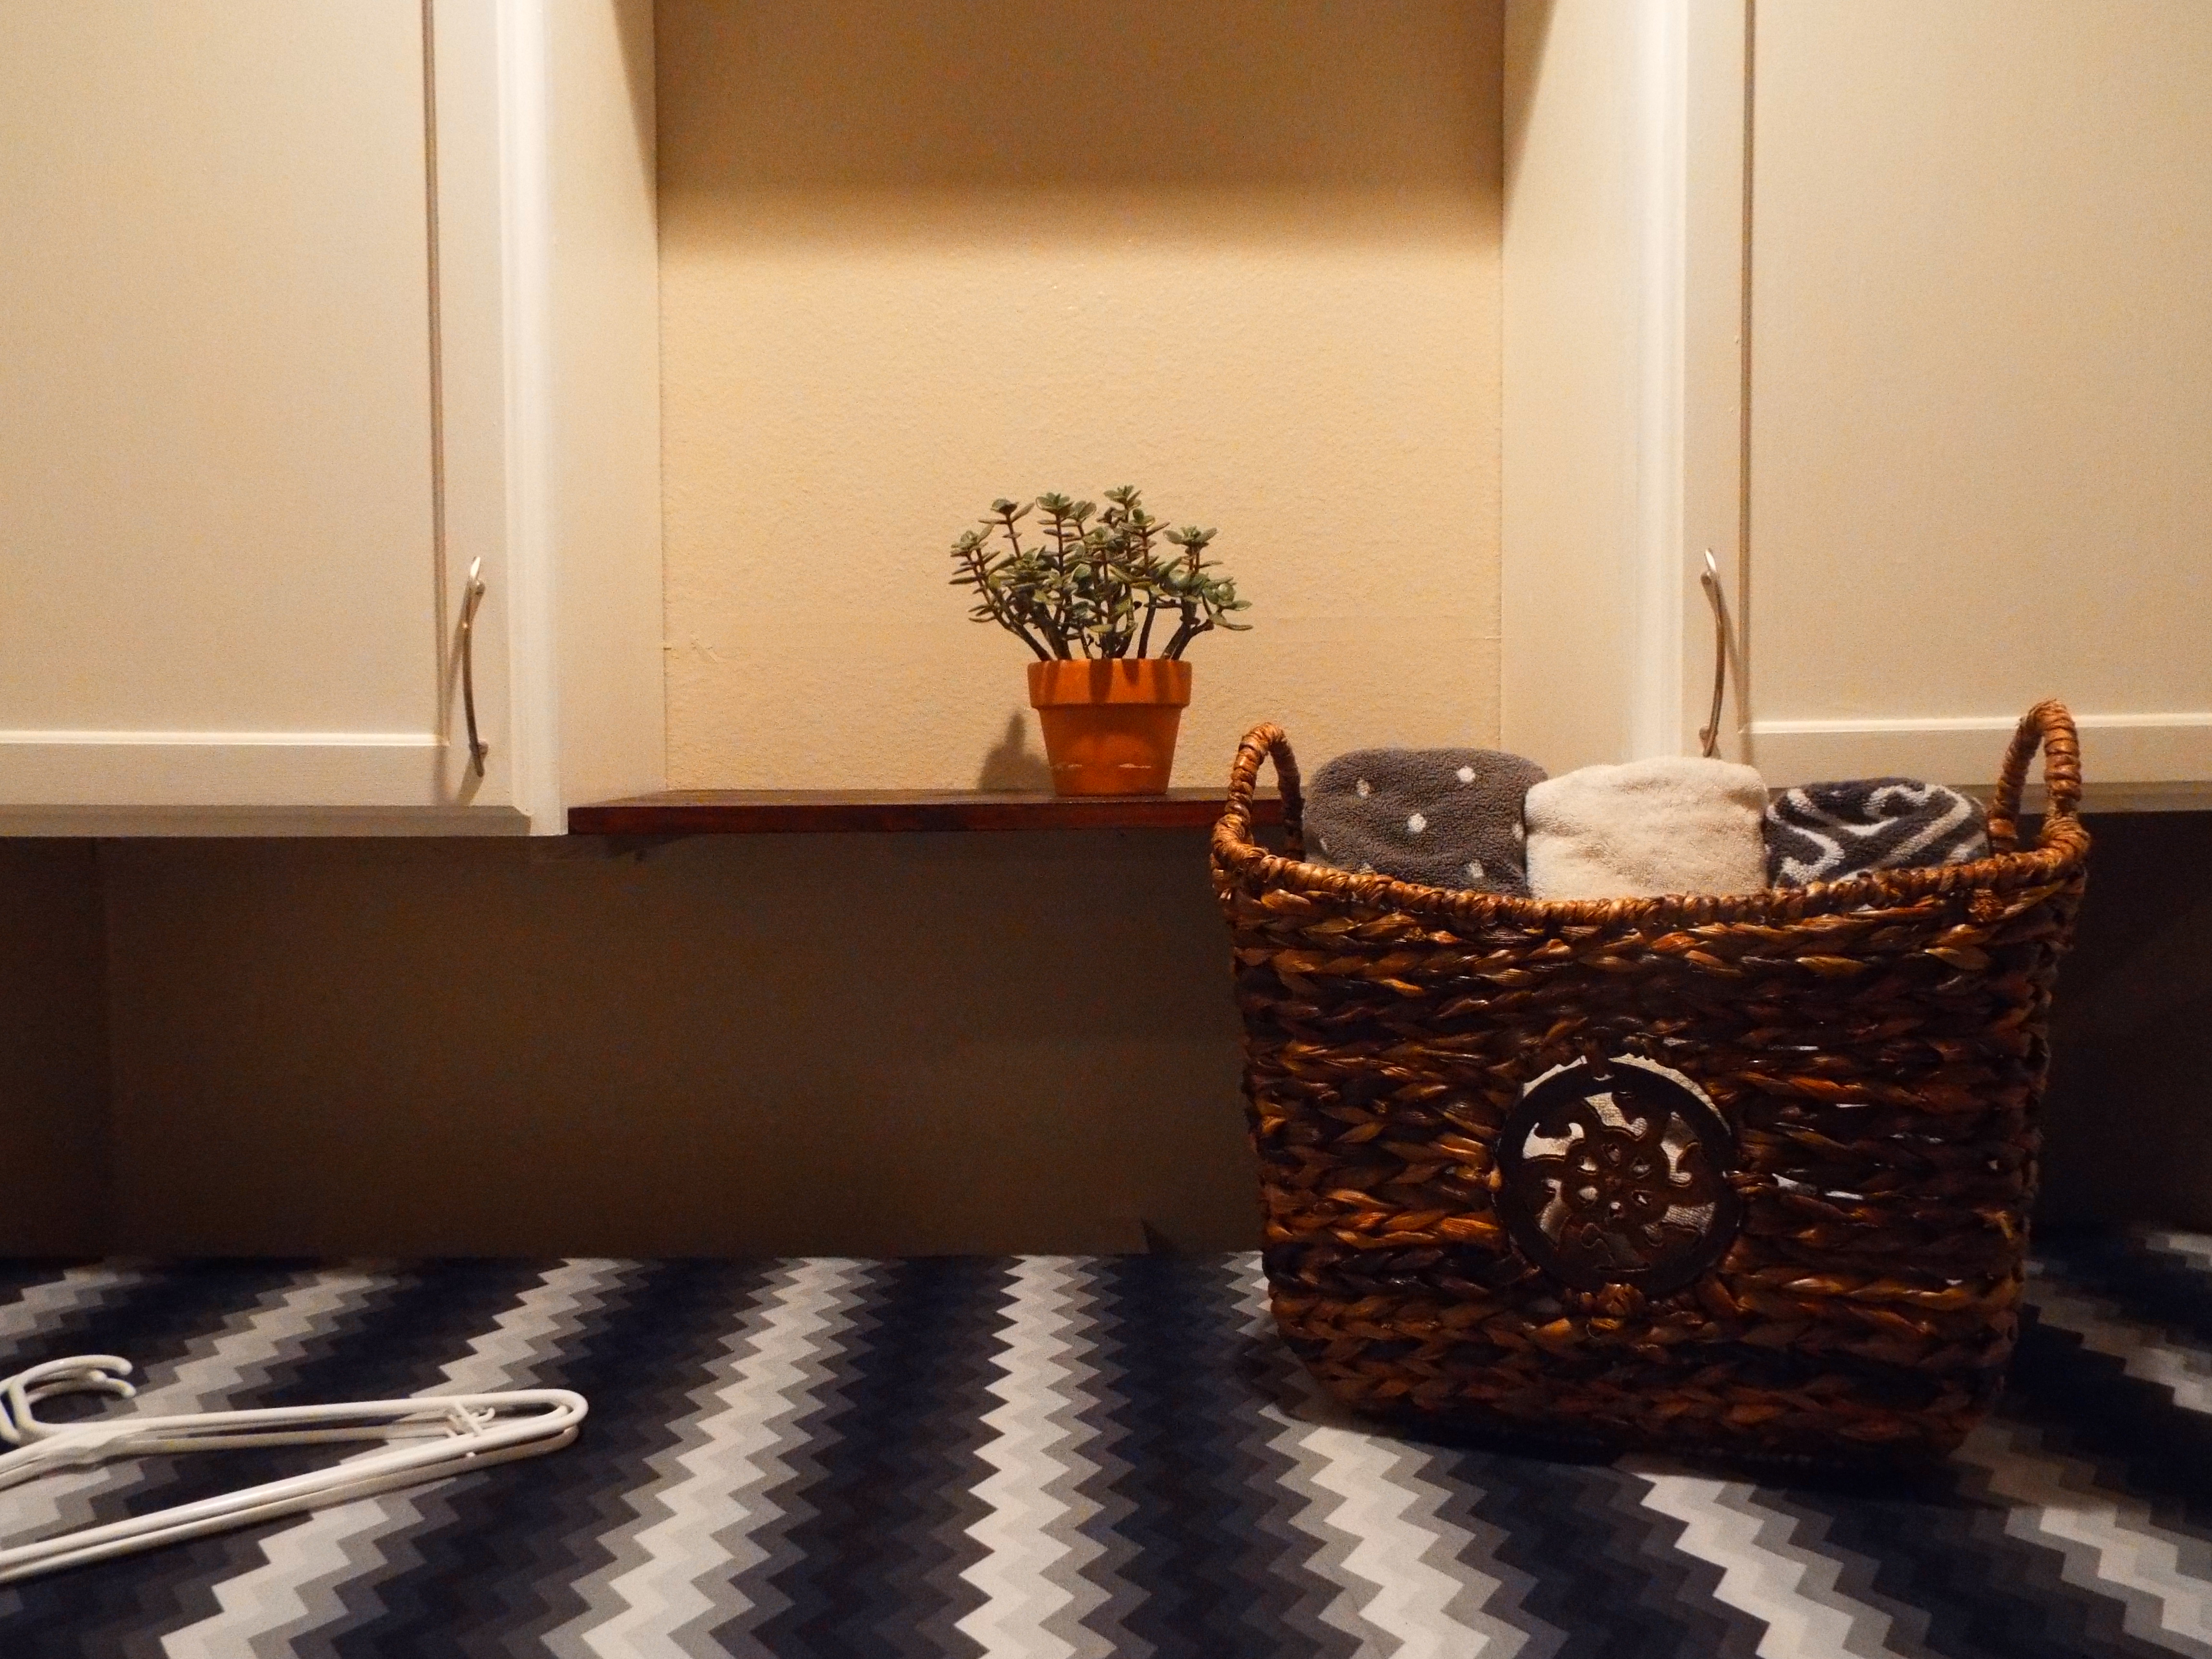
The dynamic duo (hubby + dad) put up the cabinets and added a shelf across the top. These cabinets are just prefab, unfinished cabinets from Home Depot. Dad painted them and added the hardware (leftovers from our kitchen reno). The shelf is made of melamine that we already had, and my husband used 1/2″ round on the outside edge for a finished look.

My dad painted all of the walls, framed out the doorway, and added trim.

My husband also updated the lighting. We had a light bulb there before, and we contemplated doing a pendant light, or a more interesting fixture, but because we weren’t sure about how to work in a drying rack, we opted for can lighting and it’s perfect. The room is so much brighter now.

DSCF3059

My dad built and stained the beautiful shelf and drying rack. Amazing, right?

Using some more leftover melamine, I made this tabletop/ironing board that goes all the way across the washer/dryer. The fabric and batting was on sale, so clearly this was meant to be.

All in all, I did nothing but give my opinion and dream it up, but these guys made it happen. They are the absolute best and ridiculously talented. I’m over the moon with the end result and I haven’t even styled it yet.

*Confession, that basket that appears in some photos really belongs in my guest bath. The jade plant normally lives in my living room. The truth is, I wanted you all to love the laundry room as much as I do, so I staged it a wee bit. 🙂

xo

Master Bath Updates // Part 2


DSCF3044

Paint, paint, paint! What a difference the paint color has made. Aside from the paint, you can see that our mirror is back.

DSCF3010

I chose the citron color that we had and really liked it for the few years we had it. Unfortunately, my likes and dislikes tend to change, and I craved something lighter and brighter for our small space. I went with Sherwin Williams Accessible Beige, which is the same color in our guest bath that I absolutely love.

DSCF3042

We also did this little DIY with our Target shelf and some jars from my collection. My dad screwed the jar lids to the shelf and now I have storage underneath the shelf, as well as on top. I am using the jars for everyday things we use like q-tips, cotton pads, and tweezers, nail clippers, etc. I also added a purse hook to the edge of the shelf for holding my body brush.

DSCF3051

DSCF3049

I also bought a couple of baskets for more storage. The basket under the vanity is holding my make-up mirror and cleaning products. The other basket will hold extra towels (currently empty because there are no other clean towels due to the laundry room renovation – more on that later).

The master bathroom feels fresh and new, but I spent next to nothing. We already had the paint, so $0 for that, $12.00 for a bottle of Grout Renewal, and $25.00 for two baskets (from Ross).

Last but certainly not least, a huge thanks to my Dad for painting a second coat while I was at work on Friday.

xo

Master Bath Updates // Part 1

DSCF3010

This is our master bathroom, our tiny master bathroom.

IMG_1962

When we bought the house, it looked like this.

DSCF3003

**Normally there is a large, black framed mirror in that big, gaping space on the wall straight ahead. For the sake of this update, I have removed it. It’ll be back shortly.

So, clearly, we made major improvements here, but I wouldn’t call this a finished room. The most bothersome issue in the bathroom is the grout. We didn’t seal the grout, so it is all discolored now. I made the mistake of use abrasive cleaners on it, and just wear and tear has left us with this gross looking grout. What’s a girl to do? Cue one of my favorite blogs, Young House Love. They had the problem of stained, discolored grout and used Grout Renewal on it with amazing results.

DSCF3018

Here is a close up of the gross grout.

DSCF3015

We decided to go for it, and all it took was a quick trip to Home Depot, $12.00, a rag, my craft brushes and some elbow grease.

DSCF3020

Progress! Impressive, right?

IMG_1952

Working selfie! I take pride in my appearance when DIY’ing.

DSCF3022

Completion!

I felt amazing when this was done. I spent roughly 8 hours on this project, between deep cleaning the floors and grout –toothbrush style– and applying the Grout Renewal. I applied it very carefully with a craft brush and would wipe the excess with the rag. My back, neck, arms, and shoulders are a little upset with me, but how amazing does the floor look now?! It was totally worth it. And the best part is that there is a sealant in the product, so I’m done. And, from here on out, only steam cleaning for these babies!

Part 2 will be underway very soon…hint…blue tape.

xo