Less is More?

How many of you have been down the “less is more” road? I have read quite a bit about minimalism, and how it can positively impact other aspects of life. For example, if you have fewer plates and cups, you will have less dishes to do. If you have a capsule wardrobe, you will love everything you wear and get dressed with ease. If you have less knick knacks, cleaning is simpler. This all sounds pretty good, right? I’m sold but not so great at execution. Have any of you embraced a minimalistic lifestyle?

I have been trying to simplify our lives as a whole. I want to cook with real foods, raise boys that would prefer playing outside to sitting in front of a screen, and to focus on our well being, not on what we don’t have. Yet, I still find myself buying food that is more convenient than whole, using TV as a crutch and wishing I had things that we don’t.

Here is what I have done so far and how I feel about it…

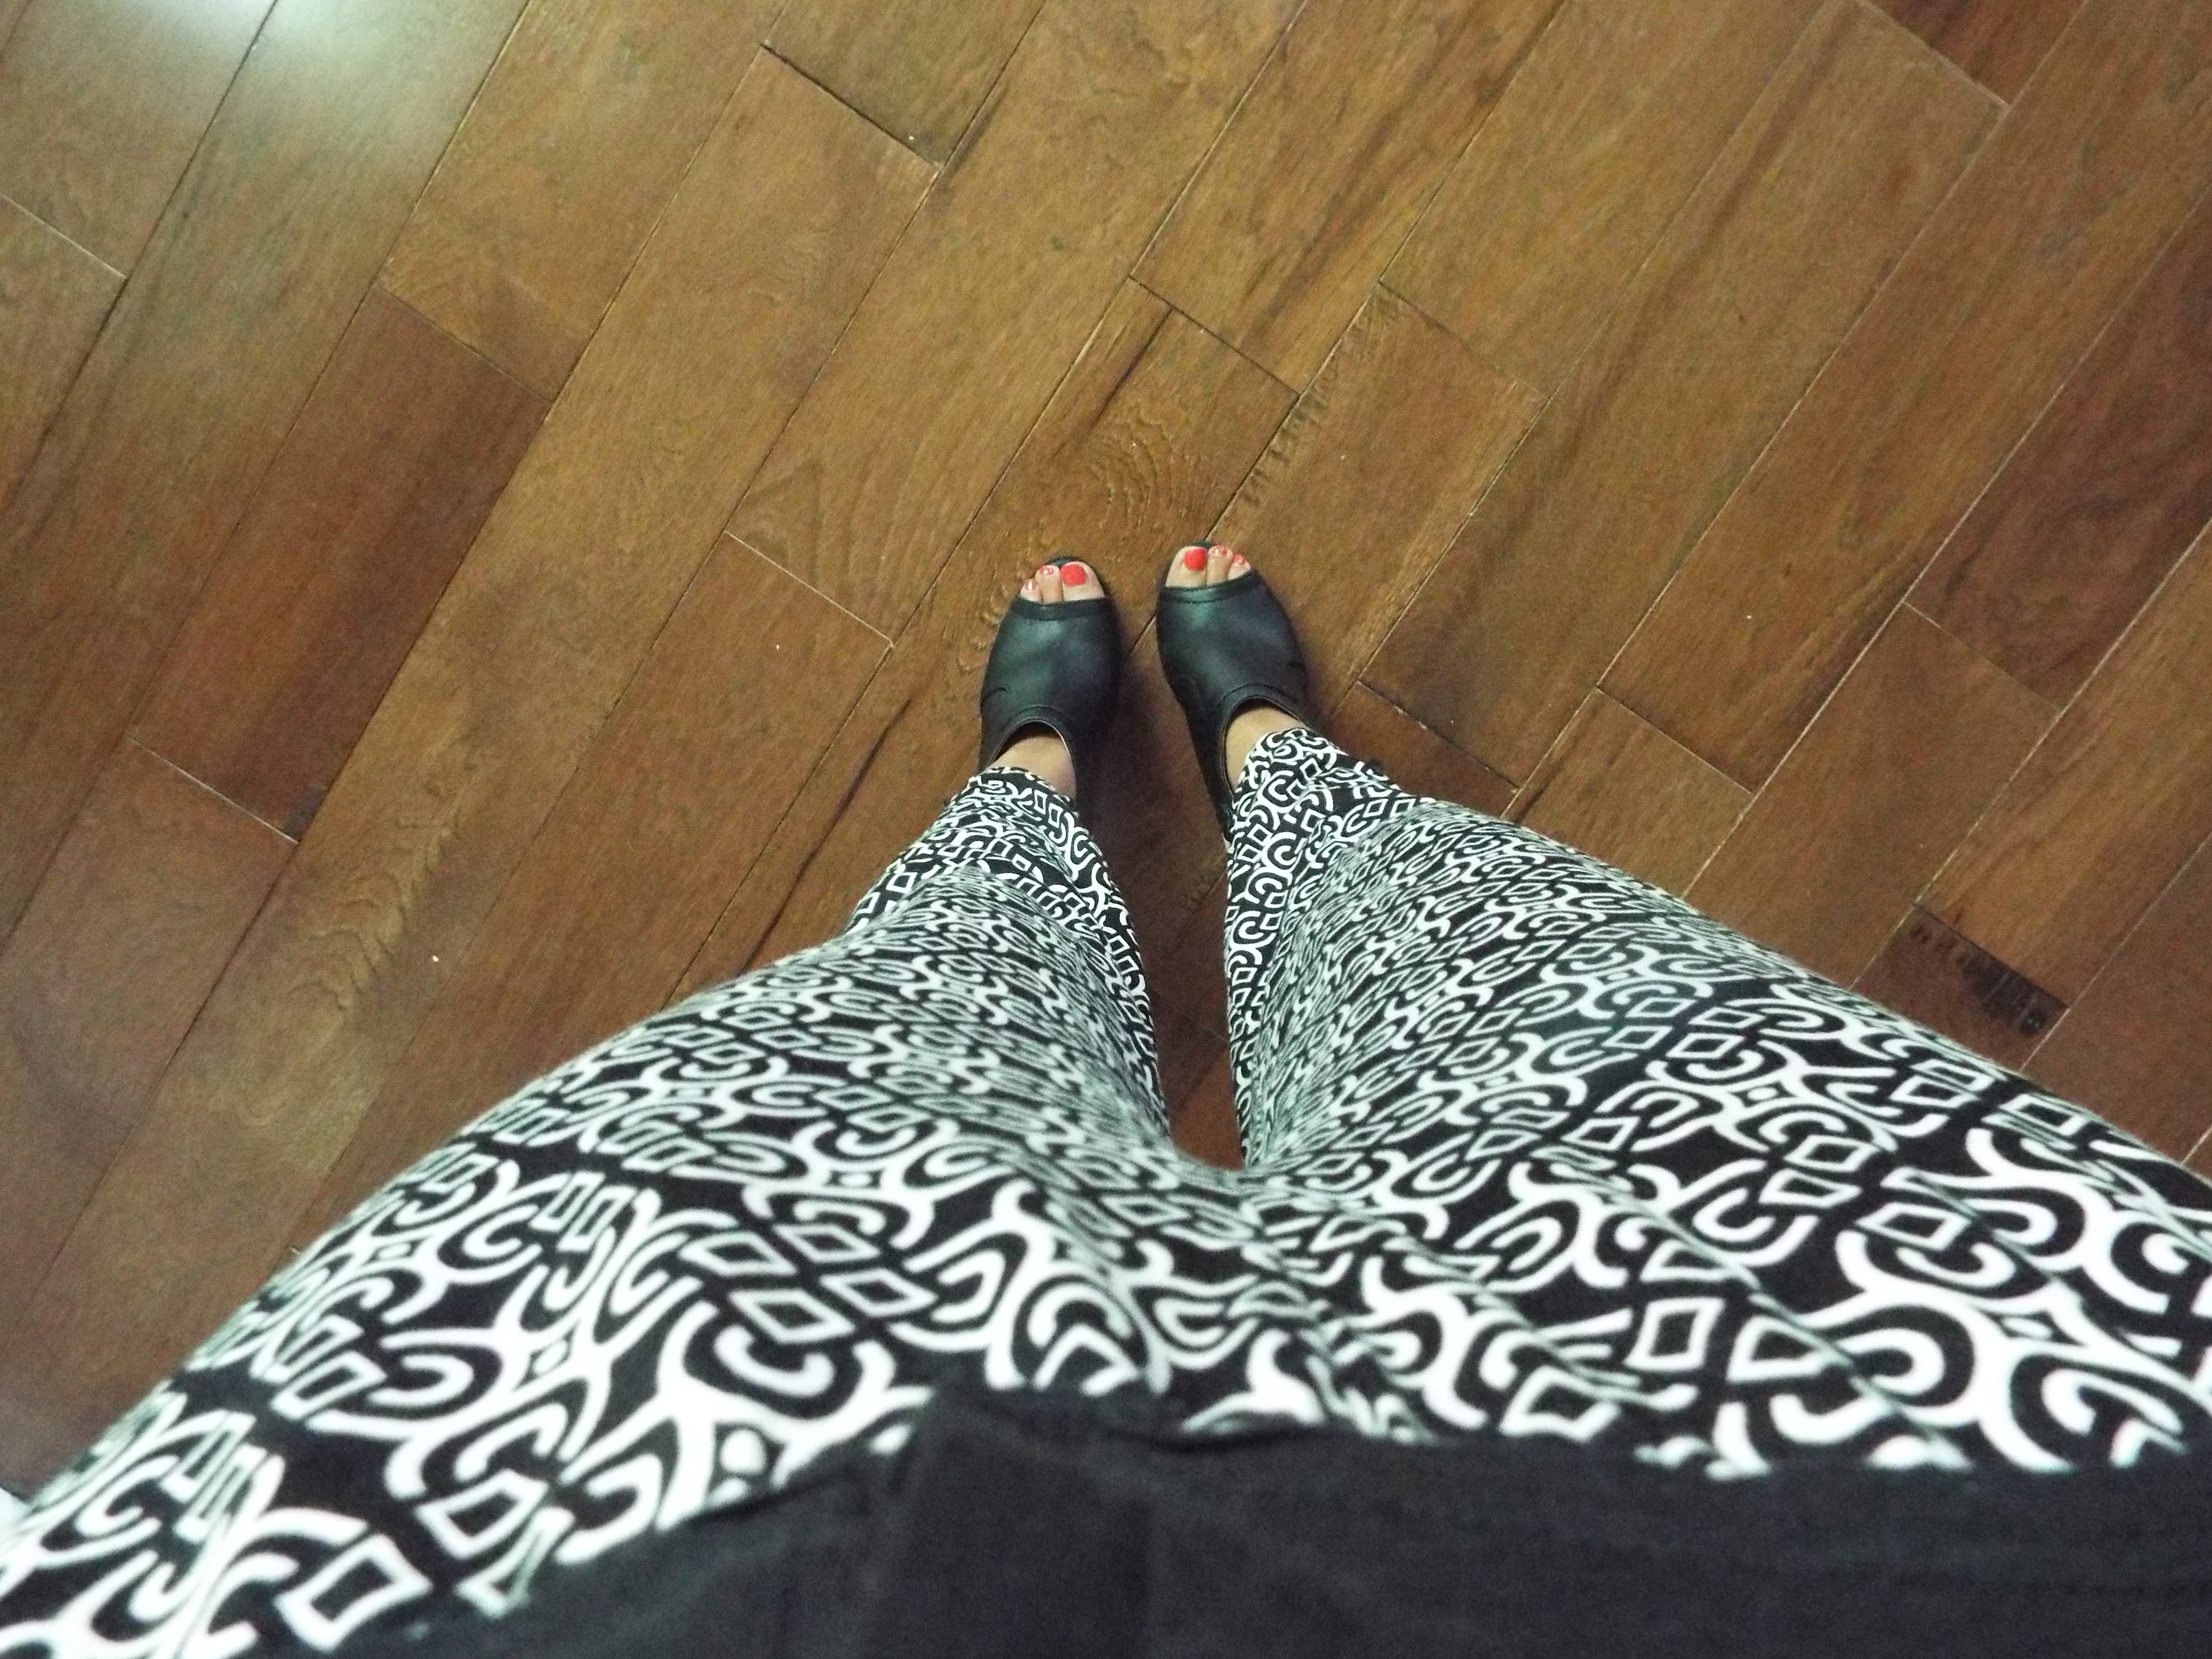
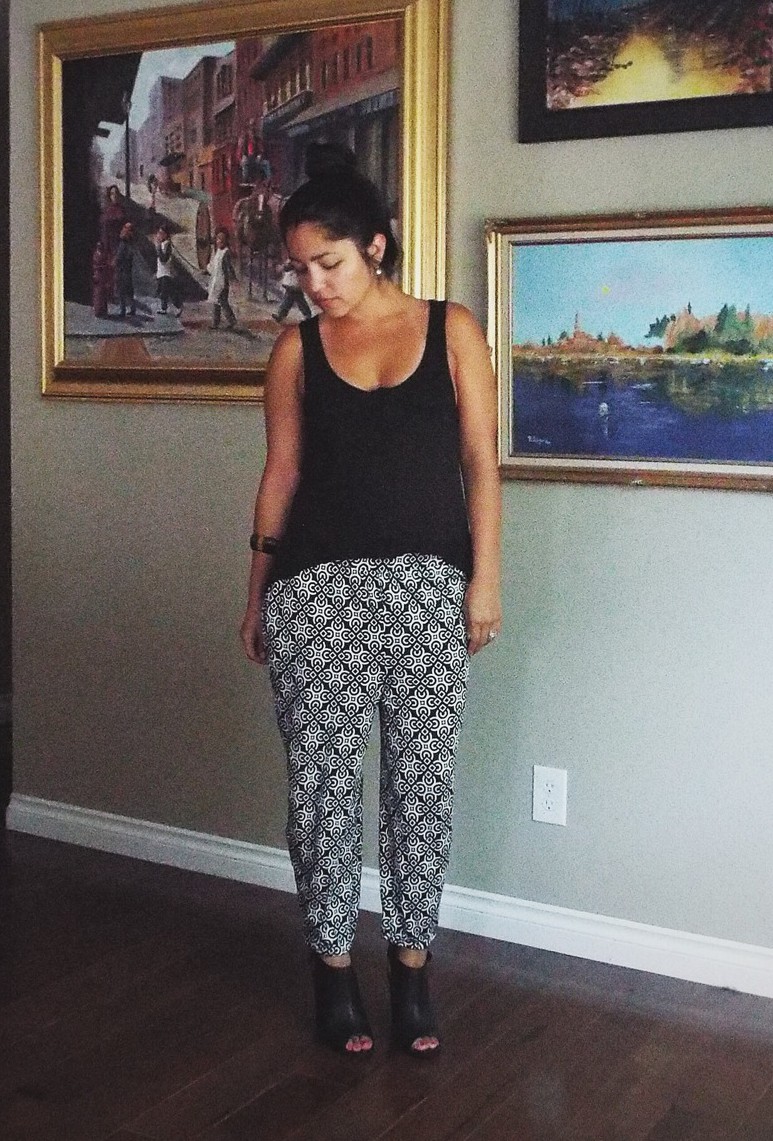
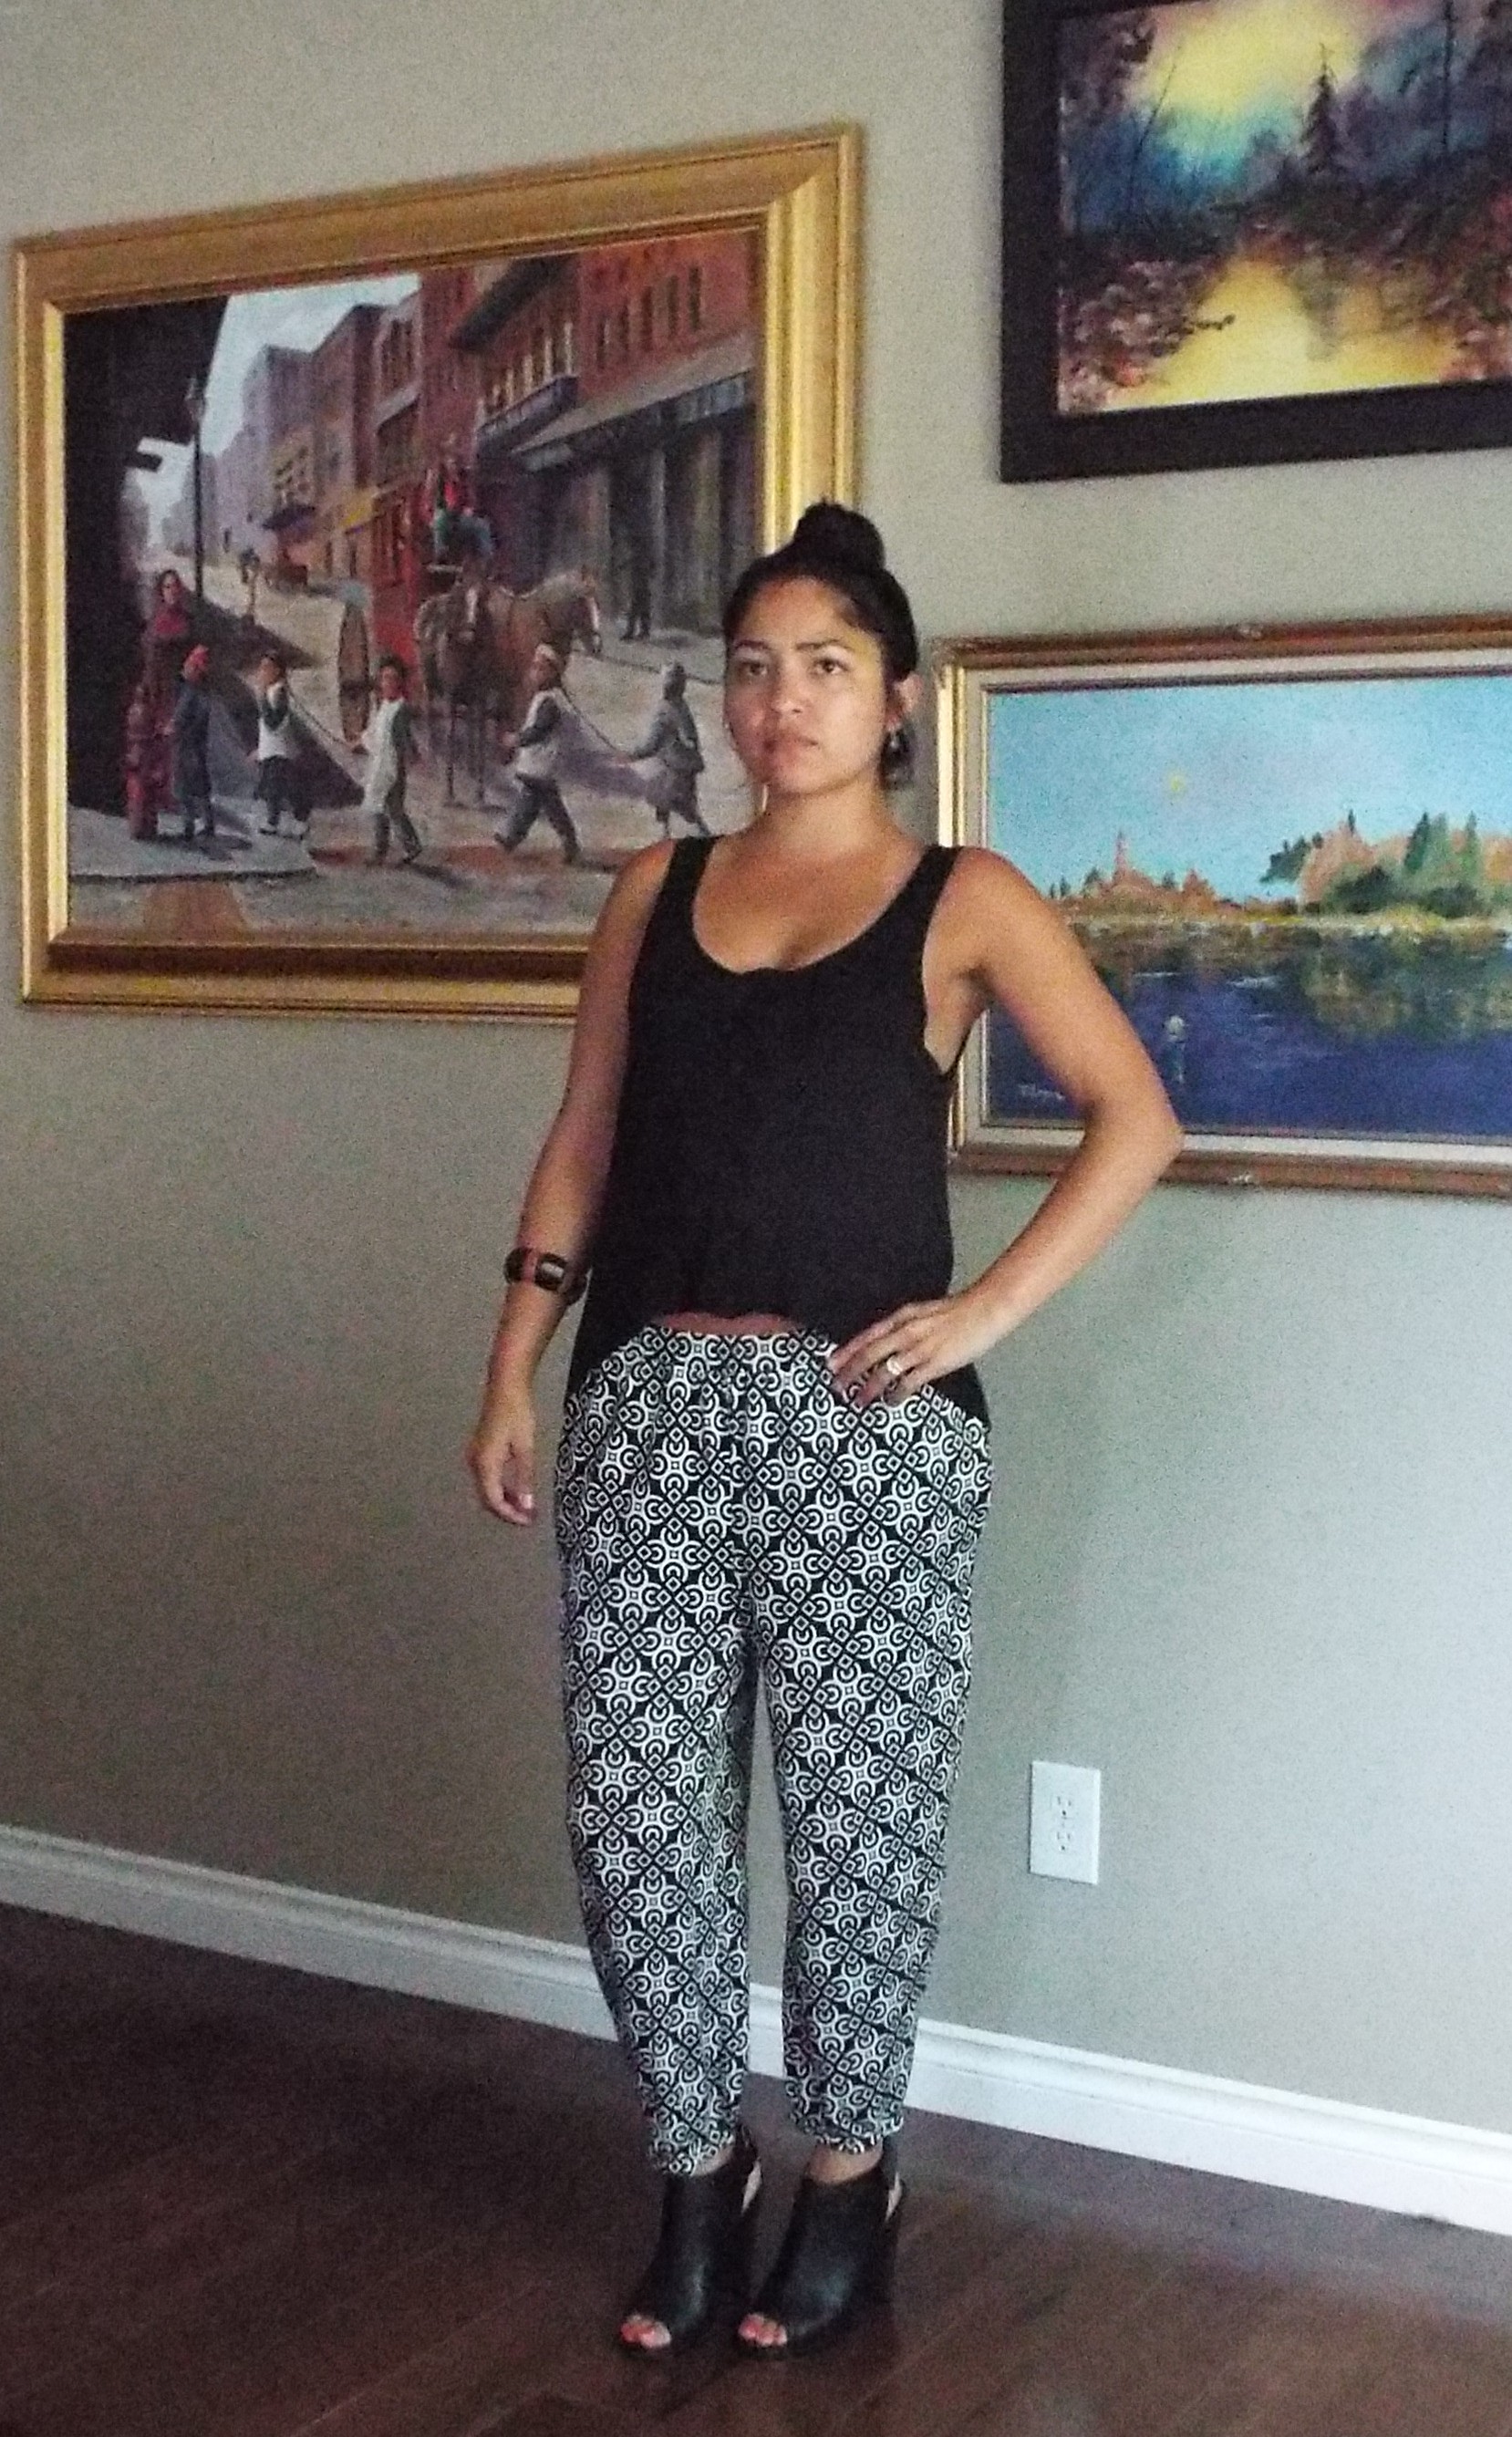
I have purged my closet multiple times and am left with the bare minimum, which I like a lot. I definitely see holes in my wardrobe, and I will fill them in over time.

I have pared down items in my kitchen, and it definitely helps. I know what kitchen gadgets I have, and there is nothing hiding in the dark corners of my cabinets. I cut down my mugs in half, and it’s fine. Who knew?!

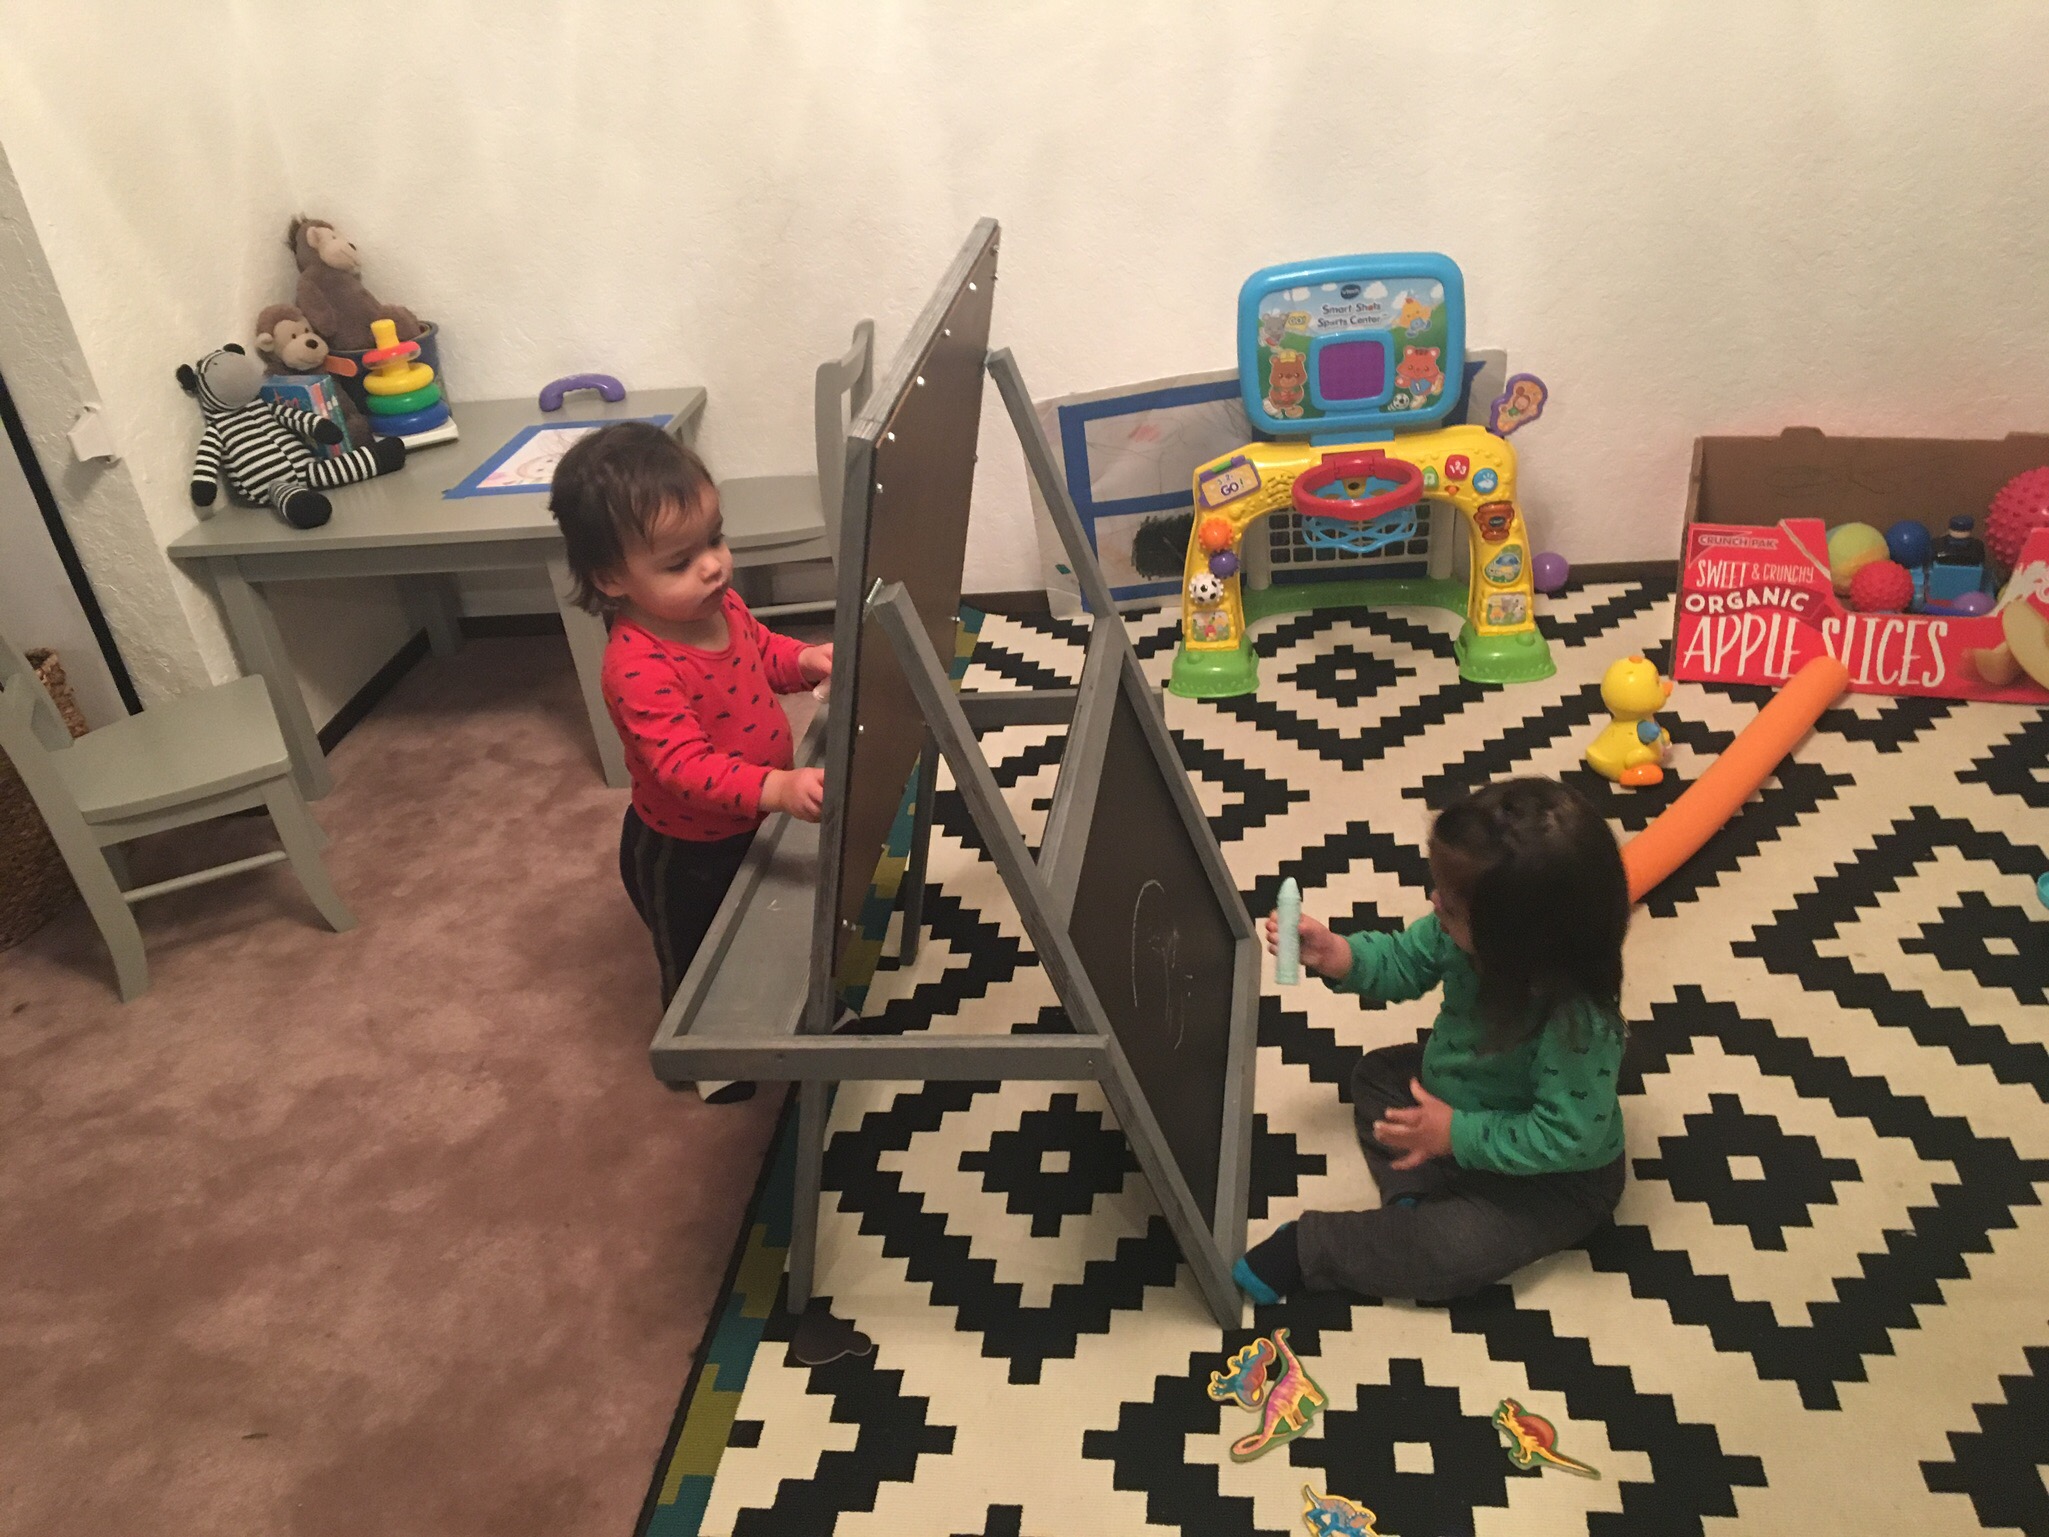
About 1/8 of the boys’ toys got donated or shared with friends, and I wish I could do more but am having a hard time. We keep a large stash of toys in our guest room, and every so often I swap them out to keep things new and fresh for the boys. And what you see in the photo above is about half of the toys they have in their main play area, which is in what used to be our dining room.

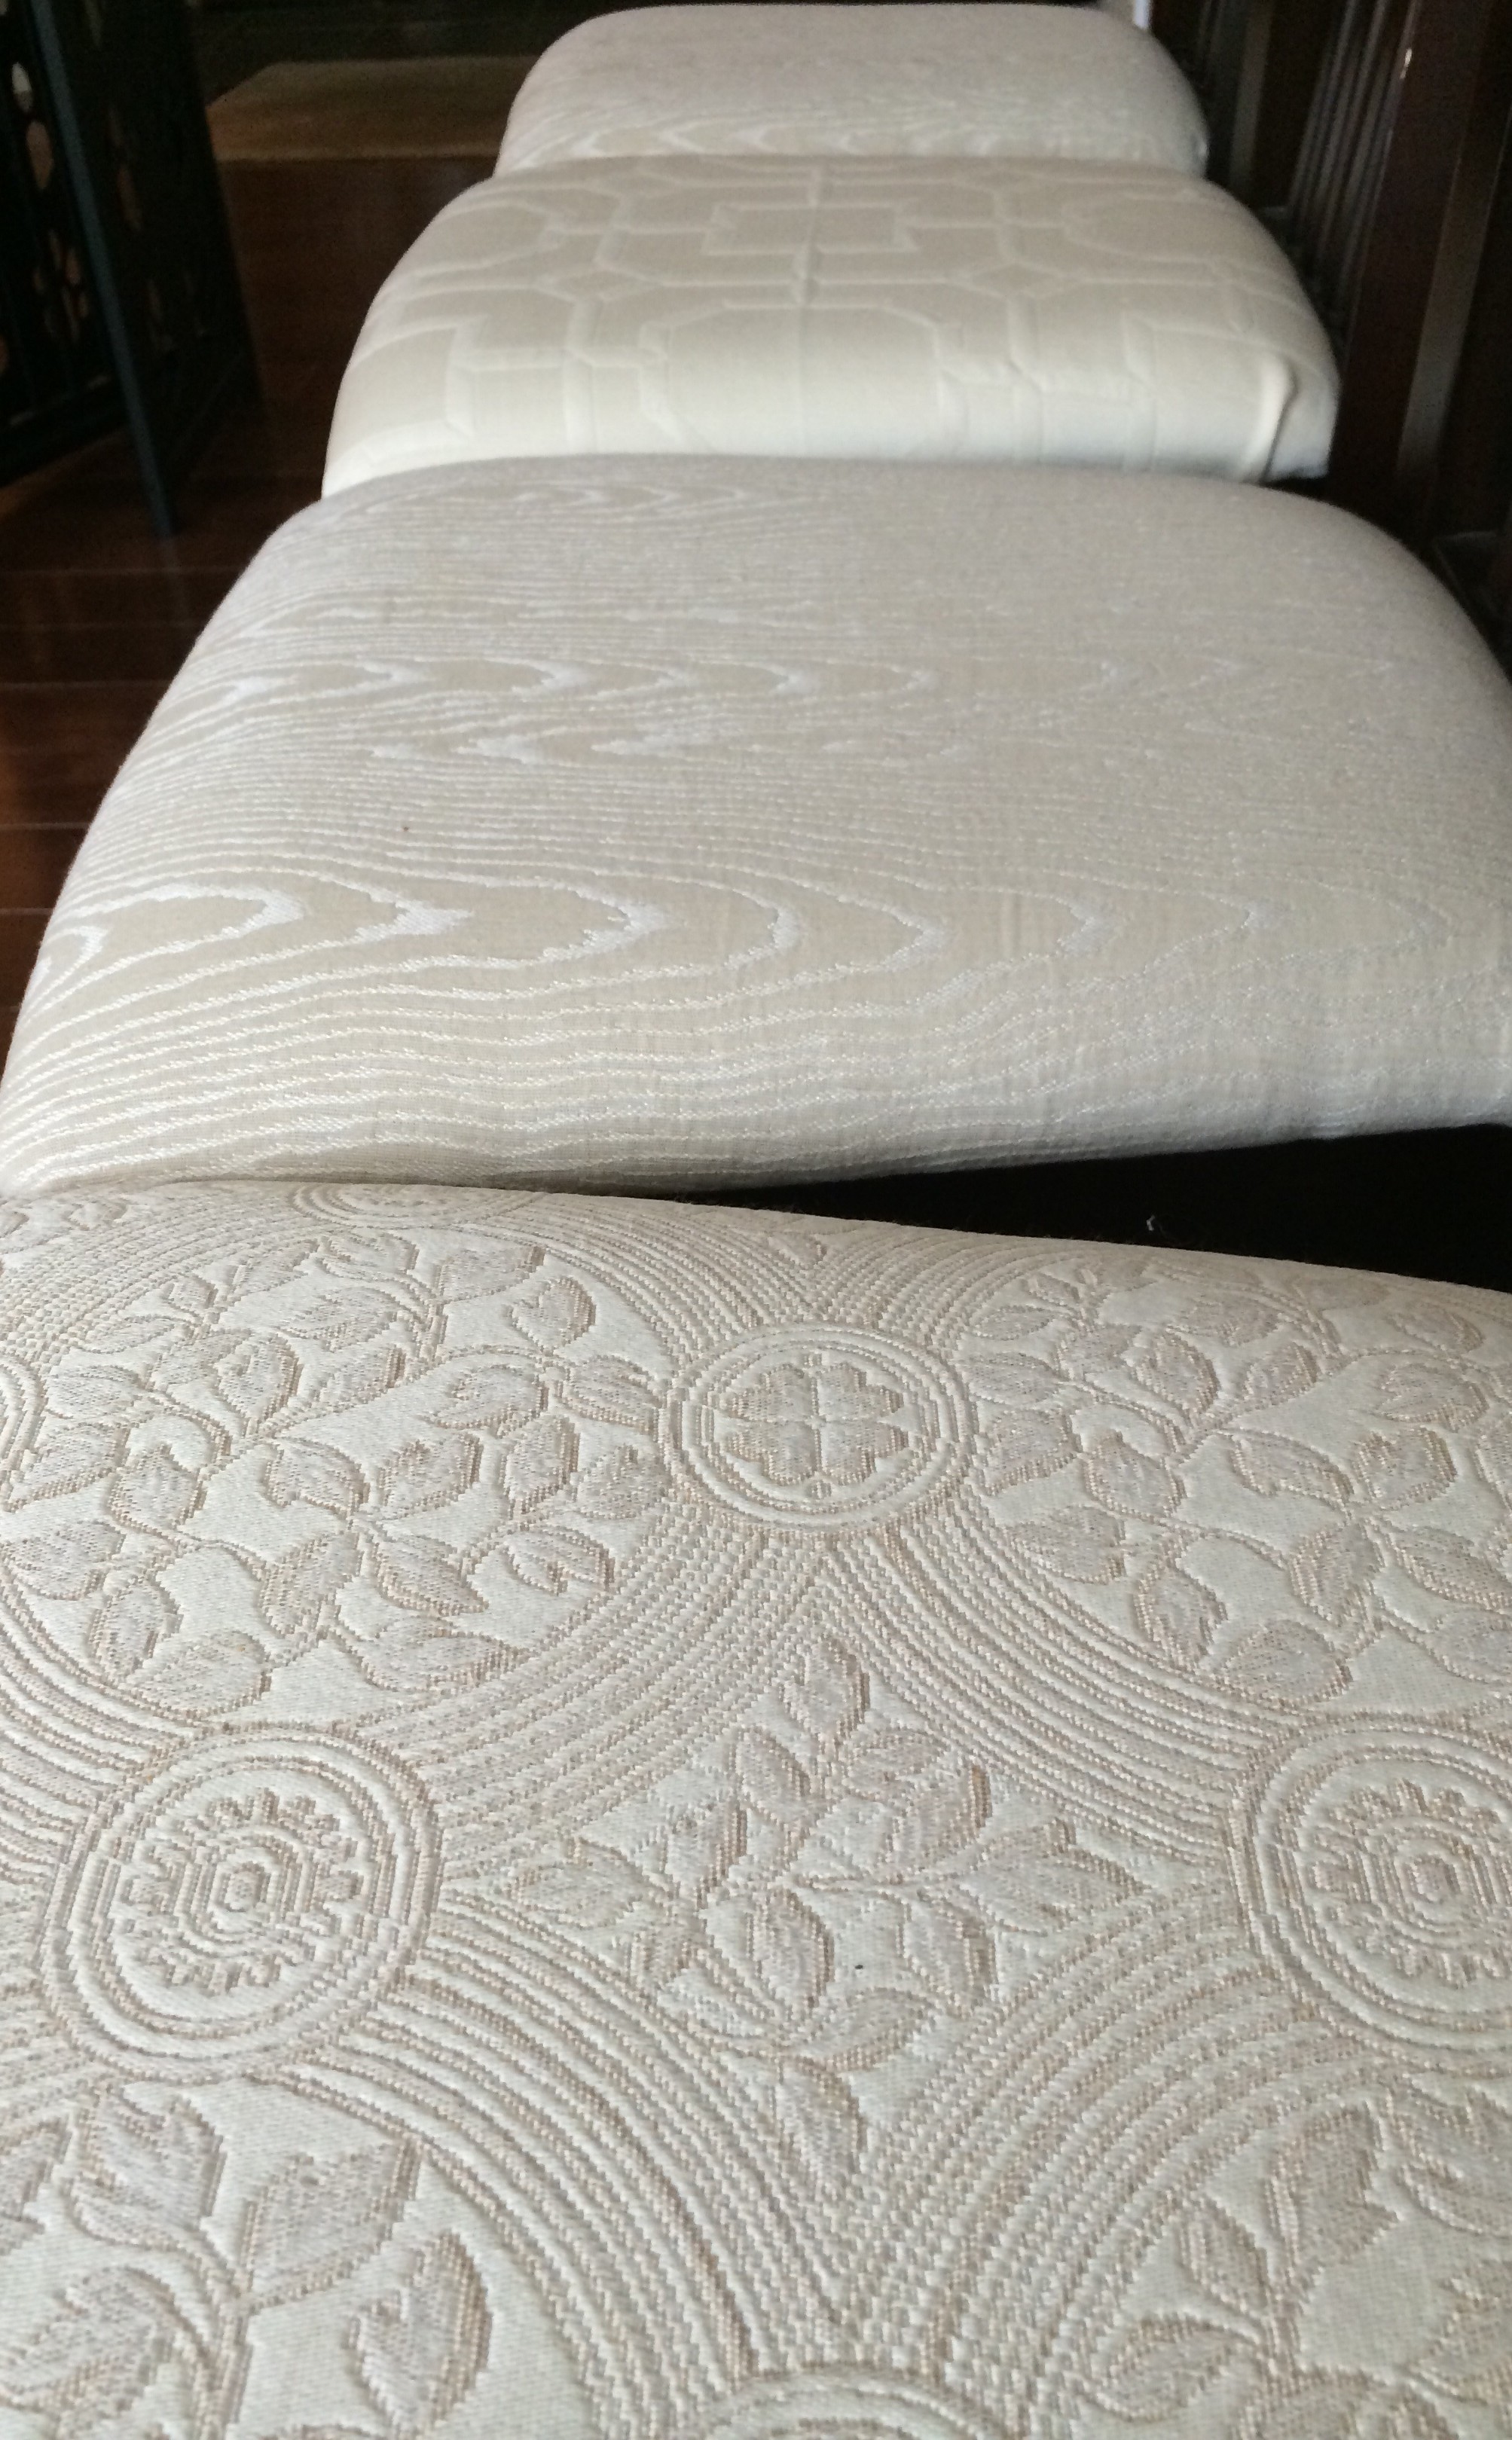
I cleared our ottoman and found so many things in there that we didn’t need to keep. Now, it houses a small bin with diapers and wipes, a tray in case we need it to hold drinks, a current book and magazine, and a lint roller for the couch because we have dogs that shed. I can see everything now, and I can get to items so we can actually use them.

In the kitchen, last fall I really embraced baking bread from scratch and I’m so glad I did. Bread has simple ingredients, doesn’t take that much effort and is so good.

Meal planning and cooking a few things ahead of time helps keep food real and nutritious. It’s the nights when we have no plan that I end up pulling ravioli out of the freezer. I have tried various methods of meal planning and haven’t quite settled on one yet. Thoughts?

Next up…

My nightstand should only contain a few items but houses far more. The top drawer of my nightstand has everything from jewelry to a flashlight. I’d love to be able to put a book in my top drawer and keep the surface clear. As for the bottom cabinet…does anyone else keep perfume they don’t wear? Why? Why do I have multiple bottles?

I’d like to ditch the old, tattered linens, and eventually buy a set of nice sheets for each bed in the house.

Since it’s now the colder season, crockpot cooking is the way to go, so I’d like to do a slow cooker recipe a week. I even have a pressure cooker, which is fantastic for beans, rice and a. ton of other things. Nutritious foods don’t have to be difficult, but you do have to plan a little.

Purging is good for the soul, and it feels great to drop unneeded items for donation. I hope to think more about what I bring into our home, and to live with less, appreciating what we have. I have read about classes and programs to streamline the process, but I’m okay taking my time to do this. And at the end of the day, it’s all about making my boys the best people possible, making sure they appreciate what they have, and for that I will stay the course no matter how long it takes.

XO

Laundry Room, New & Improved


DSCF3072

You guys, my laundry has received a pretty serious overhaul. We already had a nice washer and dryer, but the room itself was a disaster. We had not touched a thing since moving in 5 years ago.

photo 3photo 1 (1)photo 4 (1)

The floors were linoleum, but even better, the flooring in the laundry room sat lower than the flooring in the hallway, so dust and dog hair always settled in the laundry room. The room also needed a fresh coat of paint and better organization. The shelving in the laundry room was too high so I couldn’t reach it, and it had become a dumping ground for all kinds of odds and ends…light bulbs, batteries, random tools, dog brushes, etc. It was embarrassing how gross it used to be. I can’t believe I’m posting these pics, but here it is guys, real life.

DSCF3074

I am far from embarrassed now. I’m so proud of this room. I had little to nothing to do with this, but I love it so much. Here is a rundown of what got done…

photo 3 (1)photo 1 (2)

My husband tiled the floor and installed baseboard trim, and that changed everything. It immediately looked so fresh.

He also noticed a leak with the hoses, so he replaced them.

photo 4 (2)

photo 1 (3)

The dynamic duo (hubby + dad) put up the cabinets and added a shelf across the top. These cabinets are just prefab, unfinished cabinets from Home Depot. Dad painted them and added the hardware (leftovers from our kitchen reno). The shelf is made of melamine that we already had, and my husband used 1/2″ round on the outside edge for a finished look.

My dad painted all of the walls, framed out the doorway, and added trim.

My husband also updated the lighting. We had a light bulb there before, and we contemplated doing a pendant light, or a more interesting fixture, but because we weren’t sure about how to work in a drying rack, we opted for can lighting and it’s perfect. The room is so much brighter now.

DSCF3059

My dad built and stained the beautiful shelf and drying rack. Amazing, right?

Using some more leftover melamine, I made this tabletop/ironing board that goes all the way across the washer/dryer. The fabric and batting was on sale, so clearly this was meant to be.

All in all, I did nothing but give my opinion and dream it up, but these guys made it happen. They are the absolute best and ridiculously talented. I’m over the moon with the end result and I haven’t even styled it yet.

*Confession, that basket that appears in some photos really belongs in my guest bath. The jade plant normally lives in my living room. The truth is, I wanted you all to love the laundry room as much as I do, so I staged it a wee bit. 🙂

xo

Master Bath Updates // Part 2


DSCF3044

Paint, paint, paint! What a difference the paint color has made. Aside from the paint, you can see that our mirror is back.

DSCF3010

I chose the citron color that we had and really liked it for the few years we had it. Unfortunately, my likes and dislikes tend to change, and I craved something lighter and brighter for our small space. I went with Sherwin Williams Accessible Beige, which is the same color in our guest bath that I absolutely love.

DSCF3042

We also did this little DIY with our Target shelf and some jars from my collection. My dad screwed the jar lids to the shelf and now I have storage underneath the shelf, as well as on top. I am using the jars for everyday things we use like q-tips, cotton pads, and tweezers, nail clippers, etc. I also added a purse hook to the edge of the shelf for holding my body brush.

DSCF3051

DSCF3049

I also bought a couple of baskets for more storage. The basket under the vanity is holding my make-up mirror and cleaning products. The other basket will hold extra towels (currently empty because there are no other clean towels due to the laundry room renovation – more on that later).

The master bathroom feels fresh and new, but I spent next to nothing. We already had the paint, so $0 for that, $12.00 for a bottle of Grout Renewal, and $25.00 for two baskets (from Ross).

Last but certainly not least, a huge thanks to my Dad for painting a second coat while I was at work on Friday.

xo

Master Bath Updates // Part 1

DSCF3010

This is our master bathroom, our tiny master bathroom.

IMG_1962

When we bought the house, it looked like this.

DSCF3003

**Normally there is a large, black framed mirror in that big, gaping space on the wall straight ahead. For the sake of this update, I have removed it. It’ll be back shortly.

So, clearly, we made major improvements here, but I wouldn’t call this a finished room. The most bothersome issue in the bathroom is the grout. We didn’t seal the grout, so it is all discolored now. I made the mistake of use abrasive cleaners on it, and just wear and tear has left us with this gross looking grout. What’s a girl to do? Cue one of my favorite blogs, Young House Love. They had the problem of stained, discolored grout and used Grout Renewal on it with amazing results.

DSCF3018

Here is a close up of the gross grout.

DSCF3015

We decided to go for it, and all it took was a quick trip to Home Depot, $12.00, a rag, my craft brushes and some elbow grease.

DSCF3020

Progress! Impressive, right?

IMG_1952

Working selfie! I take pride in my appearance when DIY’ing.

DSCF3022

Completion!

I felt amazing when this was done. I spent roughly 8 hours on this project, between deep cleaning the floors and grout –toothbrush style– and applying the Grout Renewal. I applied it very carefully with a craft brush and would wipe the excess with the rag. My back, neck, arms, and shoulders are a little upset with me, but how amazing does the floor look now?! It was totally worth it. And the best part is that there is a sealant in the product, so I’m done. And, from here on out, only steam cleaning for these babies!

Part 2 will be underway very soon…hint…blue tape.

xo

Project Calendar

DSCF2997


As I mentioned in Currently yesterday, I have been getting my projects organized by using my clipboard calendar. This is keeping my blog post ideas in one place, and I have room to make notes and jot down reminders.


DSCF2994

You can see my original clipboard calendar here. Some changes were in order, so I could make it more functional. I have limited myself to twenty projects/posts for each month, which is a lot, but it’s not out of reach. I made a little spot on the bottom for birthdays and this version is much cleaner, so it’s not overwhelming. I am so excited about all of the projects I have coming up. We are going to be working on the house, and I’m sewing again…very exciting stuff.

xo

Printed Jogger Pants

505

I’ve been sewing! I took these wide leg pants…

585and transformed them into jogger pants!

DSCF2988

I’ve been wanting a pair for a while now but decided that I needed to make them if I wanted them that badly.

My sewing skills are, for the most part, self taught, and I do a lot by trial and error. This is why I’m not providing a tutorial, and I hope you forgive me for that. I simply started pinning and cutting until I reached the desired silhouette. Here is my finished look!

IMG_1859

Don’t laugh, this was my first go at using a timer and taking photos of myself. Let me tell you…it’s not easy!

DSCF2960

This project cost me a couple bucks because these are sample sale pants and I already had the thread. It was a really fun project, so now I’m looking at other clothing to see what I can make it into.

xo


Summer Bucket List Progress

20140730-173620-63380408.jpg

This summer, as per usual, is flying by and I want to make sure that I get the most out of it, so it’s time to see how I’m doing. I made this list back in the beginning of June, and here we are, quickly approaching August.

1. Outdoor movies, obviously

  • We have not gone to a single outdoor movie, buuuuut we have one on the calendar for August 6th.

2. Outdoor concerts (did I go to any last year?! Shaaaaame)

  • Again, we have not gone to any outdoor concerts, but I am going to one on August 15th.

3. Host a party (grilling, outdoor lighting, music, the whole shabang)

  • My hubby and I have been talking about a little party, maybe at the end of August.

4. Finish our backyard projects (hanging chair, benches, lighting)

  • FAIL! Ugh, I don’t know what my deal is…aside from buying lights, there has been no progress here.

5. Eat outside a few times a week, EVERY week

  • I would say that we have eaten outside probably more like once a week, every week. I’ll call that success.

20140730-173620-63380641.jpg

6. Go for more bike rides (and buy a basket for my ride)

  • My basket arrived last week, and we have a bike ride planned for tonight! We have actually been really great about bike riding once a week.

7. Outdoor yoga (did it once, and it was awesome…not sure why I haven’t done it again)

  • I have done this once…MUST.TRY.HARDER.

8. Be spontaneous (said the planner)

  • I would say that I have been really good about this, but perhaps I should ask my husband.

20140730-174618-63978512.jpg

9. Plant flowers, beautify the house!

  • Flowers, not so much. However, we did pull weeds and my veggie garden is looking great. The pic above is of my tomato plant…starter plant on the left back in May, monstrosity on the right as of a week ago.

10. Read more books (the goal is 9 – 3/month)

  • Yeah, about that…it’s looking more like 1 book/month, which is normal for me.

11. Re-apply sunblock (I’m great at putting it on, not so great at remembering to re-apply)

  • Apparently I don’t learn. I have insane tan lines from camping last weekend. Why you ask? Because I never re-apply!

12. Float a river (or two or three)

  • We floated once already, for the 4th!

20140730-173621-63381067.jpg

13. Hike more (camping hiking counts, but I need to get out there more)

  • So far we have only hiked while camping. There’s still hope though!

14. Try paddleboarding (I know my hubby is on board, so we need to make it happen)

  • We have plans to try out paddleboarding this weekend!

15. Make three summer dresses (they’re my favorite in the summer, and I know how to sew…no brainer)

  • I’m working on a sewing project now, but it’s not a dress. I’ll post about it next week.

16. Take the pups for more walks (they should benefit from the SBL too, right?)

  • I’m failing those poor pups. They are spoiled, but we have not been out for more walks.

Summer is such a great time of year. Summer Bucket List completion or not, this has been an amazing one already.

xo

Let’s Talk…Summer Bucket List

20140605-155526-57326251.jpg

Here in the PNW, summer is the best. It’s short and sweet, always leaving us wanting more. I always feel like it goes by way too fast and that I didn’t get to do everything I wanted to do. My girlfriend suggested making a Summer Bucket List, and I have seen these popping up all over the place, so clearly it’s a must. I’m on board.  I have 16 points listed, going off the Memorial Day to Labor Day calendar, which is 16 weeks. Anyhow, I would imagine this will change a bit over the course of the next couple months, but here it goes…

1. Outdoor movies, obviously

2. Outdoor concerts (did I go to any last year?! Shaaaaame)

3. Host a party (grilling, outdoor lighting, music, the whole shabang)

4. Finish our backyard projects (hanging chair, benches, lighting)

5. Eat outside a few times a week, EVERY week

6. Go for more bike rides (and buy a basket for my ride)

7. Outdoor yoga (did it once, and it was awesome…not sure why I haven’t done it again)

8. Be spontaneous (said the planner)

9. Plant flowers, beautify the house!

10. Read more books (the goal is 9 – 3/month)

11. Re-apply sunblock (I’m great at putting it on, not so great at remembering to re-apply)

12. Float a river (or two or three)

13. Hike more (camping hiking counts, but I need to get out there more)

14. Try paddleboarding (I know my hubby is on board, so we need to make it happen)

15. Make three summer dresses (they’re my favorite in the summer, and I know how to sew…no brainer)

16. Take the pups for more walks (they should benefit from the SBL too, right?)

So, will you be making one too? If so, please share.

xo


Old Dining Rooms Chairs Get a Facelift

20140430-123101.jpg

We have had the same dining room table and chairs for about 10 years. For all of those 10 years, I disliked that fabric on the seats, and for 10 years I said I was going to change it out. The day has finally come, and it was so easy that I cannot believe it took me that long to do it.

You’ll Need:

  • Fabric (28in x 28in for each chair)
  • Fabric Scissors
  • Staple Gun
  • Marker
  • Iron & Ironing Board

First off, you all know that I like to use what I already have, so I used some upholstery fabric samples given to me by my mom’s friend. I chose a few different patterns that were in the same color family to create a cohesive look. Clearly, not everyone has upholstery fabric samples lying around, so I’d suggest digging through the remnants at your local fabric store, or perhaps buying an inexpensive sofa slip cover.

20140205-110106.jpg

Since I chose three patterns and have four chairs, two chairs are in the center fabric (our favorite of the three) and the other two are in the other two patterns.

Once you have chosen fabric, be sure to measure prior to buying. The sample squares were more than large enough for each seat at 28in x 28in. You just need to allow for enough fabric to secure on the underside. I left a 2-4in allowance on the underside, all the way around.

20140429-071427.jpg

Okay, so you have found fabric you love, it’s the right size, so it’s time to wash it, and then press it and make sure there are no deep creases. I suggest pressing it on the wrong side of the fabric.

20140430-131814.jpg

Set aside the fabric so you can remove the seat from the chair. My chairs have four screws underneath, so I just used a screwdriver to get those out. Once they were out, the seat popped right off. I chose to leave the original fabric on the seats and just layer on the new fabric.

20140429-071442.jpg

Next, take the fabric and lay it on a flat, sturdy surface. I worked my way from the center top (shorter side) to the center bottom (wider side), stapling about three to four times on each side. Make sure you’re pulling it tight (but not too tight) and making sure it looks smooth on the top and on the sides. From there, tuck the corners neatly and begin stapling the sides. If you need to trim some fabric to remove bulk on the corners, this is the time to do it.

20140429-071513.jpg

Once all four sides are secured and you’re happy with the look, it’s time to put the chair back together. I placed the seat on tops of the chair frame and dry fit it, and then used a pen to mark where the screws needed to go. Using those markings, I cut small holes for the screws. Once you’ve done this, go ahead and put the chair back together. That’s it! It took maybe thirty minutes per chair, so this can be done in one afternoon.

20140429-071522.jpg

This is what the original fabric looked like. There is absolutely nothing wrong with it, but I wanted something a little different, and two of the four chairs  had stains on them.

20140430-093043.jpg20140430-131342.jpg

I’m much happier with this line up.

xo

Clipboard Calendar

20140331-143009.jpg

I saw clipboards used as picture frames and art displays on A Beautiful Mess here and on Apartment Therapy here. I’ve had this idea in the back of my mind for a long time, and while thrifting this weekend, I came across two clipboards, and for $1.98, they were mine. Initially, I thought I’d print two photos and hang them up, end of project. No, that’s not how it went at all. I printed off two photos and thought they looked a little blah, and I quickly realized that it was probably because the displays I had seen were of more than two clipboards, or of a few layers of photos, and it really made a statement . What does one impatient crafty girl do when her plan fails? She makes a garland. I began going through my scrap fabric bin so I could make a garland to connect the two clipboards. Once the garland was complete, I knew I was on my way, but then I looked at the clock, and it was 9pm, I had been in my craft room all evening and missed my husband, so I headed out to the living room for some QT with him and the pups. From the moment my head hit that pillow, I couldn’t stop thinking about what to do with my project…more photos, layers of printed card stock, fabric swatches, dried flowers??? And then, that’s when it hit me…how about a calendar for keeping track of the blog posts and projects?! So, I made myself two sheets, a calendar on the left and on the right, just numbers and lines so I can list out the projects I’d like tackle. It adds style to the room, while providing function and helping to corral my ideas. I love the way it turned out, and the idea of personalizing it each month, and layering in fabrics and photos makes me really happy.

20140331-143031.jpg

20140331-143212.jpg

20140331-143221.jpg

Happy Monday!

xo