#100happydays Challenge

20140325-135433.jpg

I’m sure that I’m late to this party because I have seen friends using this hashtag on Instagram, and I read about it on A Beautiful Mess yesterday. Better late than never? I think so! Get all of the details here @ http://100happydays.com/. The concept is fairly simple…we all want to be happy on a daily basis, so start documenting what it is that makes you happy. It can be anything, as long as it makes YOU feel genuinely happy. Seriously, read up on this and join me on Instagram for #100happydays, it’ll be fun.

xo


Kitchen Renovations // Part 1

20140314-101927.jpg

We have been through various home renovations and none pose the same level of inconvenience as a kitchen remodel. When we overhauled our master bath, we used the guest bath and vice versa. When we remodeled the master bedroom, we slept in the guest bedroom. There was always somewhere else for us to be with the other rooms in the house, but when it comes to the kitchen, there is nowhere to go.  Our kitchen has been through a lot –more on that later– but this was the first time ever I thought to create a makeshift kitchen for us, so we could (kind of) carry on like normal. Although this helped tremendously, dinners were still difficult for us, and we did not eat very well this week. Where it DID help, was in the mornings. I am a devoted smoothie and coffee drinker in the morning, so I set up my tray table with the coffee maker and blender so I could easily to get to them and prepare my favorites with ease. I also thought to place a cutting board on the dining room table, along with my crockpot, and the fruit bowl, so I could prepare food in the dining room, if needed. I pulled our chest into the dining room as well, so we had a place for the microwave, so really, we had enough to get by.

20140314-090347.jpg

20140314-090330.jpg 20140314-090339.jpgNow that you’ve seen my sad makeshift kitchen, let’s move on to the fun part –the transformation in our kitchen! We have come a long way, and I’ll get to that later, but to give you an idea, this is what our kitchen looked like when we moved in, back in 2009.

20140314-133239.jpg

Our kitchen has gone through many phases, but we are actually almost done now. One of the last pieces was the backsplash tile. We chose marble, and I’m in love.

20140314-090159.jpg

After purchasing, we got home and I opened up a box to make sure my love was true. And it was.

20140314-090241.jpg

Then my husband applied thin set, placed the tiles and kept it all straight and in place with spacers. We opted for a 1/8 inch grout line.

20140311-121052.jpg

After the thin set dried the following day, he went back through to remove spacers and apply grout. Once the grout is applied, you have go back over everything with a damp sponge and remove the film the grout leaves behind.

20140314-090308.jpg

And then, you sit back and admire. I am over the moon with this kitchen and what it has become.

20140314-133307.jpg20140314-135425.jpgMy husband’s talent and innate knack for this is so inspiring. I’m going to pick his brain and and do a more in depth post about what we have done in the kitchen. As you may have been able to tell, I’m not the most knowledgeable with describing what he did and how he did it. Anyway, a post to come soon with details on the concrete countertops and the rest of this transformation.

Also, a really fun side note…not only are the concrete countertops DIY, but my dad made us all new cabinet doors and trimmed the window (and all of the other windows in the house). This home is a true labor of love.

xo

Framing Some L-O-V-E

As a part of the Apartment Therapy January Cure, one of the last assignments is for participants to frame some artwork and get it hung up. Although, I’m well out of my own personal January Challenge, this assignment was important to me, so I say better than never on this one. Here’s how it all turned out.

20140227-105810.jpg

Now, let me go back and explain how it could possibly take me forever and a day to hang up a couple frames. I had purchased two white frames and black matting, with the intention of hanging up some photos of the hubby and I, in our master bedroom. I printed off a photo and placed it in the frame with the matting, and I hated it. My friend suggested painting them, and I decided that sounded way more fun than exchanging them. I didn’t get to this project until last weekend just because life has been hectic –and one has to be in the mood to be crafty. I am happy to report that once I started working on this project, I enjoyed painting so much that I decided to create some art for the other frame.

I knew I didn’t just want to paint them, and the idea of texture was on the brain, so I found some mesh in my fabric drawer and placed it over the matting. I just taped it in place on a piece of foam core board. Then I began painting, just using some basic white acrylic paint. After maybe ten minutes, I peeled the mesh off, and this is the outcome.

20140227-105849.jpg

Once I saw how the white turned out, I knew that a little touch of gold on the matting border would be nice. I love that the matting has dimension, and I really like its imperfections and variation.

20140227-105925.jpg

For the second craft, I pulled out my letter stamps for a little touch of personal art.

20140227-105935.jpg

I did not have a black ink pad, so I used black acrylic paint and this required a lot of testing. Also, I just liked this photo.

20140227-110005.jpg

I chose two lines from our wedding vows for this piece. The top one is from my vows, and the bottom one is from his vows. Now, this little reminder lives over our bed, so we can see it every morning and every night.

20140227-110025.jpg

I am really pleased with the outcome, and I love that with each day our home becomes more complete and more us.

xo

January Challenge: For the Love of Friends

As the big finale to the Apartment Therapy January Cure (I dubbed it January Challenge), we threw our friends a cocktail party. For the first time ever, we did not ask our friends to bring drinks or an appetizer, so I really went for it, providing a good variety of appetizers, a signature cocktail and the basics for the bar. Side note, of course, they all brought a bottle of wine, or a fun treat regardless. Anyway, this was a big undertaking for me, as I always have timing issues when preparing big meals, but it went off without a hitch (with the help of a couple friends in the final hour, how fitting, right?). Truly, I am shocked at the success of the food and drinks, and am so pleased that everyone had a good time. We kept the party fairly small with around 20 people, I put together a little candy bar for favors, complete with mini waters for the road, and we had a photo booth because they are always so much fun. We saw friends, both old and new, and it was a fantastic night. It felt wonderful to host our friends in our home that has come such a long way. Here are some snapshots from the evening.

food 2I used a paper table cloth and a gold pen to show what was being served.
food1A little close up of that green chile and artichoke bread — get the recipe here. Oh and next to the bread, bacon covered pineapple. All of my carnivore friends loved it. Just wrap pineapple chunks in bacon and sprinkle a little brown sugar on top, bake at 375 for about 25 minutes. There are recipes all over Pinterest.

Crab PuffsSince you cannot see the crab puffs in the photo at all, here’s a little pre-bake shot I took. These were delicious, get the recipe here.

Caprese SkewersOh and these caprese skewers were so light, tasty and easy to make. I drizzled a little balsamic glaze over them right before serving.

Aftermath

So, clearly, everyone hated the food…kidding. Please excuse the crumbs and such, but this is real life, it happens.
 cookies
My lovely friend, Angie, pictured in the back there, brought these adorable heart shaped sugar cookies, and they were delicious. favor tableHere is a not so great photo of the candy bar favors. Those strawberry Pocky are so, so, so good.
photoboothI couldn’t talk about the photo booth and not share a photo. They are so fun and so easy to put together. We used my iPad and found a free app called PhotoBooth. We were able to prop up my iPad, using my painting easel, and then you just had to hit the button to take 4 photos in a row. You got a little countdown, and then if the pics were good, you click on Share and then Save. If the photos weren’t keepers, just move on to the next. We put a little sign on the top of the easel with those easy instructions, and it worked really well. For the backdrop, I just hung a black sheet and then a large white sheet in front of it, and I bought some polka dot balloons.  I strongly urge you to have props on hand as well because well, this happens.

photobooth2SO.MUCH.FUN.

Have a great day!

xo

January Challenge: Update

It’s been a while since I have checked in, and I have been all over the place with this challenge. As of now, party planning is in full swing, home improvements are a daily occurrence, and I’m not exactly following the Apartment Therapy January Cure calendar anymore on a day to day basis. Projects for the week include:

Medicine Cabinet Clean Out // Check out my before and after!

20140205-111331.jpg

Hanging Artwork  // I tried framing artwork last week but loathe the matting color with the frame color, so I’m painting it!

20140204-214405.jpg

Party Planning // I’m a Pinning and list making machine!

20140205-110050.jpg

Image from Pinterest

20140205-110041.jpg

Dining Room Project // Will be revealed later this week, but here is your clue.

20140205-110106.jpg

I’m still loving this challenge and really enjoying the transformation at home. One of my favorites…Friday Flowers. That one is going to stick.

Are you participating? How are you doing with it?

xo

Tray Table: Done, Finally!

traytablefullshot

This project has taken forever, thanks to a healthy dose of procrastination and frustration. My first round of artwork was a fail, and then I just didn’t have a clear vision, making it nearly impossible to complete. I have learned a big lesson from this project, and that is, you can’t force creativity. If you’re not in the mood, you’re not going to enjoy it, and you’re probably not going to like what you do. Embrace creativity when the mood strikes you, but always, always do your best to nurture your creative side and coax it out.

traytablecloseuptraytabletopThe official plan for the tray table is to get some hooks and hang it on the wall, providing some art as well as function. We do not have a coffee table, so when we entertain, guests are always looking for a place to put their drinks and plates. This isn’t much, but it will certainly be small enough to fit the space comfortably, and big enough to do the job.

What have you been working on lately?

xo

January Challenge: Days 8-11

It’s January Challenge round up time. If you’re just joining, read up at Apartment Therapy here.

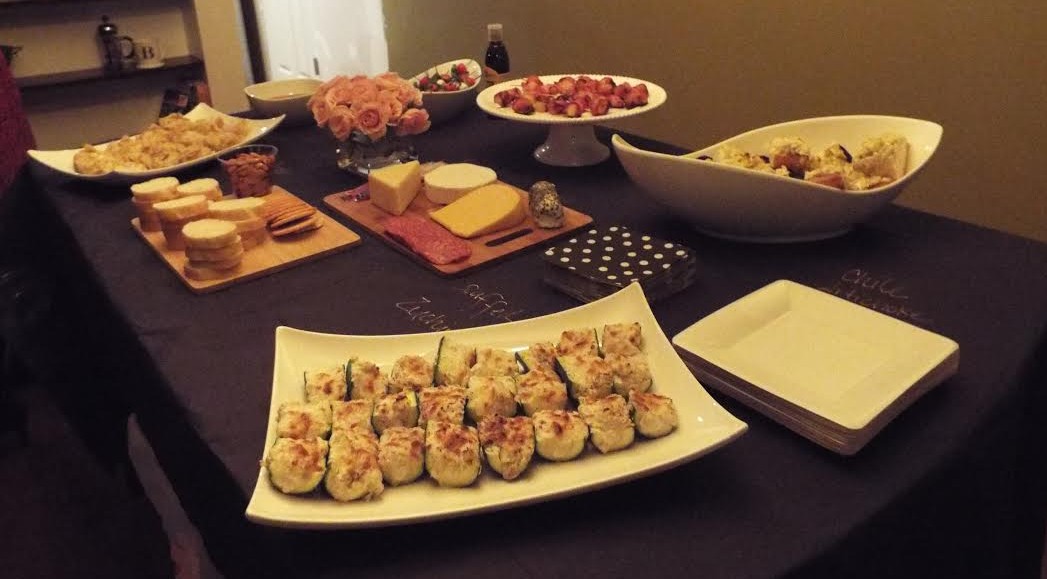
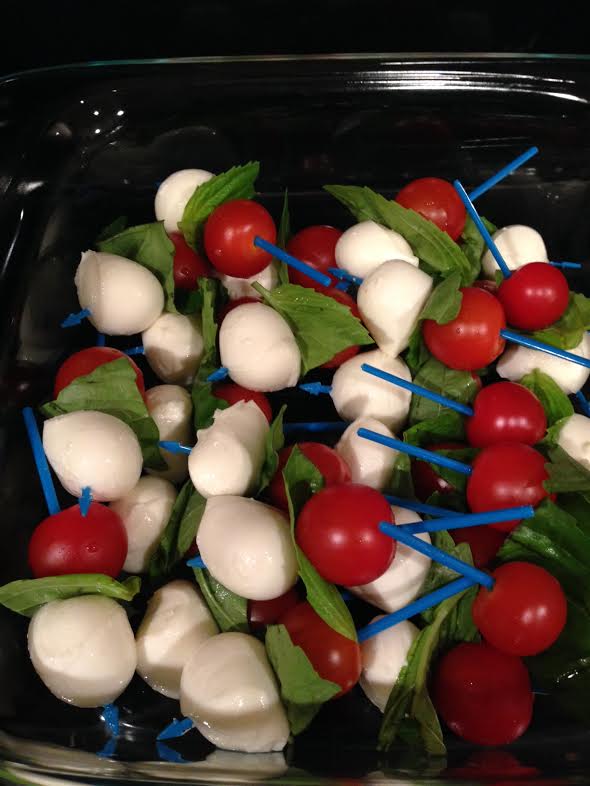
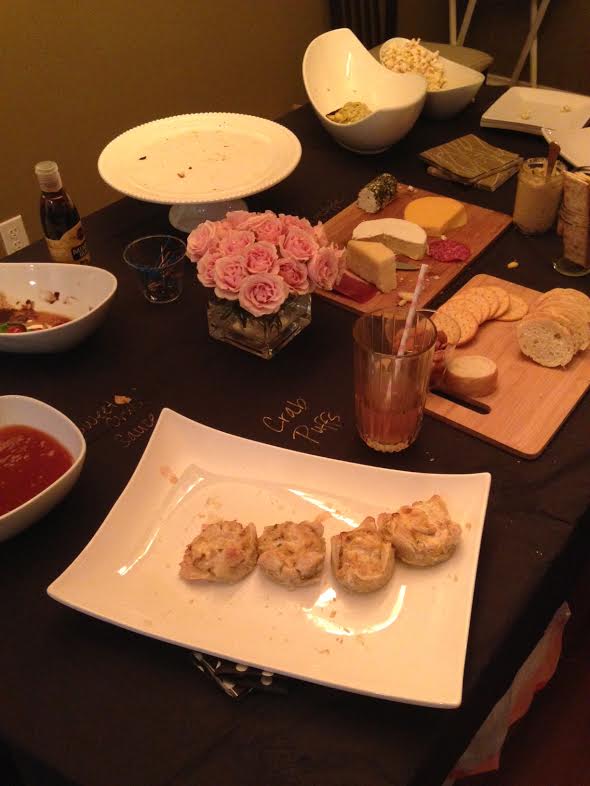
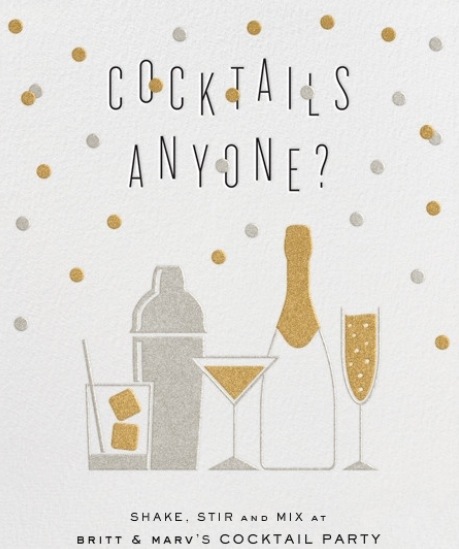
Day 8: Get a Get-Together Together // Sent out invites for my very first cocktail party! I used Paperless Post and absolutely love the selection, and am so happy that the invites are out. Now it’s party planning time!

20140126-194213.jpg

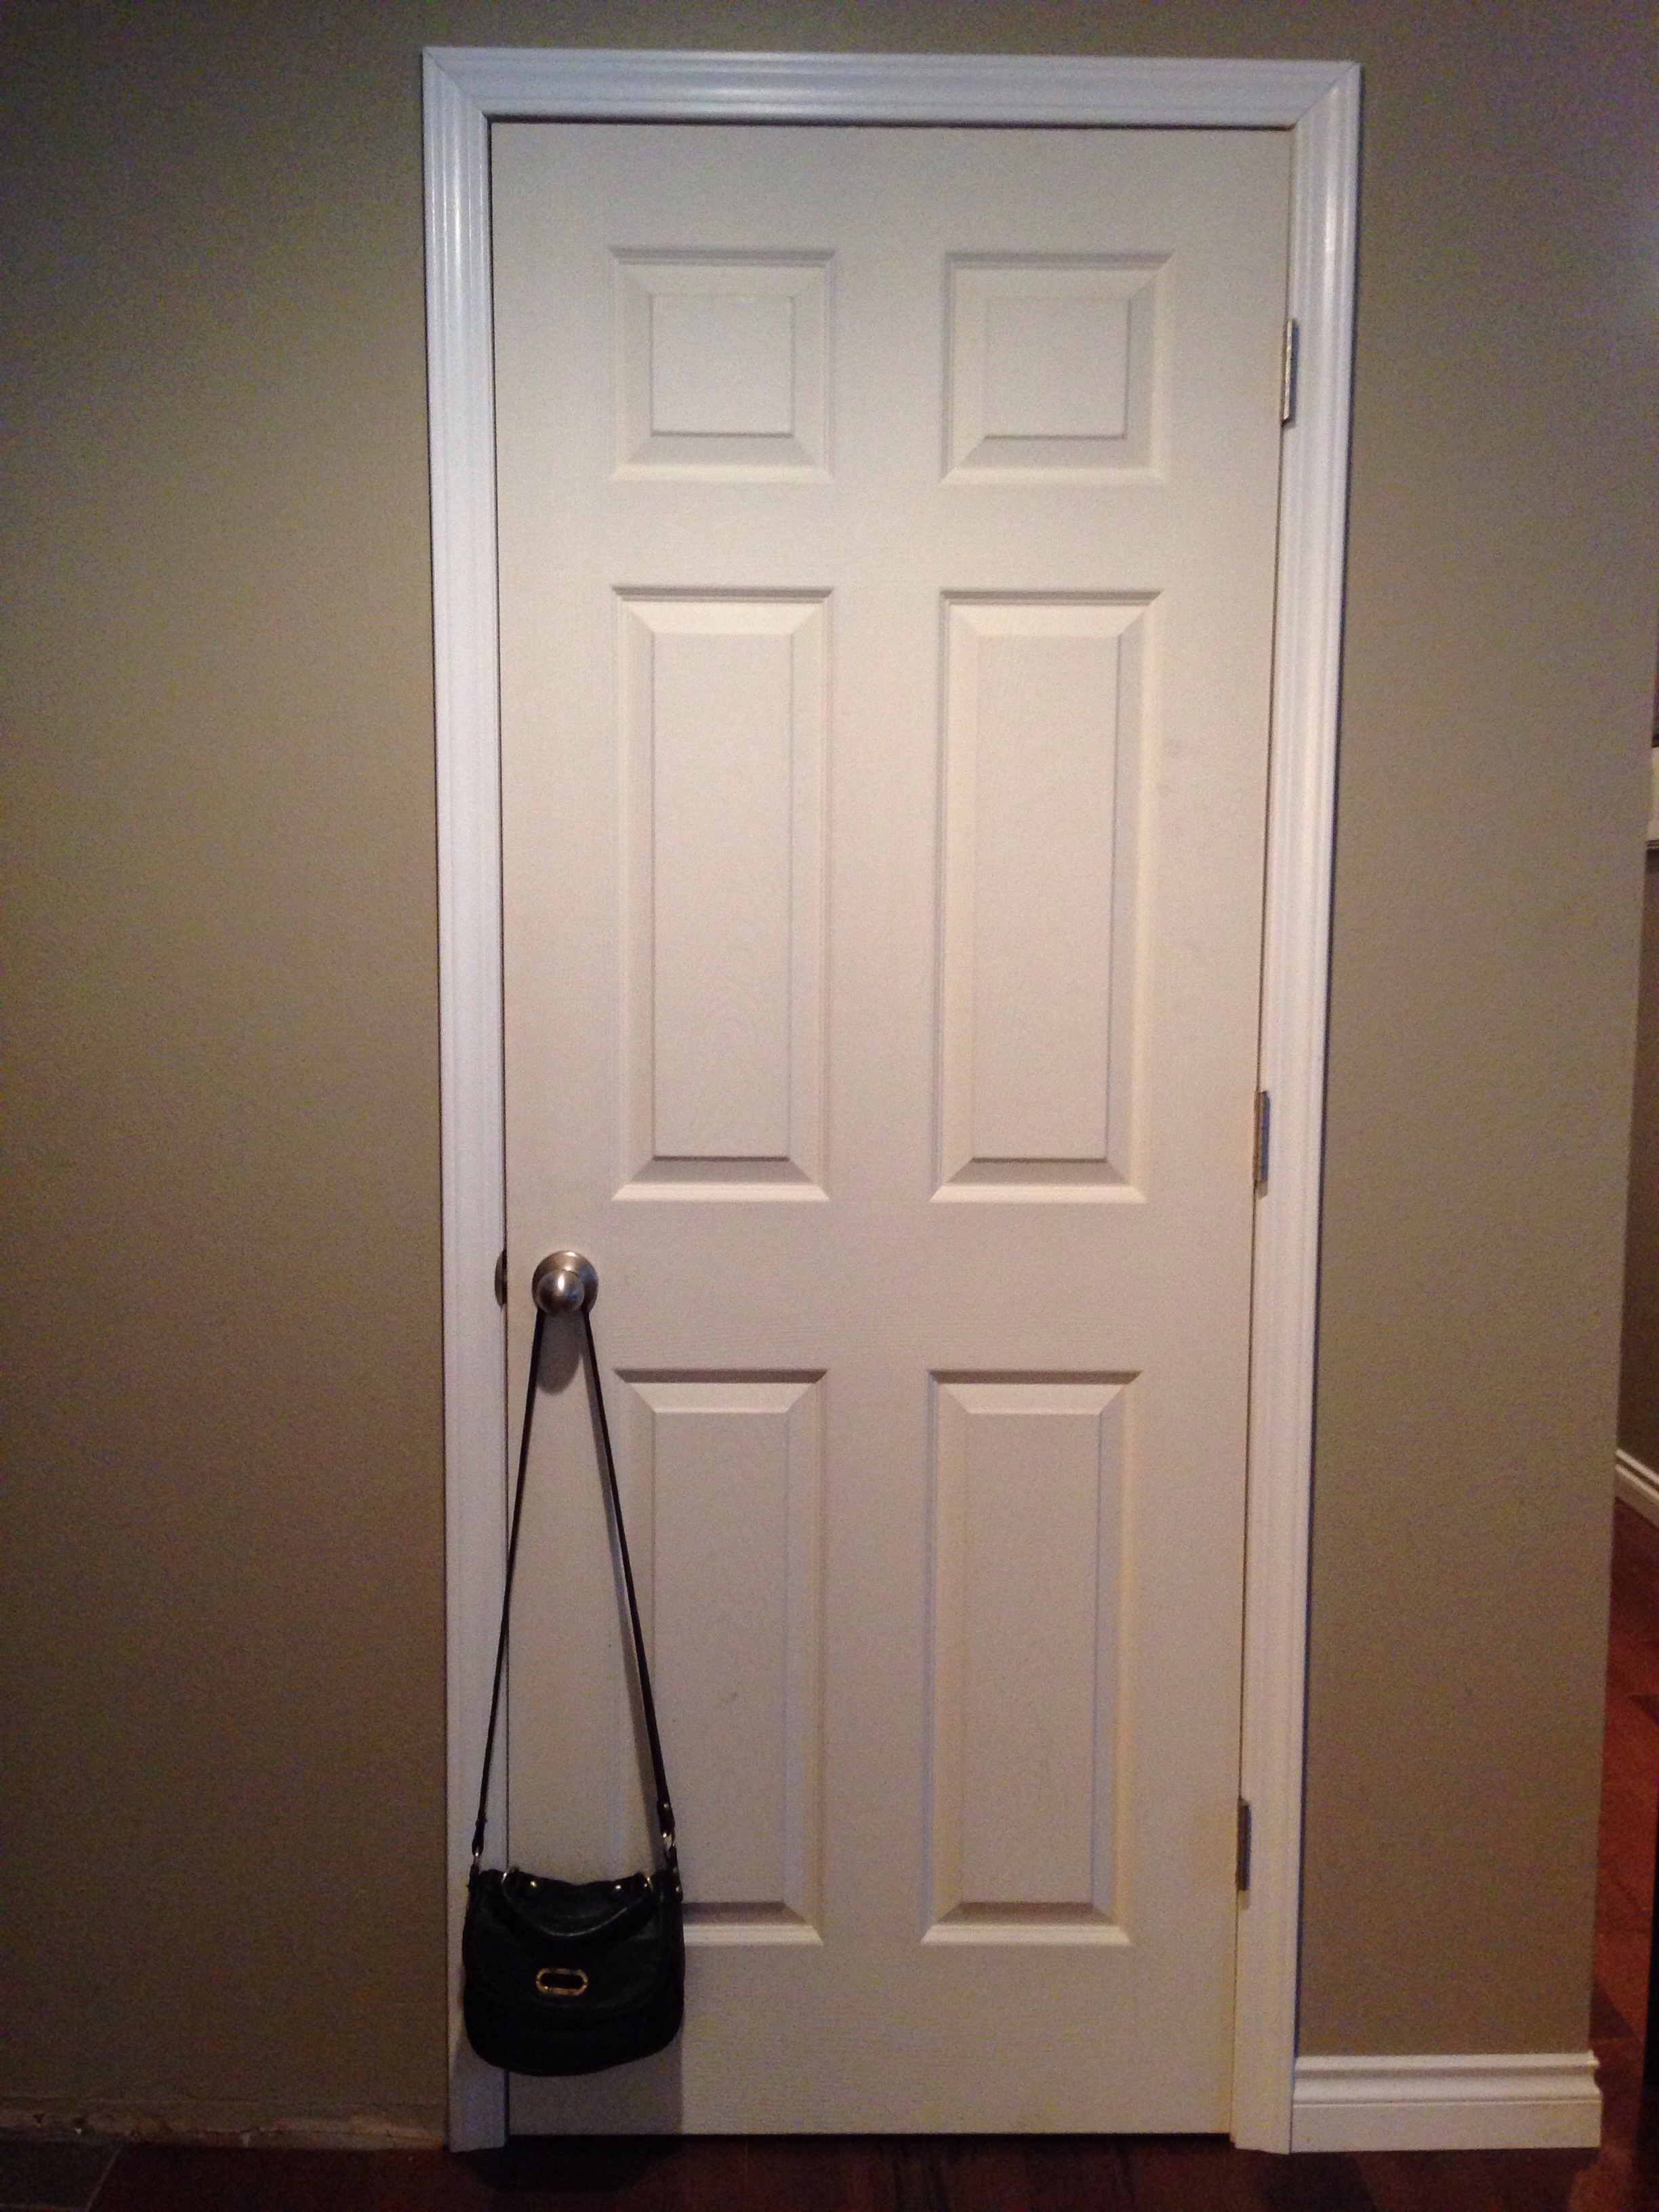
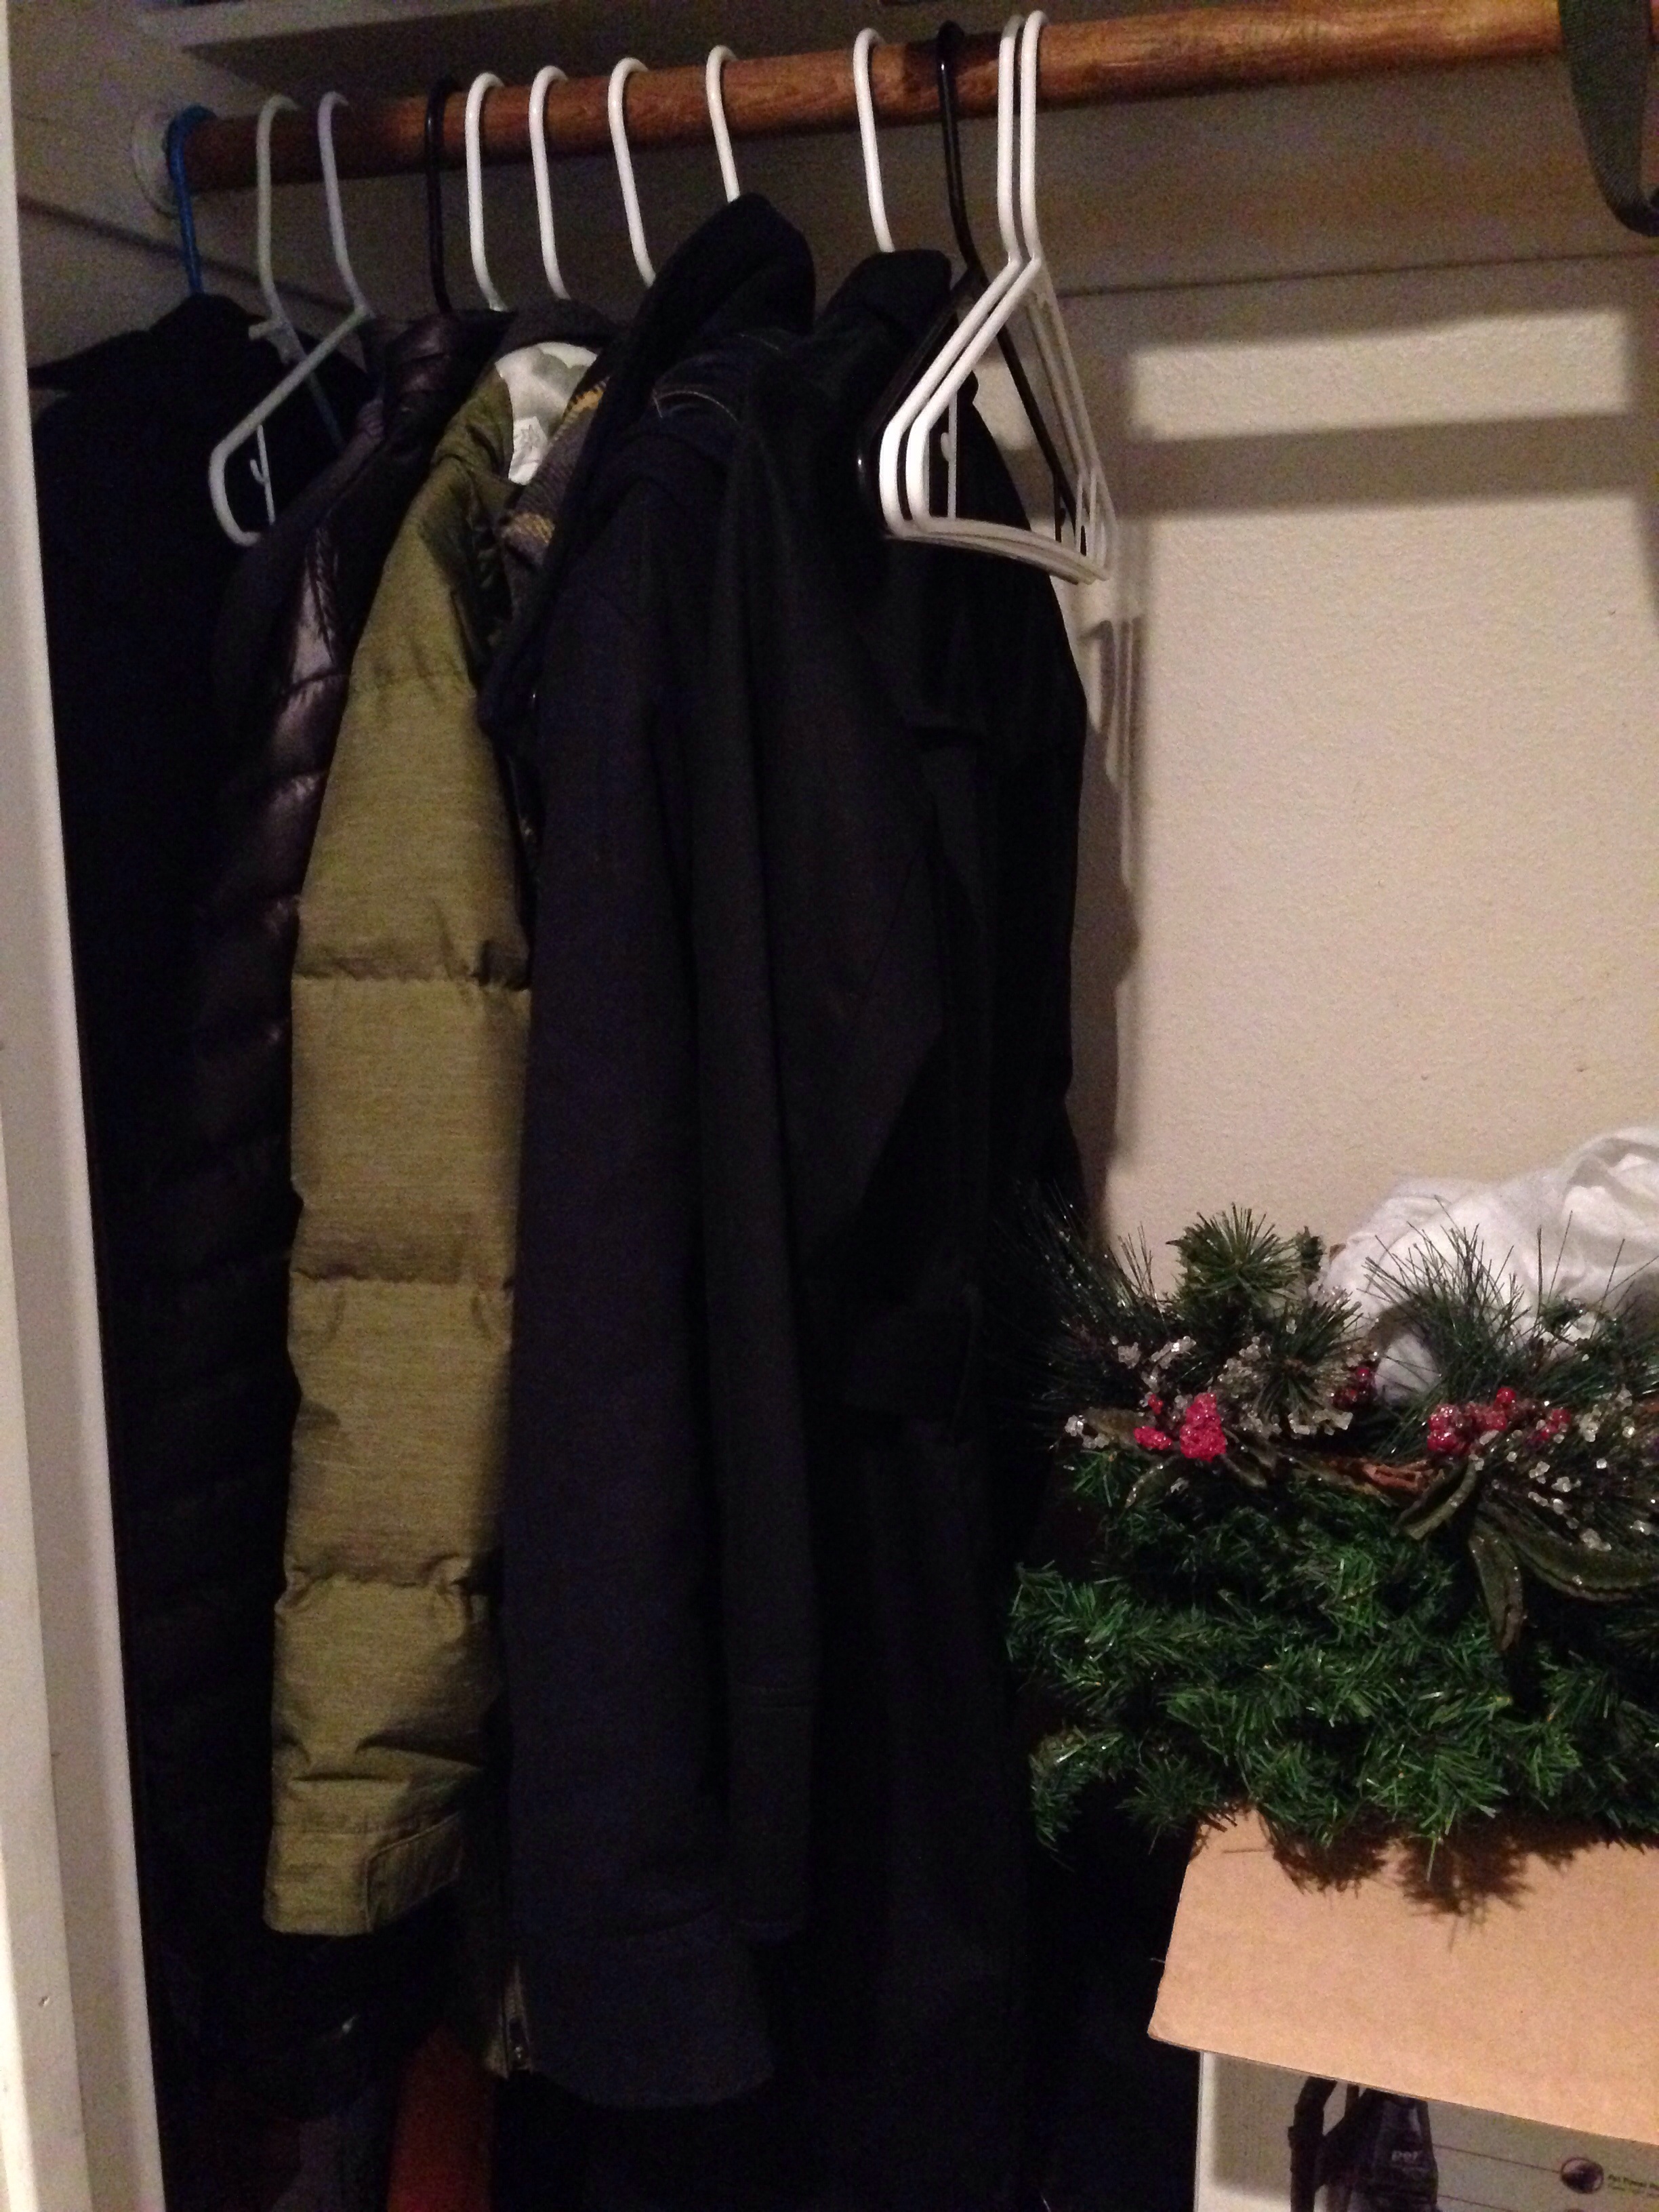
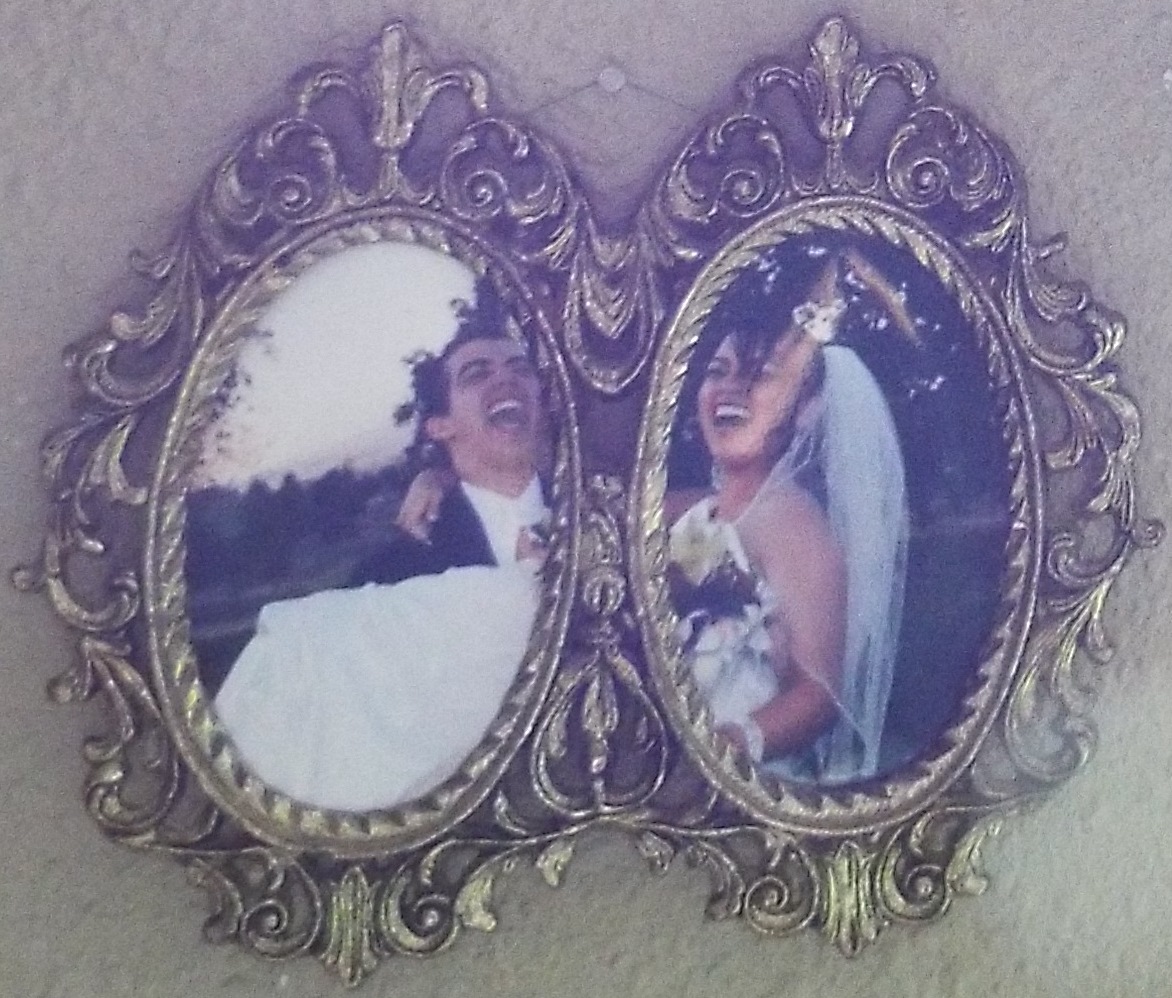
Day 9: Create a Landing Strip // Happy with the existing landing strip. We already have a decent landing strip, and the only way I can see improving it, is by adding a tray for mail. I am keeping my eyes peeled but not rushing to buy because what we have now is functioning well. The entry closet holds coats, the door knob holds my purse, and we have a keys bowl on the buffet, very close to the front door. Mail normally piles up on the buffet, so that’s where the tray would come in handy.

20140127-091314.jpgPlease disregard the ugly unpainted door.

20140127-091336.jpgPlease disregard the Christmas decorations –haven’t made it out to the garage yet.

20140127-091327.jpgFeel free to appreciate Mia stealing the show.

Day 10: Try a Media Fast // Failed miserably. Once the workday is over, we have been working hard once we get home to get projects going, so when we finally have a moment to sit and enjoy our dinner, all we want to do is catch up on some shows. We will give it a shot this week though!

20140126-194237.jpgDoesn’t it look so cozy and comfy?

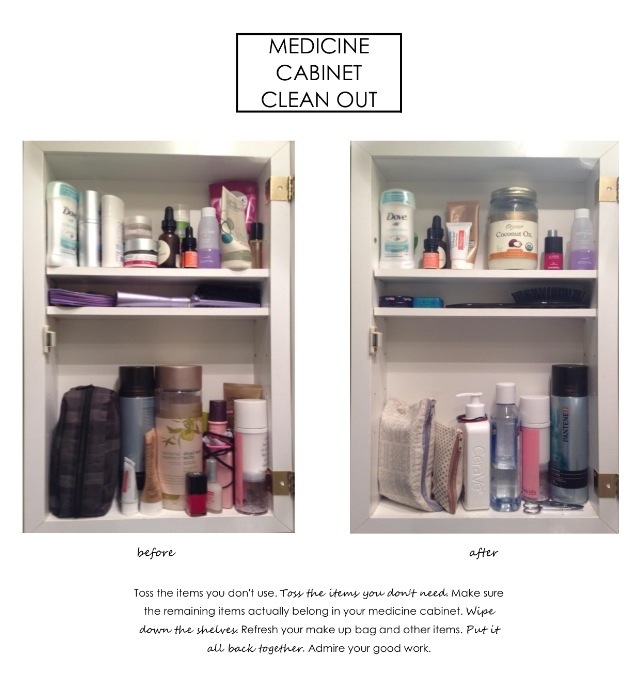
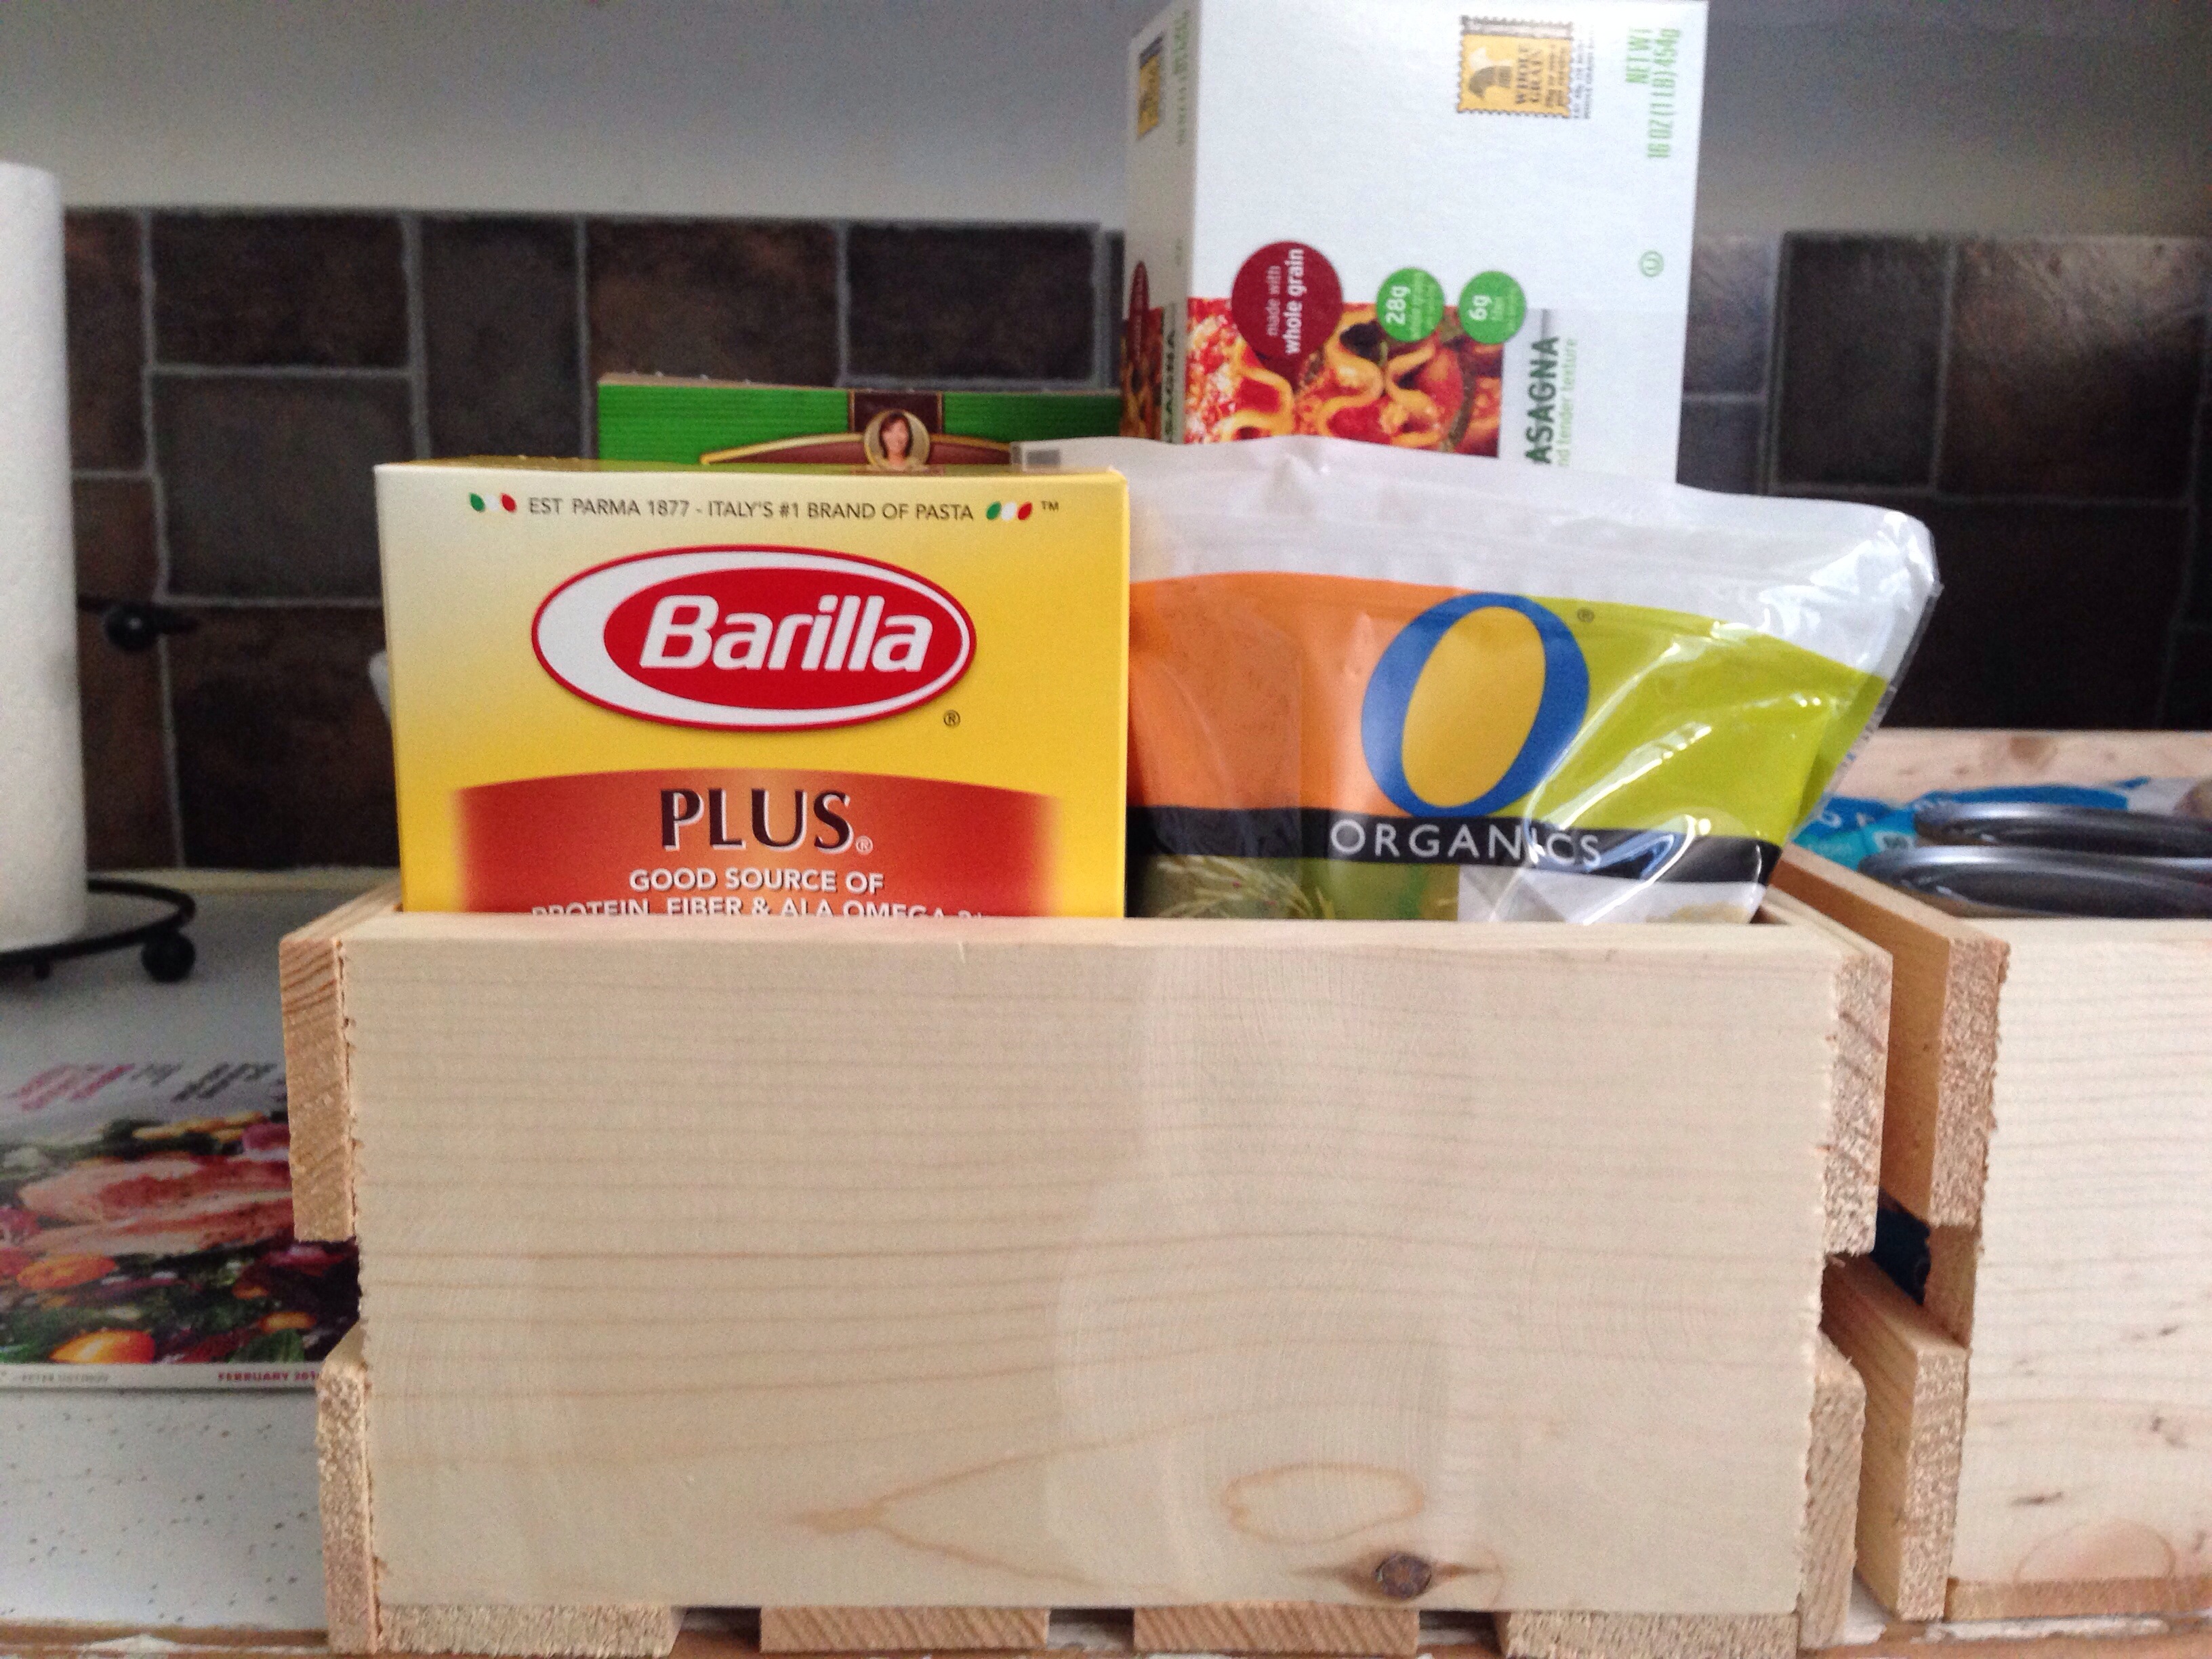
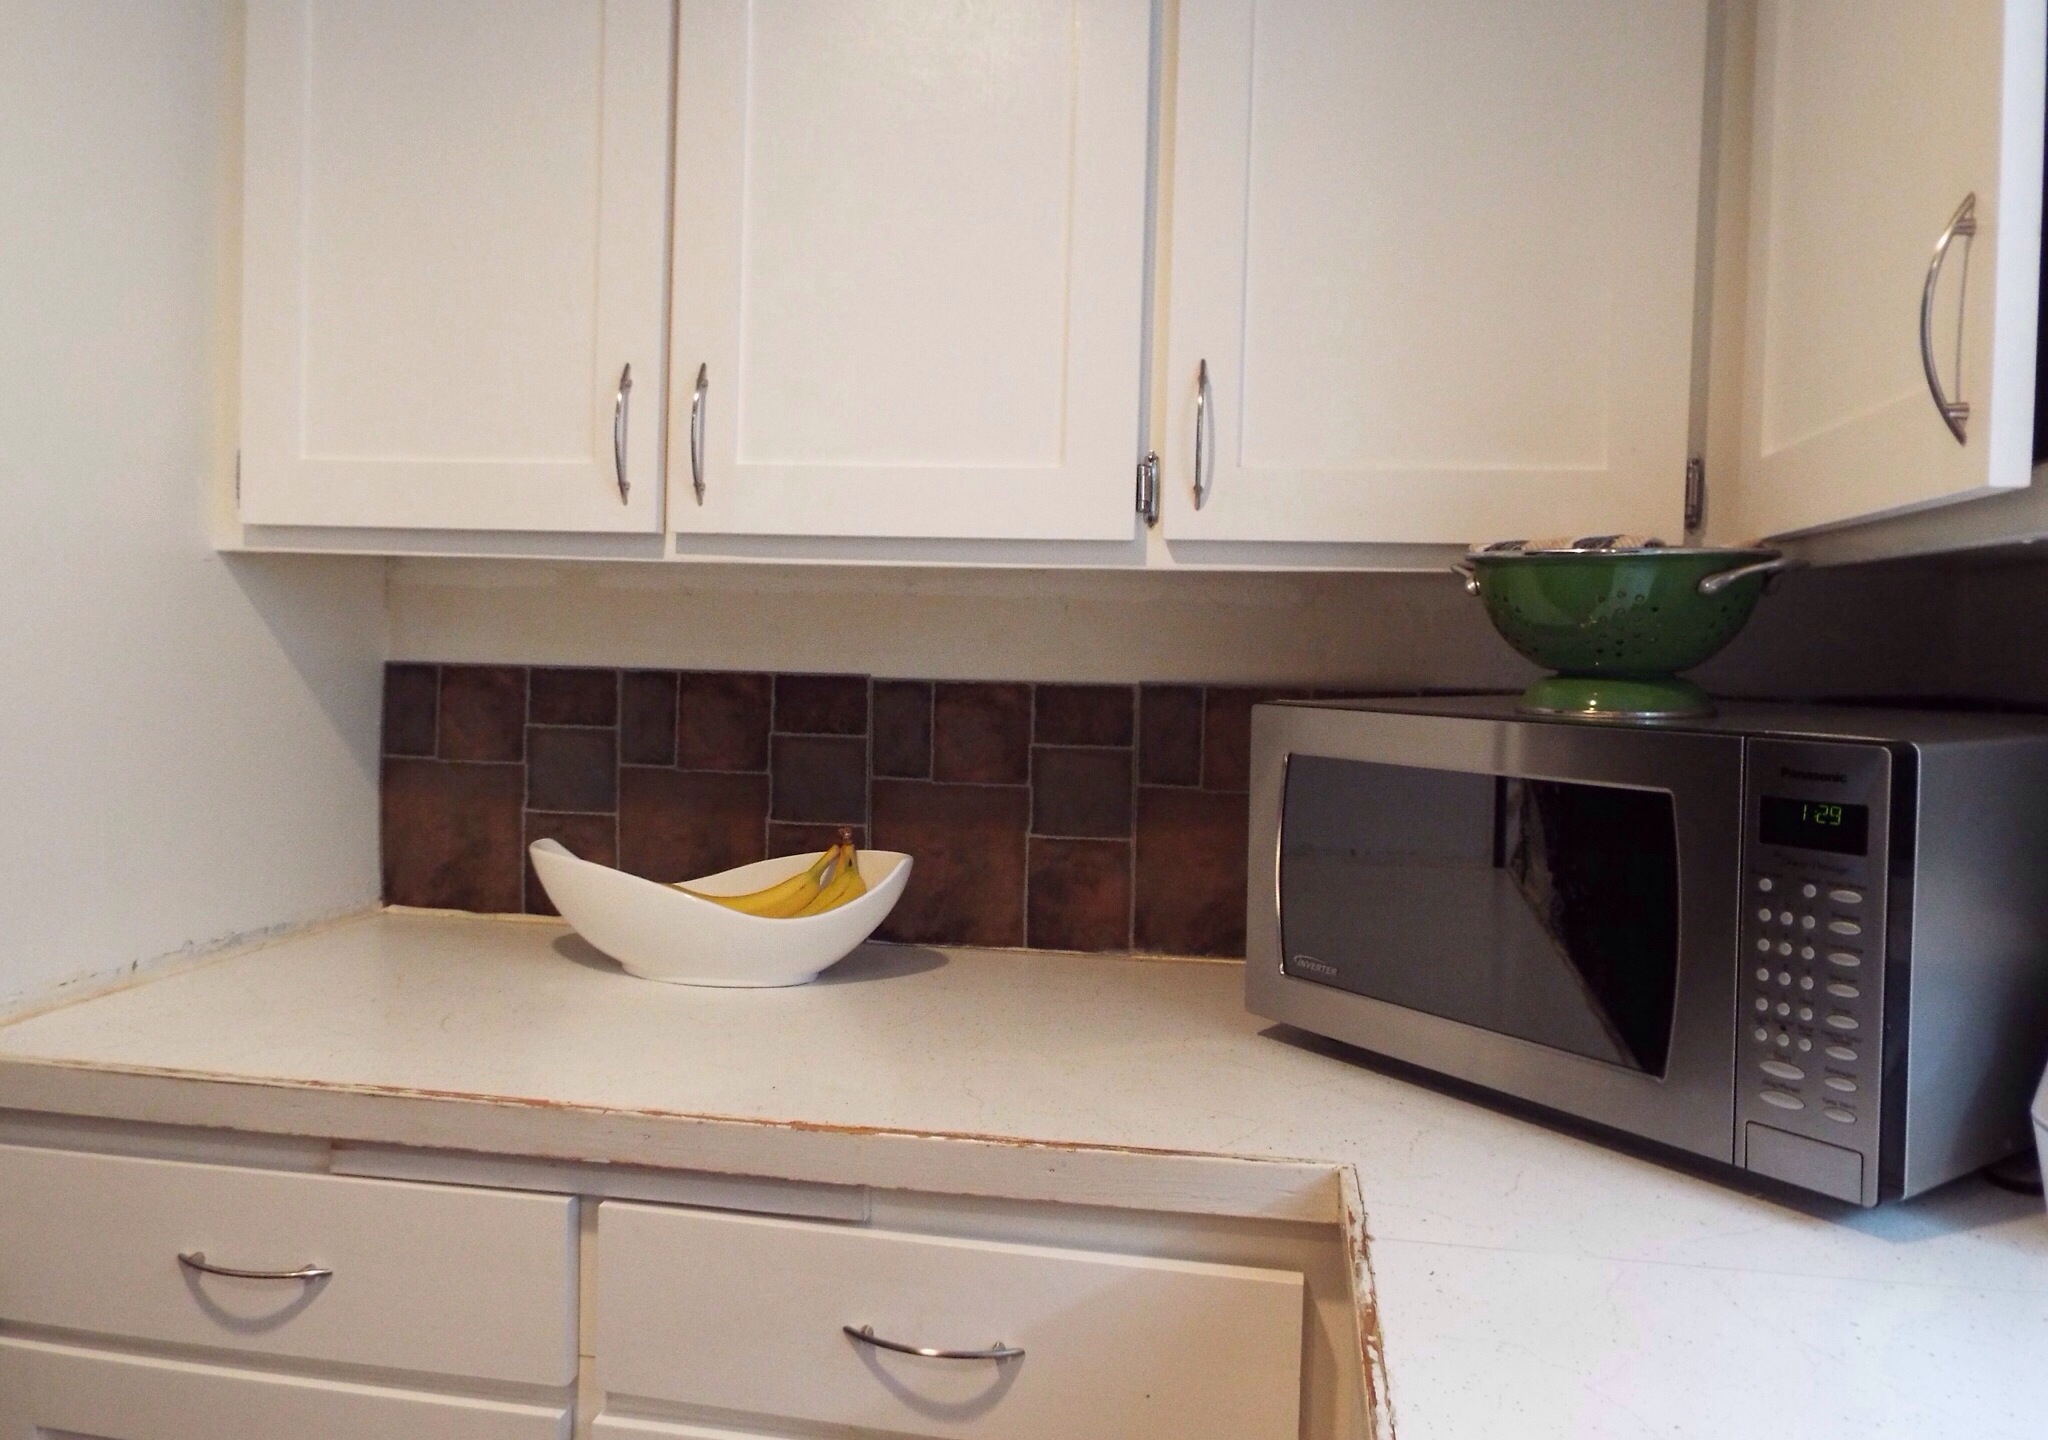
Day 11: Project Progress // A promising idea fails. Over the weekend I purchased wood crates to use as pantry organization. I bought chalkboard paint and was ready to go, very exciting stuff. I pictured white crates with black chalkboard facing, dry goods tucked in neatly, and the ends of the crates all labeled up in chalk. Well, I decided to do a trial run pre-painting just to see how it would all work, and I’m so glad I did. The wooden crates are a great idea but they kind of robbed me of very precious space in my small pantry. The wooden crates are about an inch thick on each side, and in order to pull them out with ease, they cannot sit right against the inside of the cabinet. I’m back to the drawing board here, but I have to admit that my pantry and rest of the kitchen is much better shape now than a before the Apartment Therapy Cure, and for that, I couldn’t ask for more.

20140126-193856.jpg

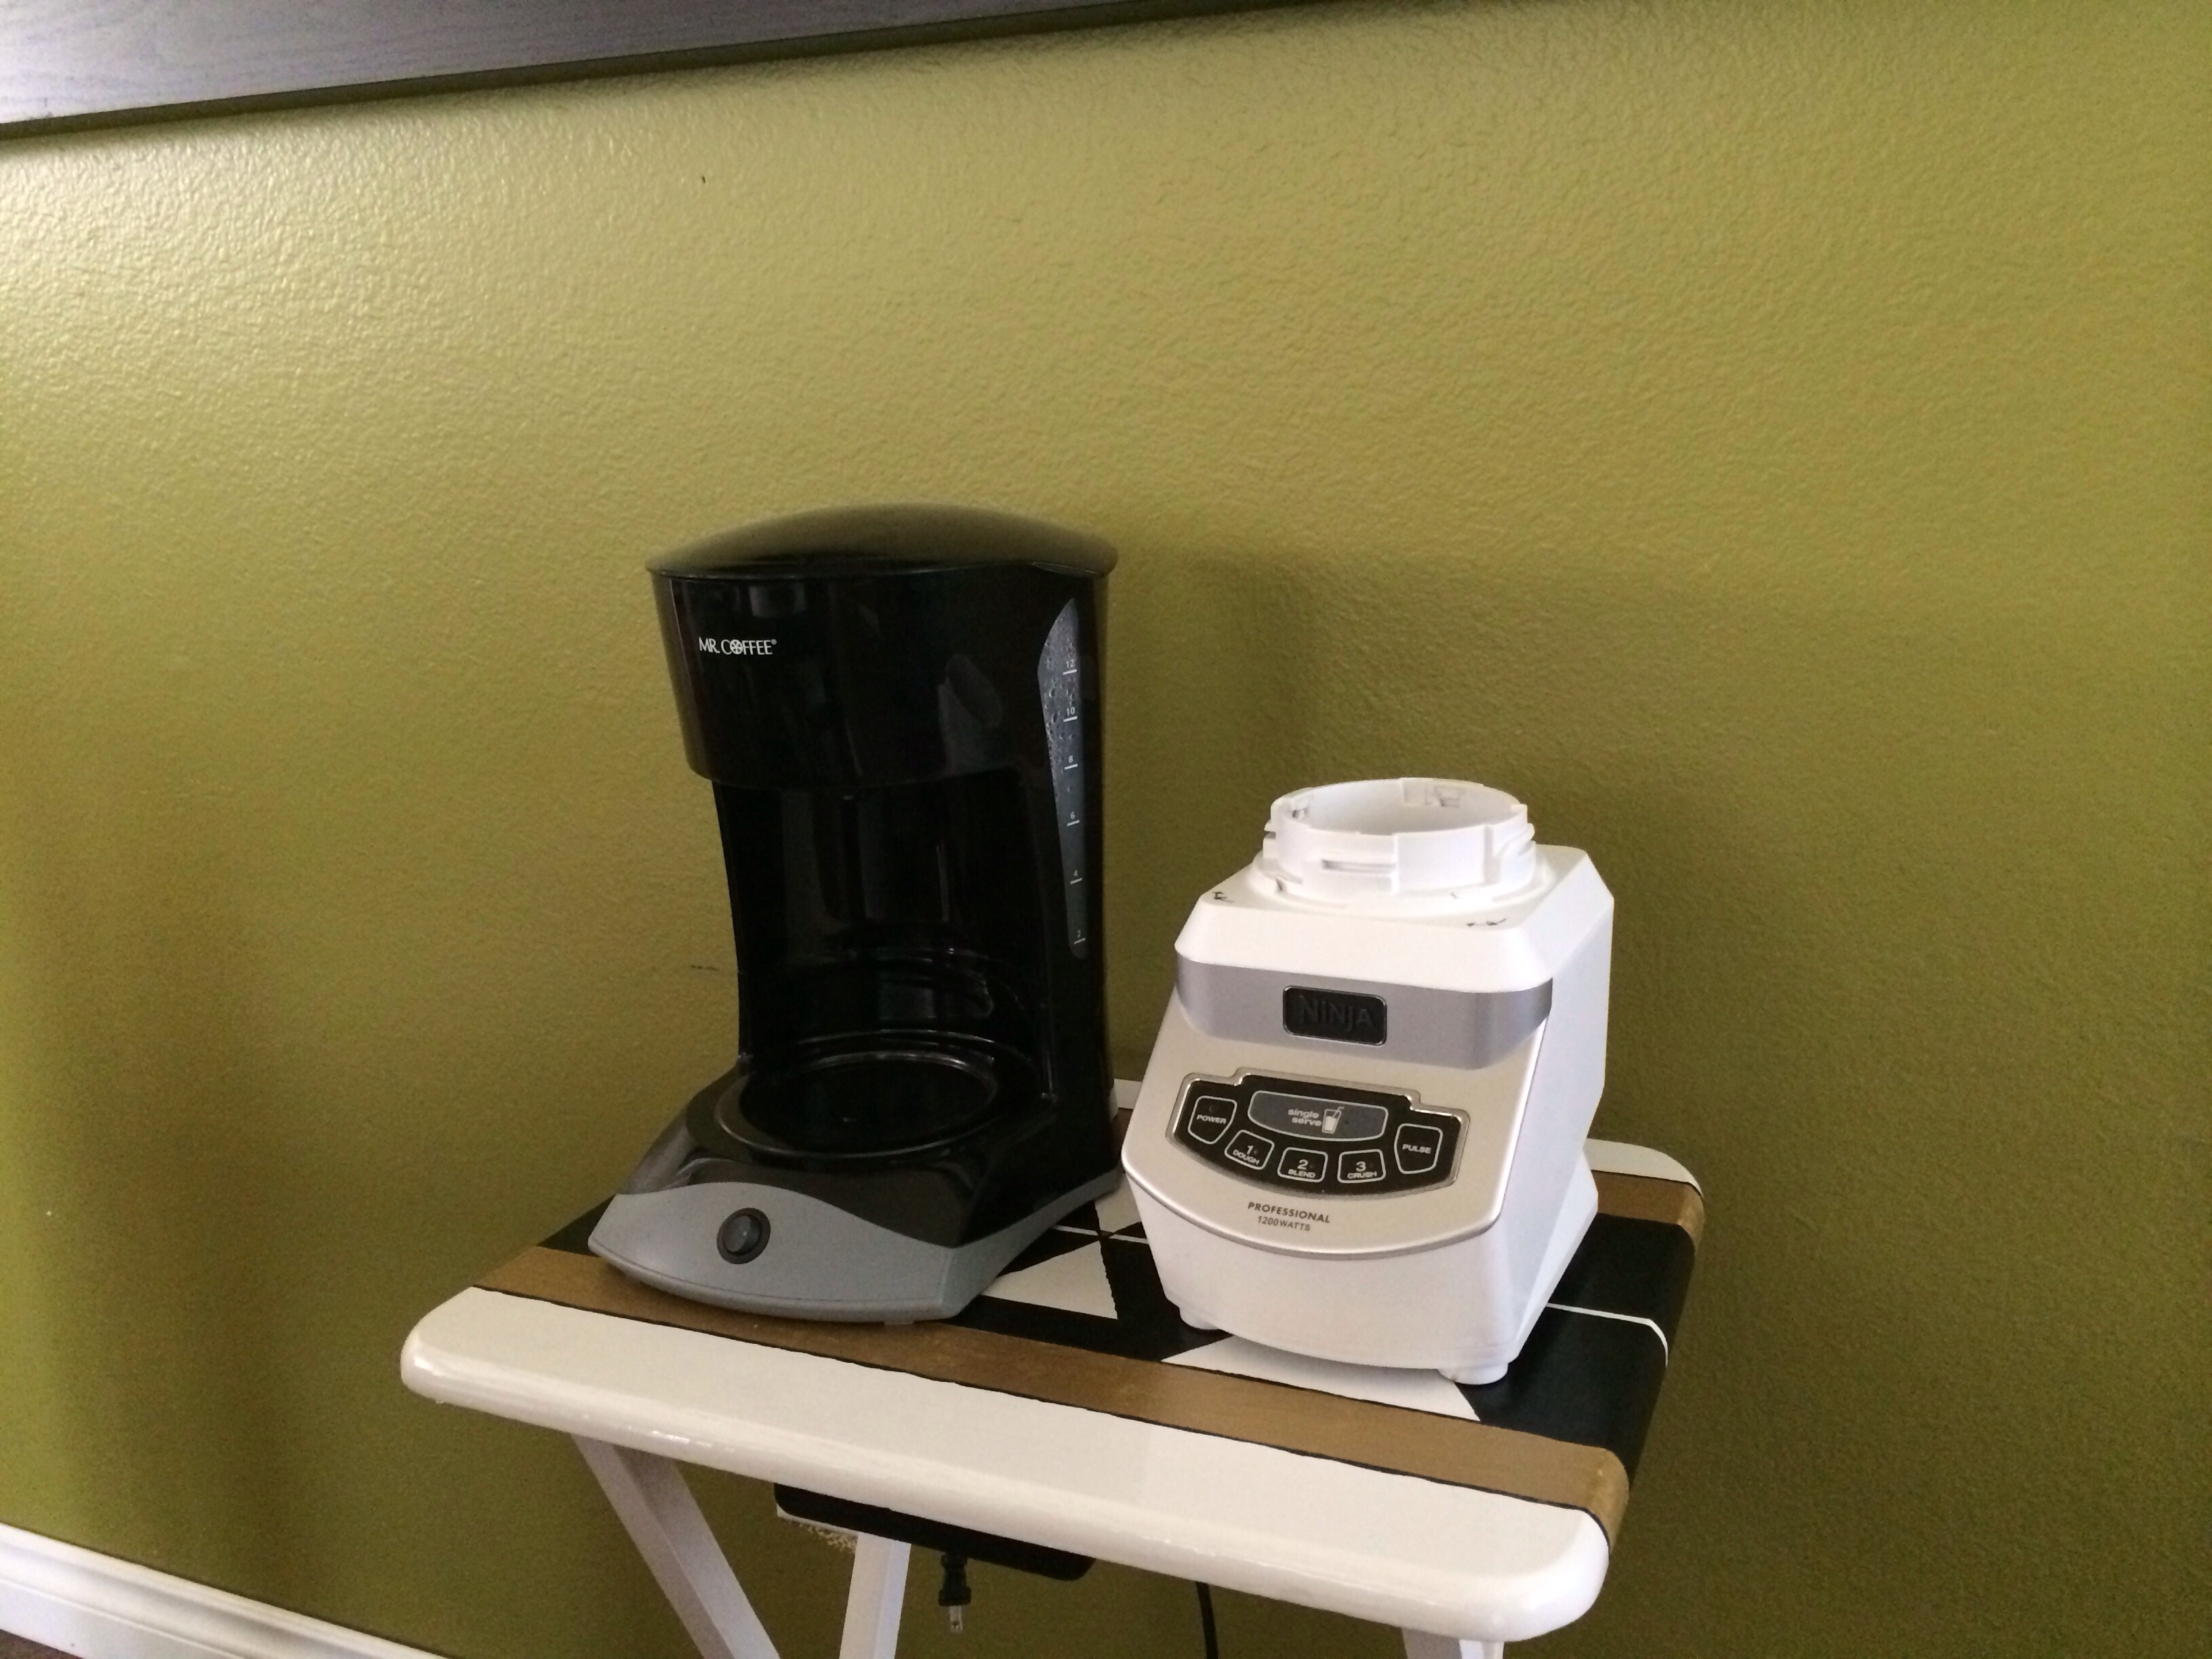
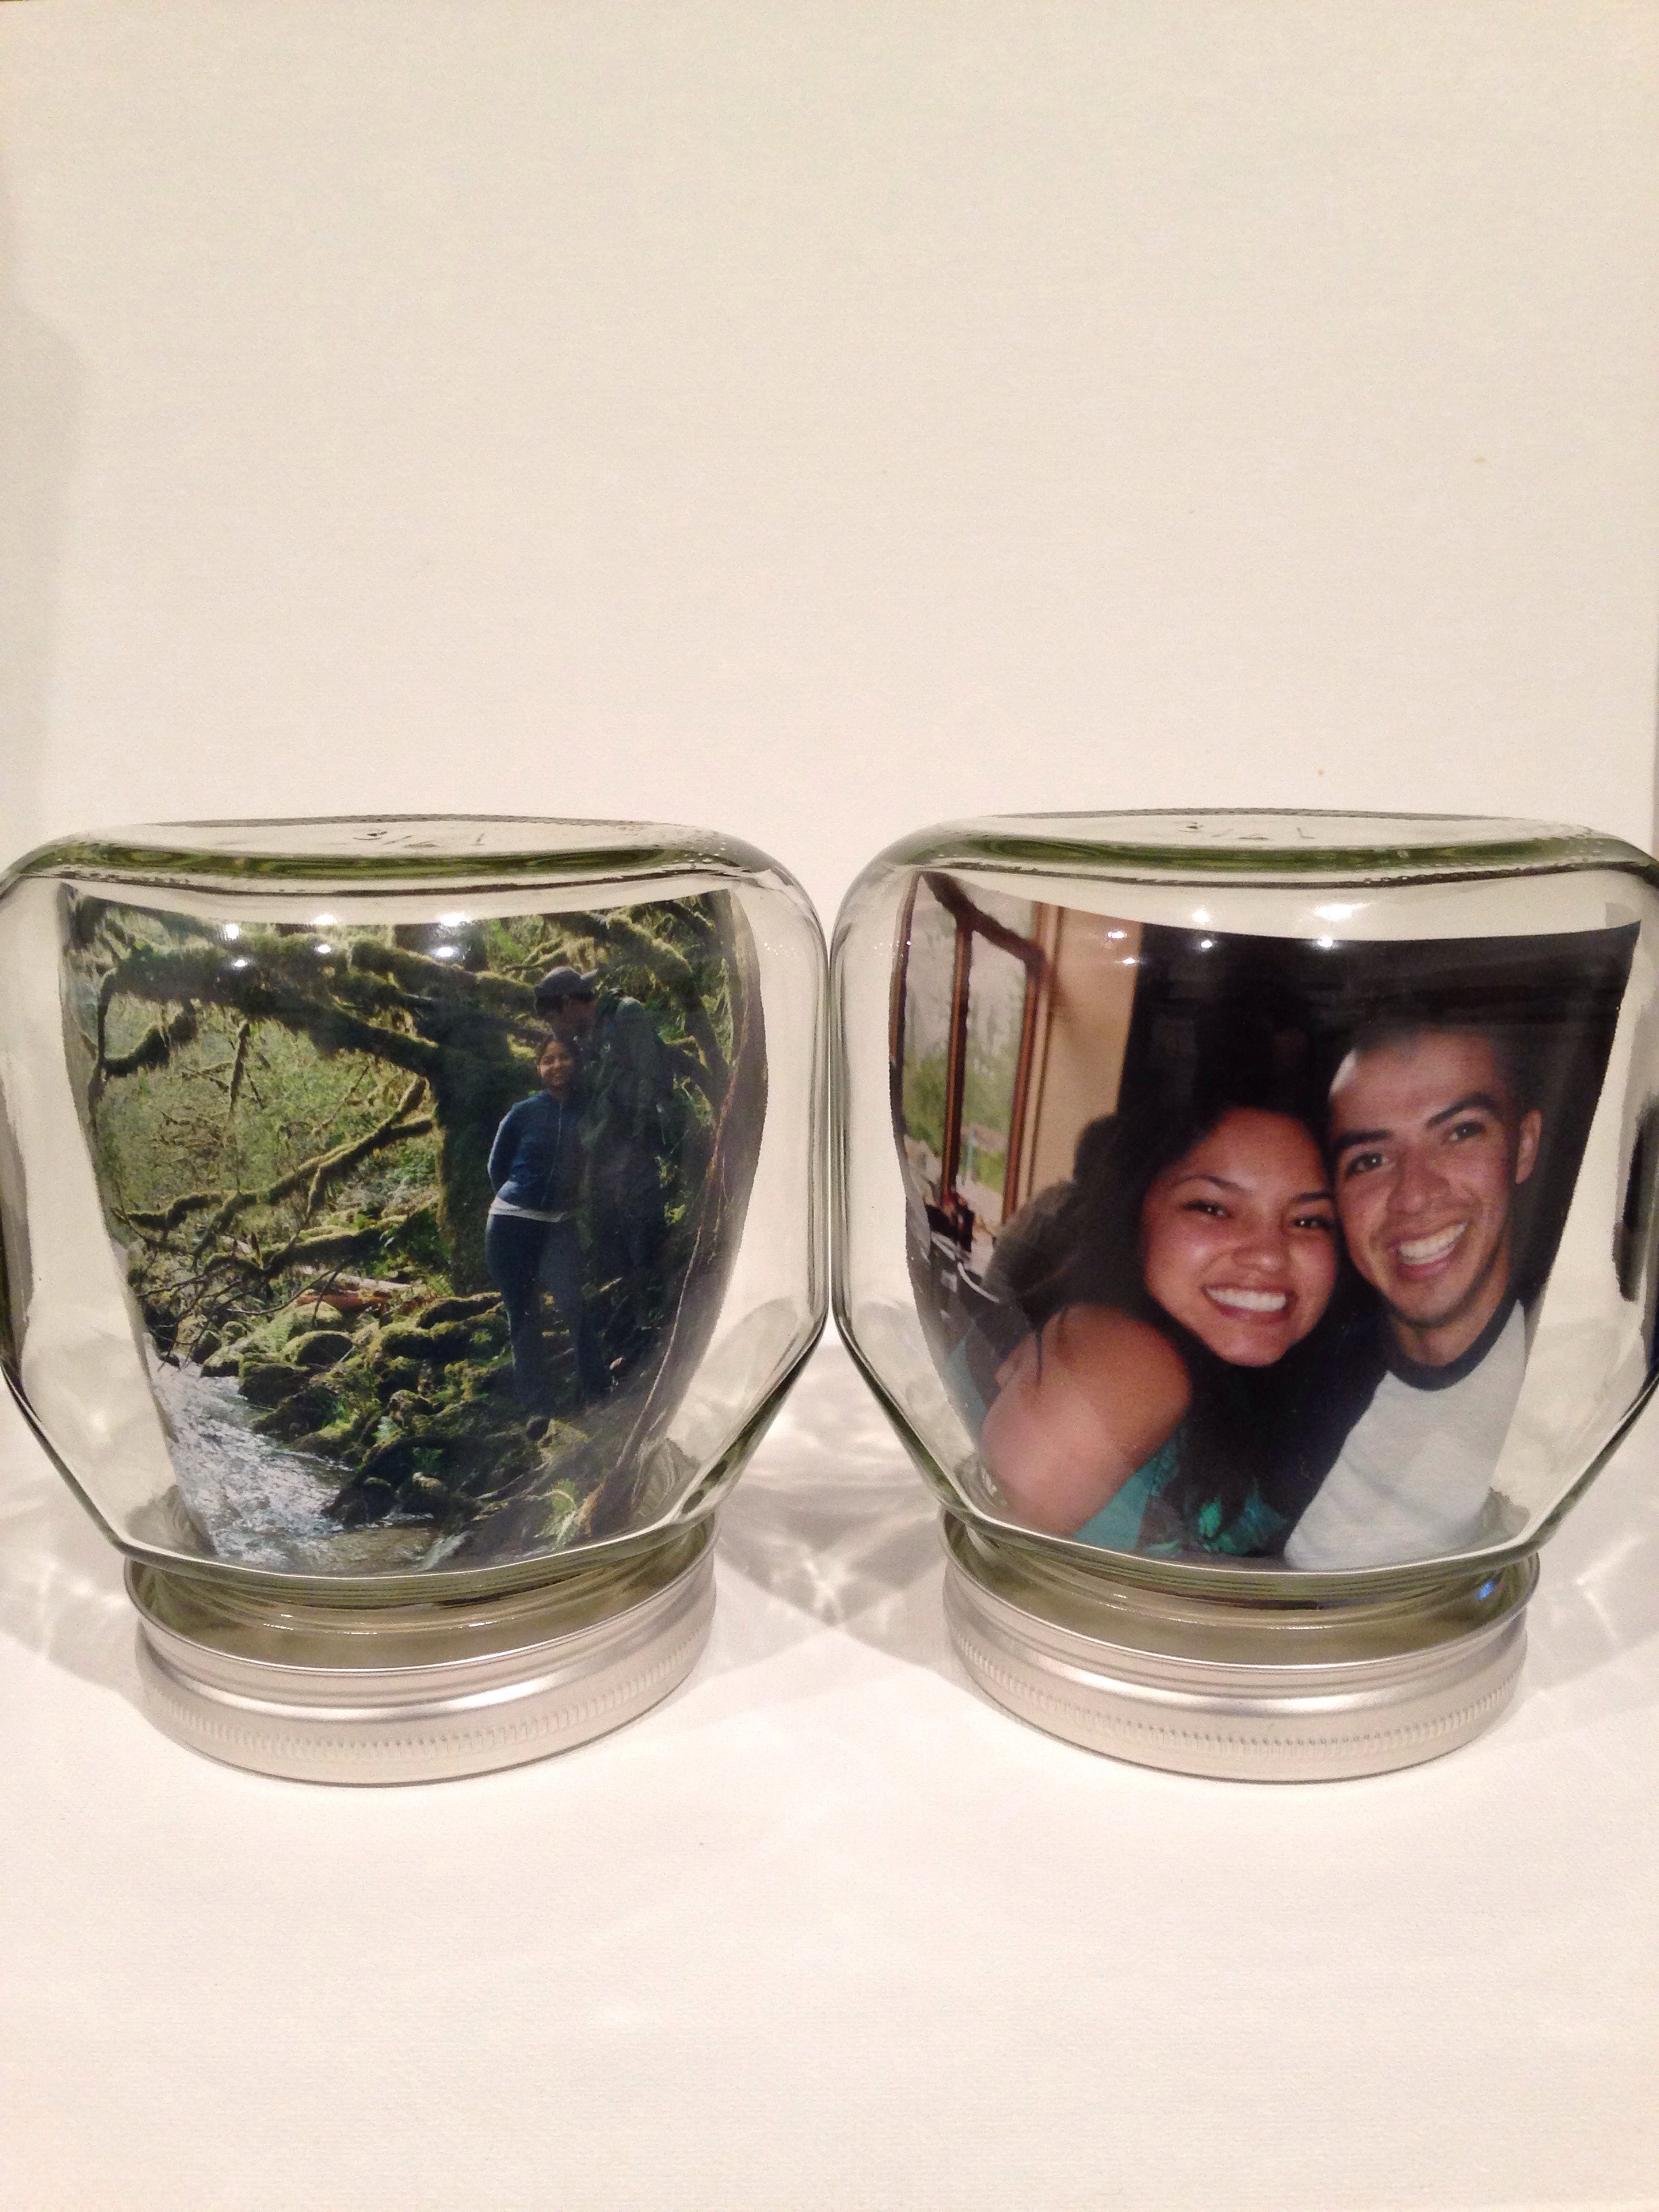
The space that is functioning best for me is the coffee and tea cupboard.

20140127-094535.jpg

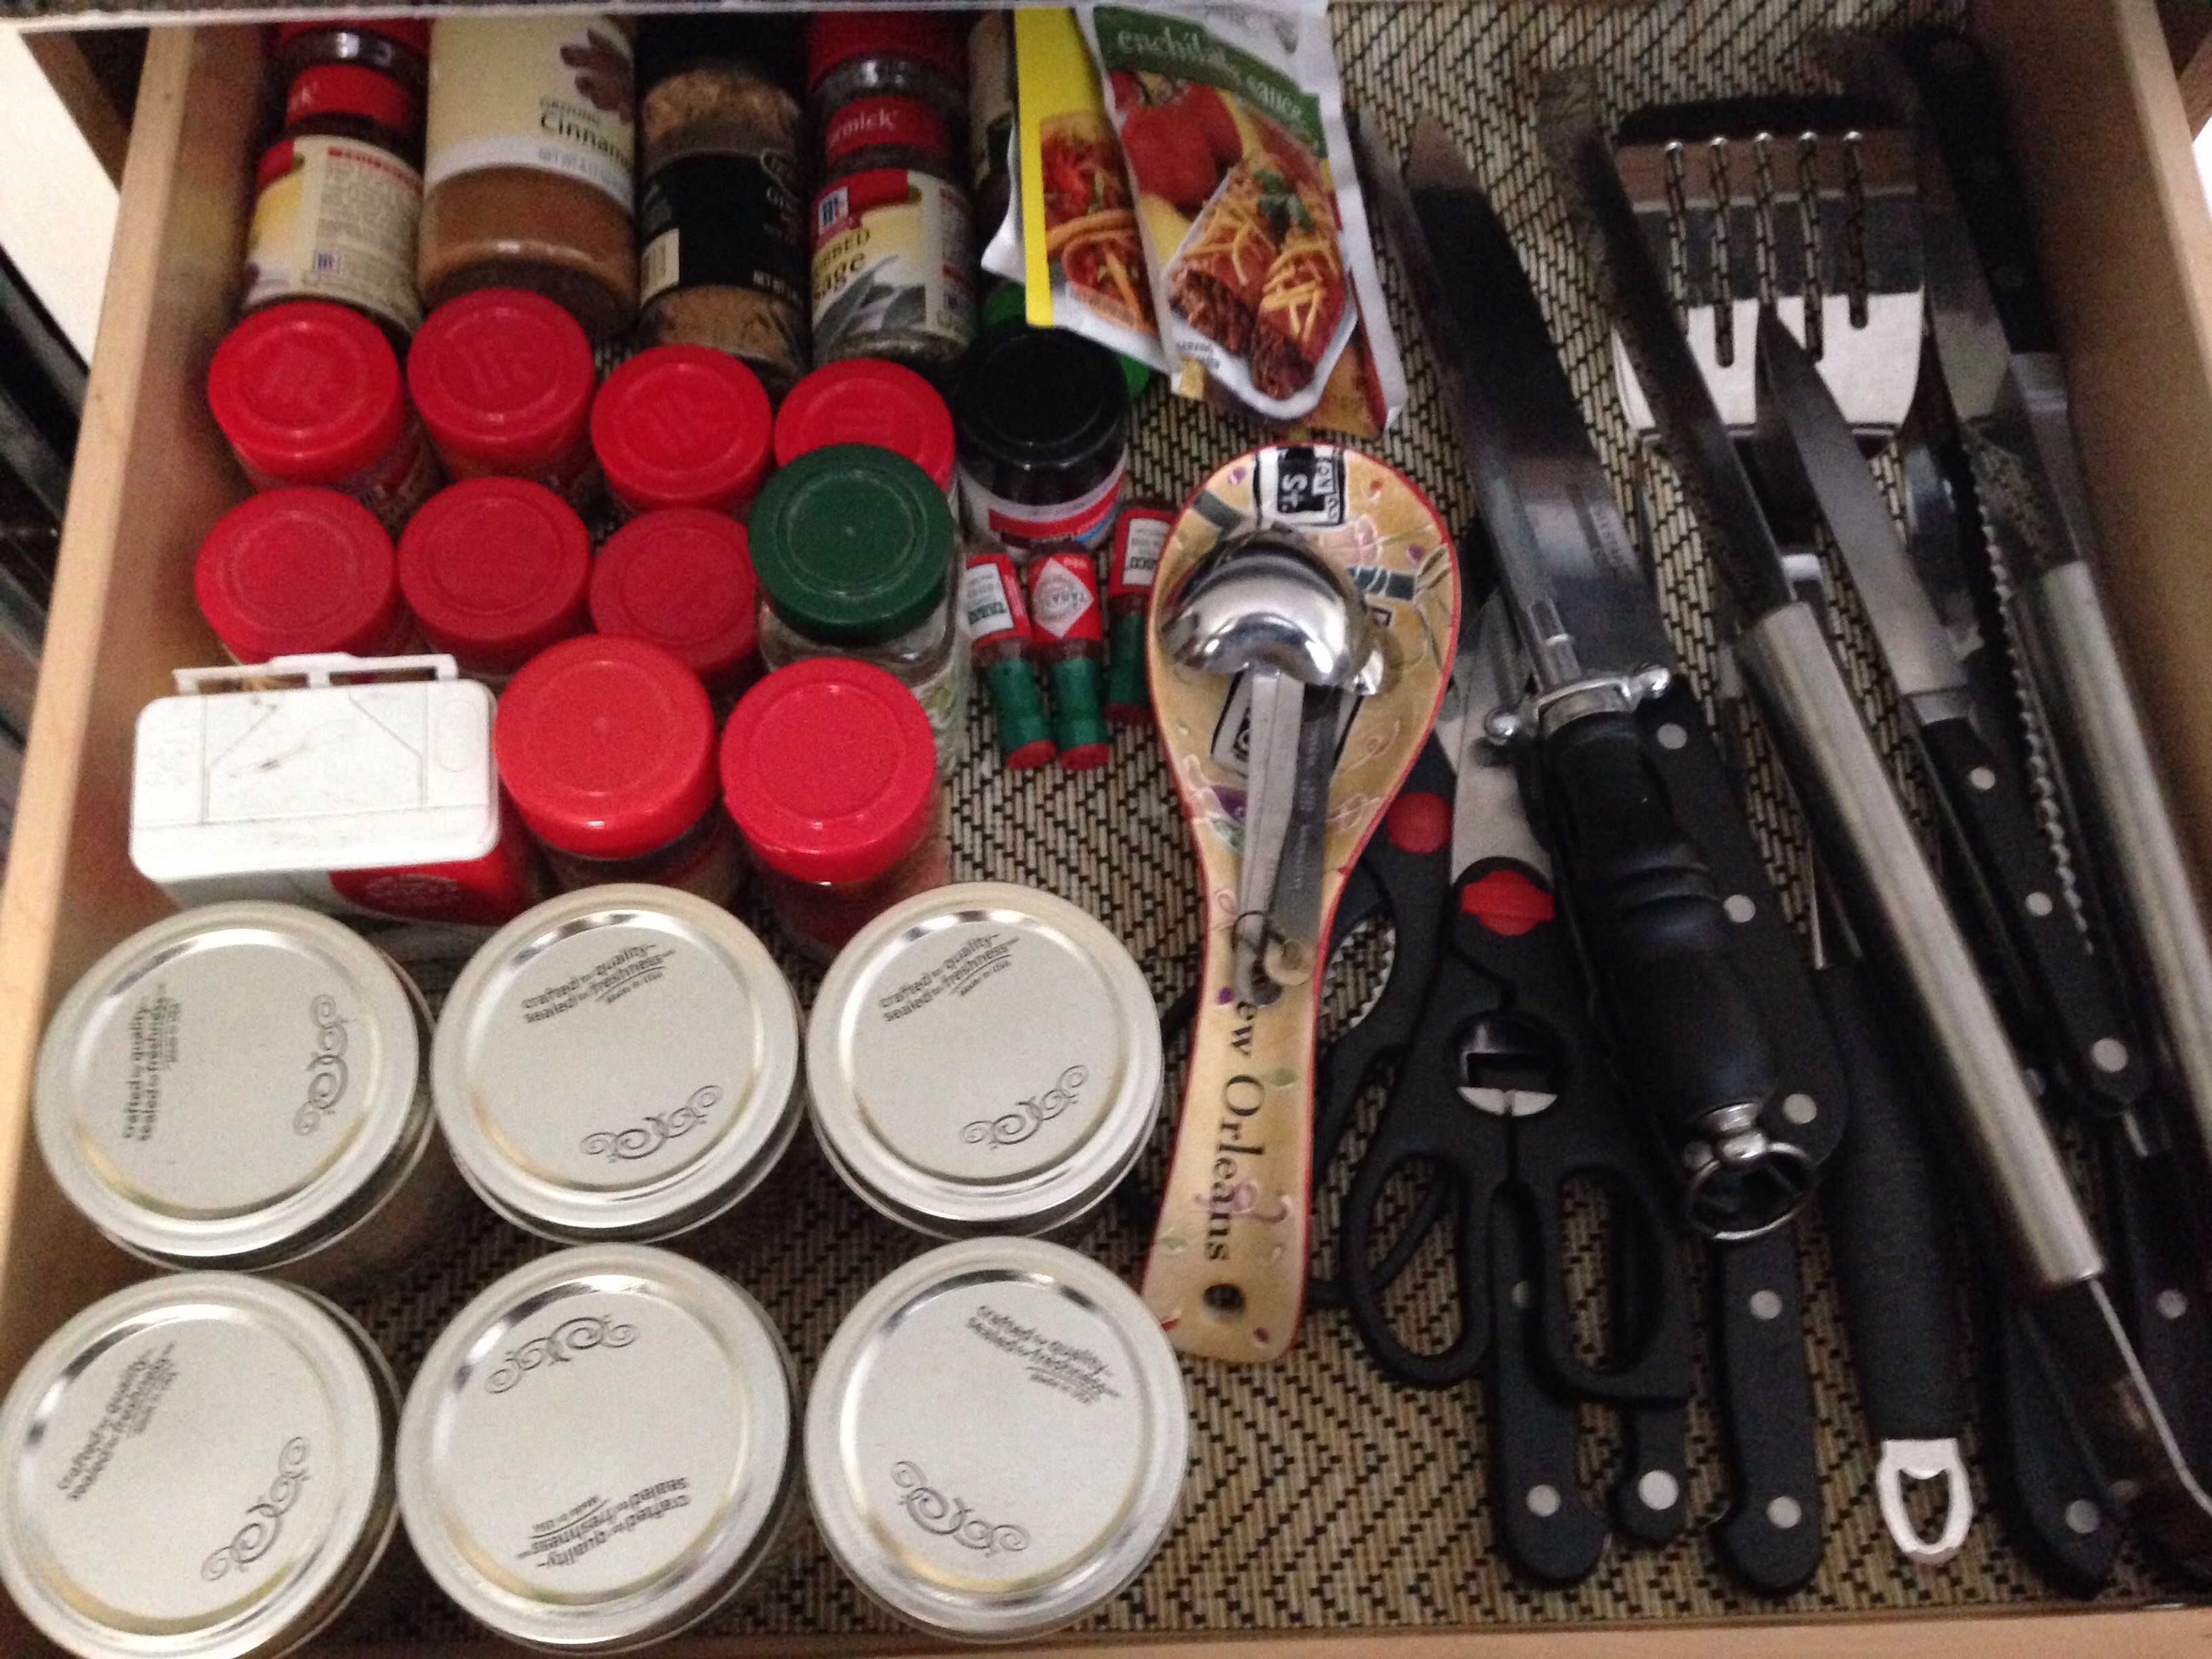
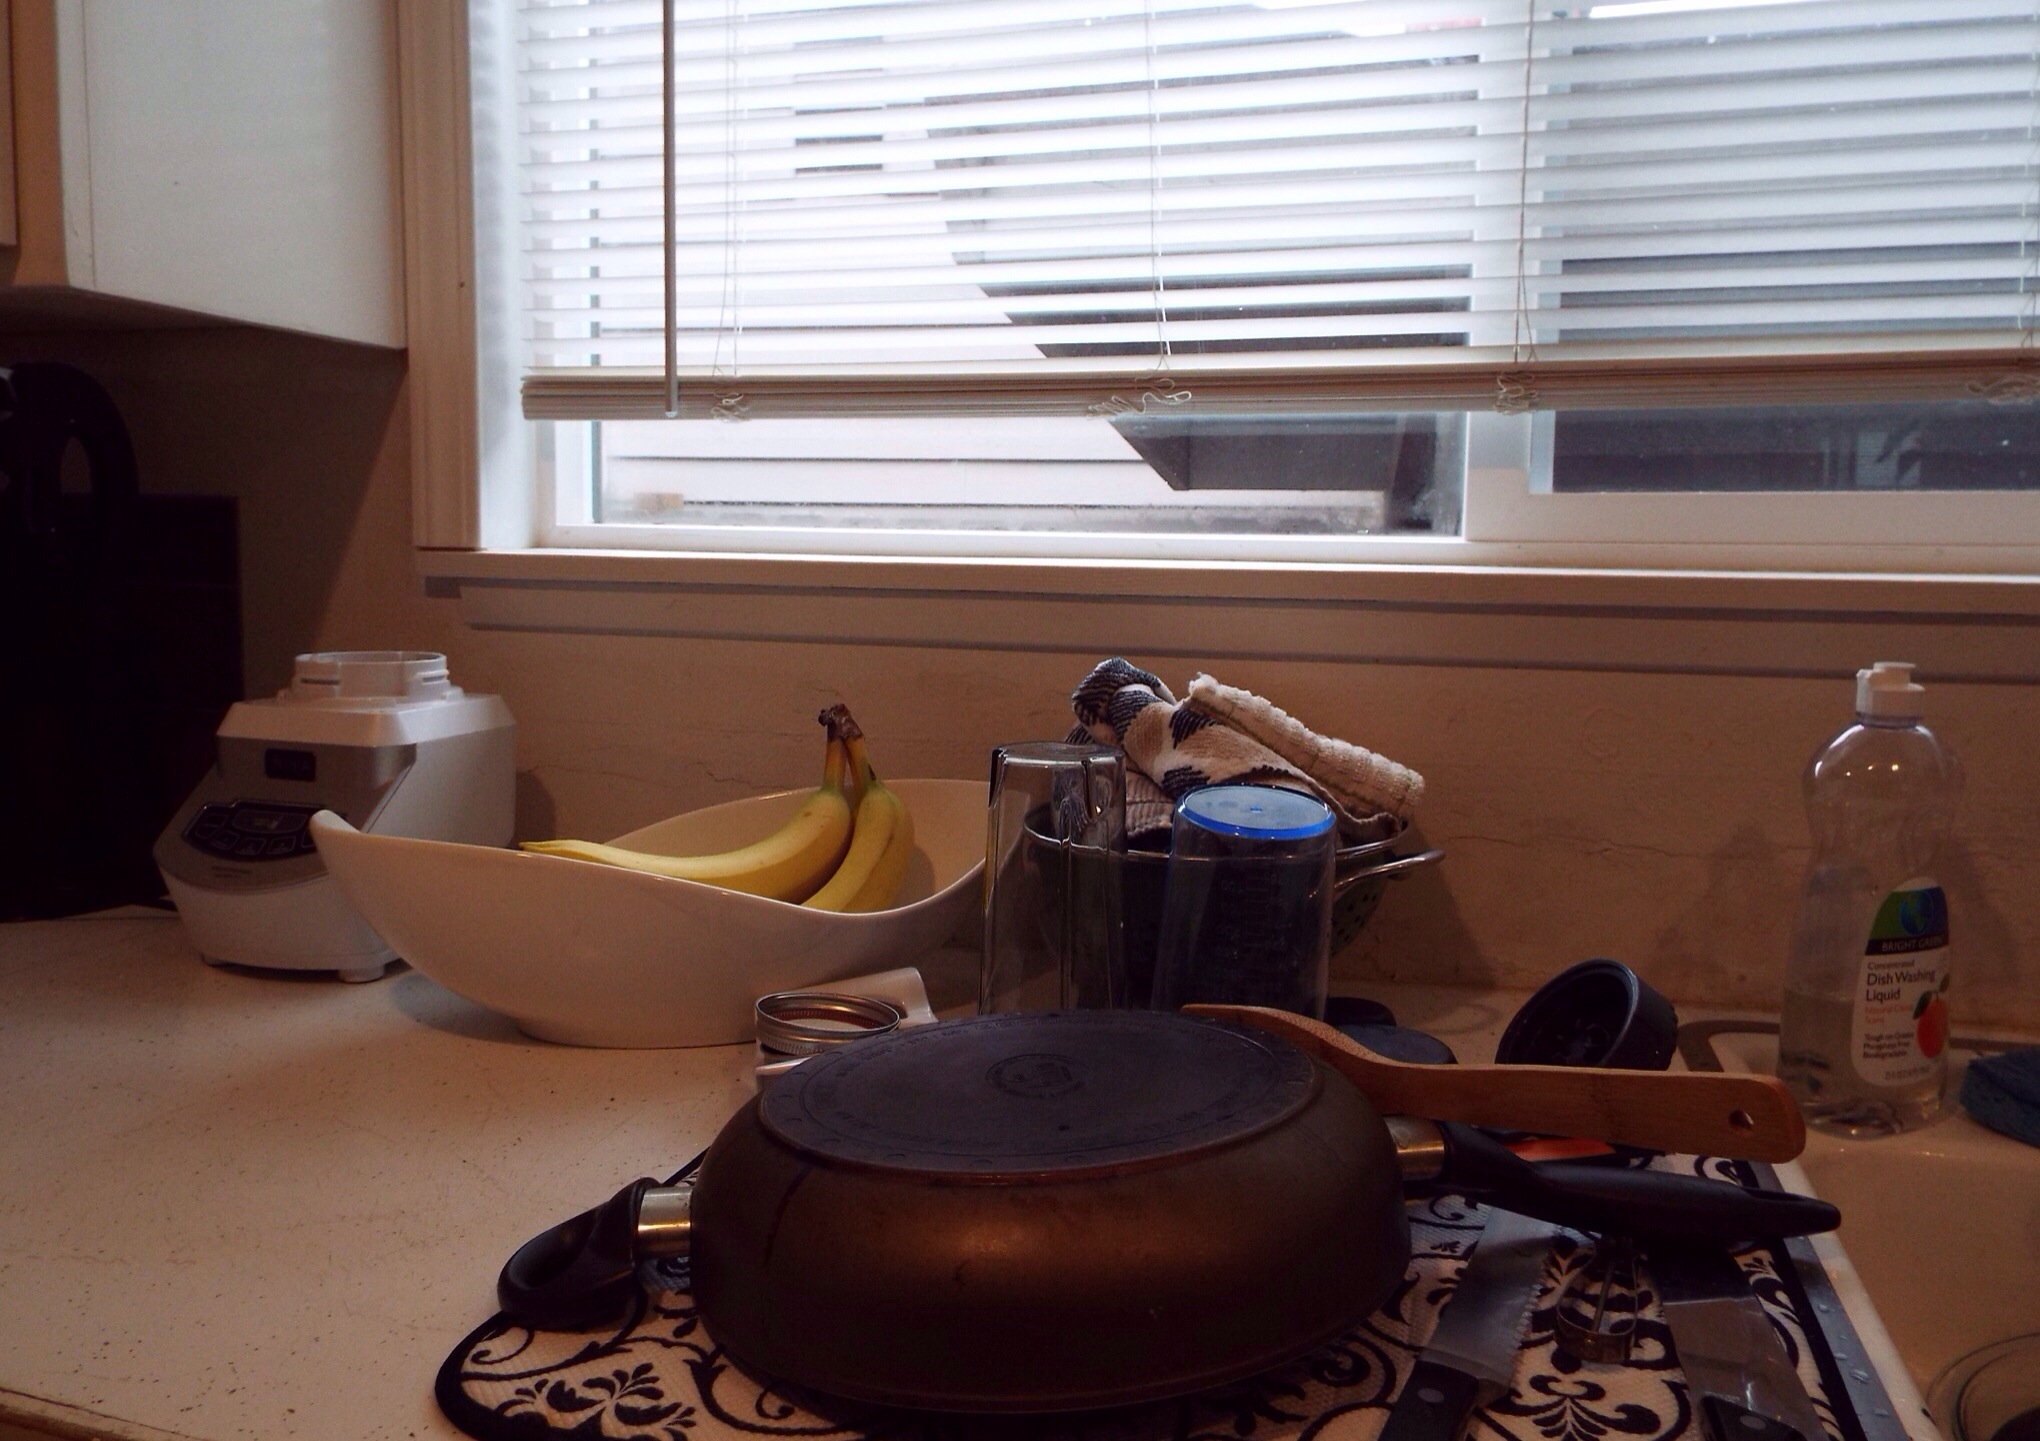
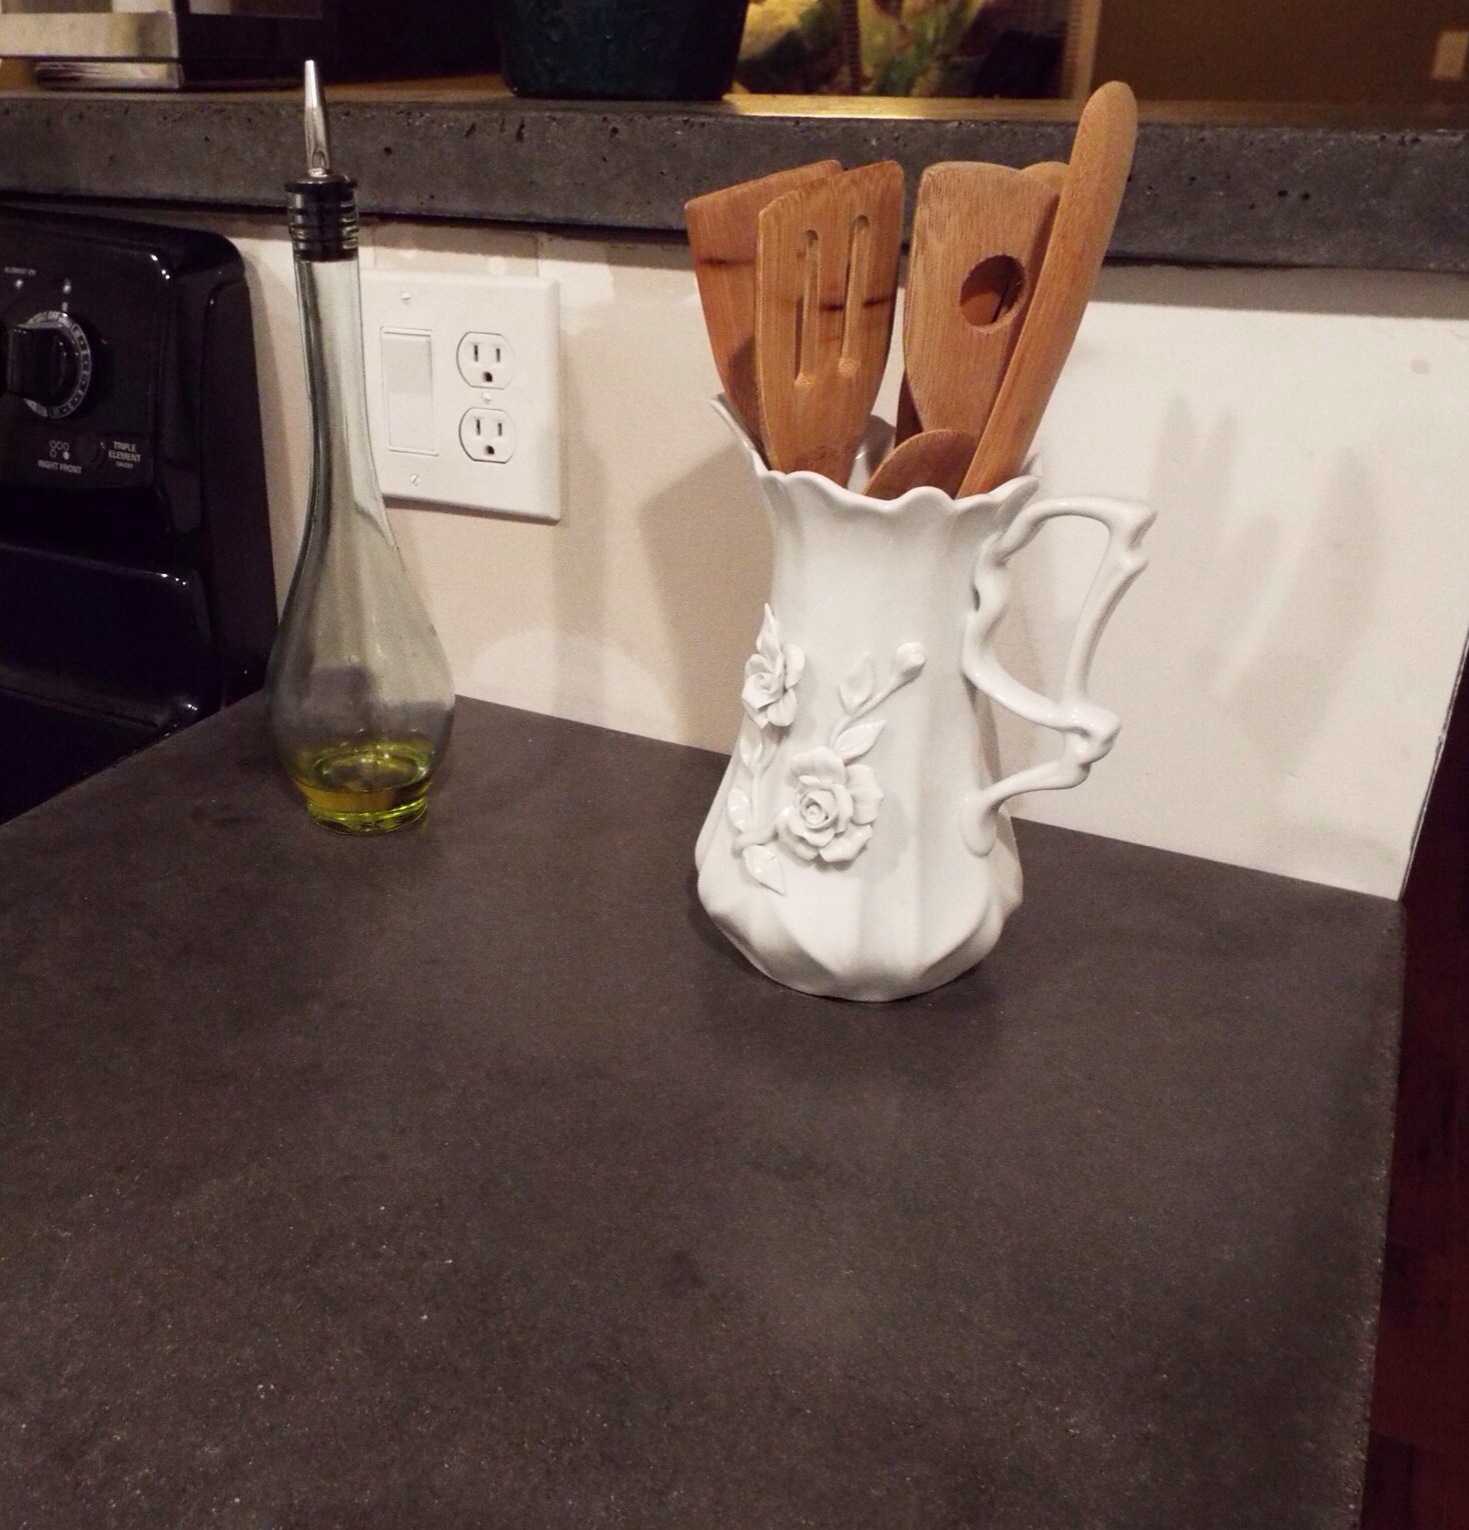
Aside from the pantry, one that needs work is the spices/cutlery drawer. Some labeling and a tray would do wonders in here.

20140126-193924.jpg

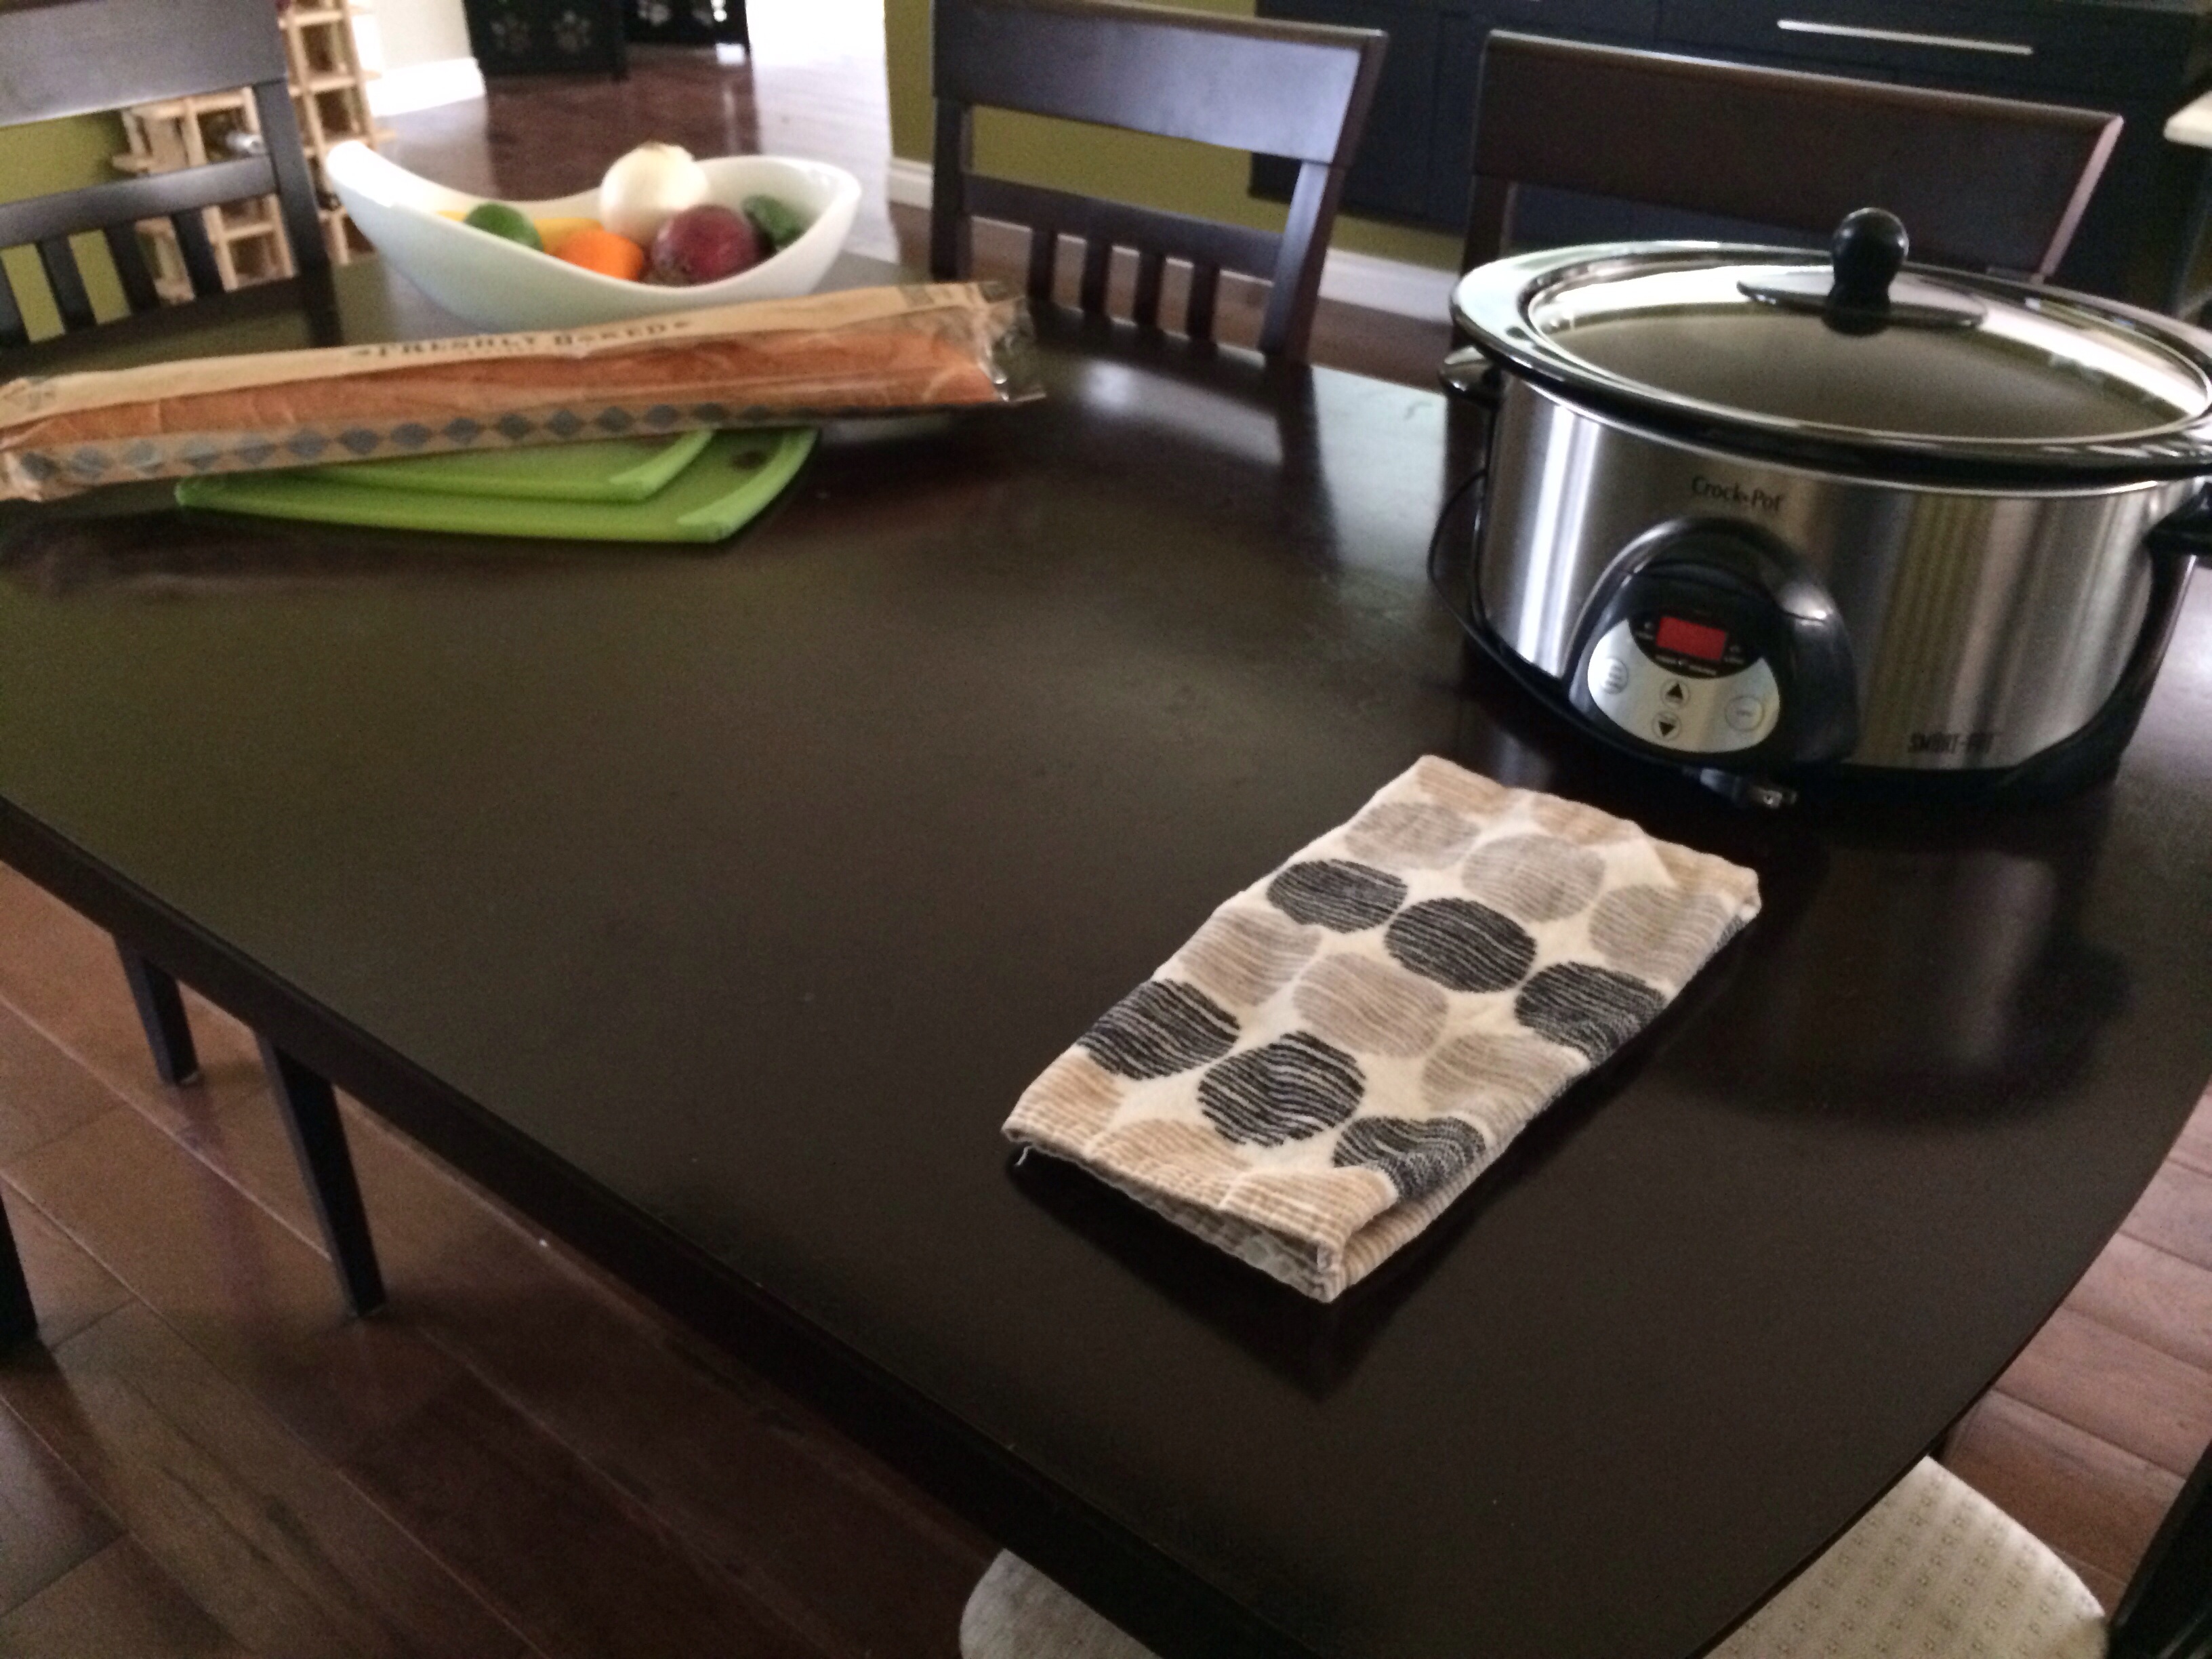
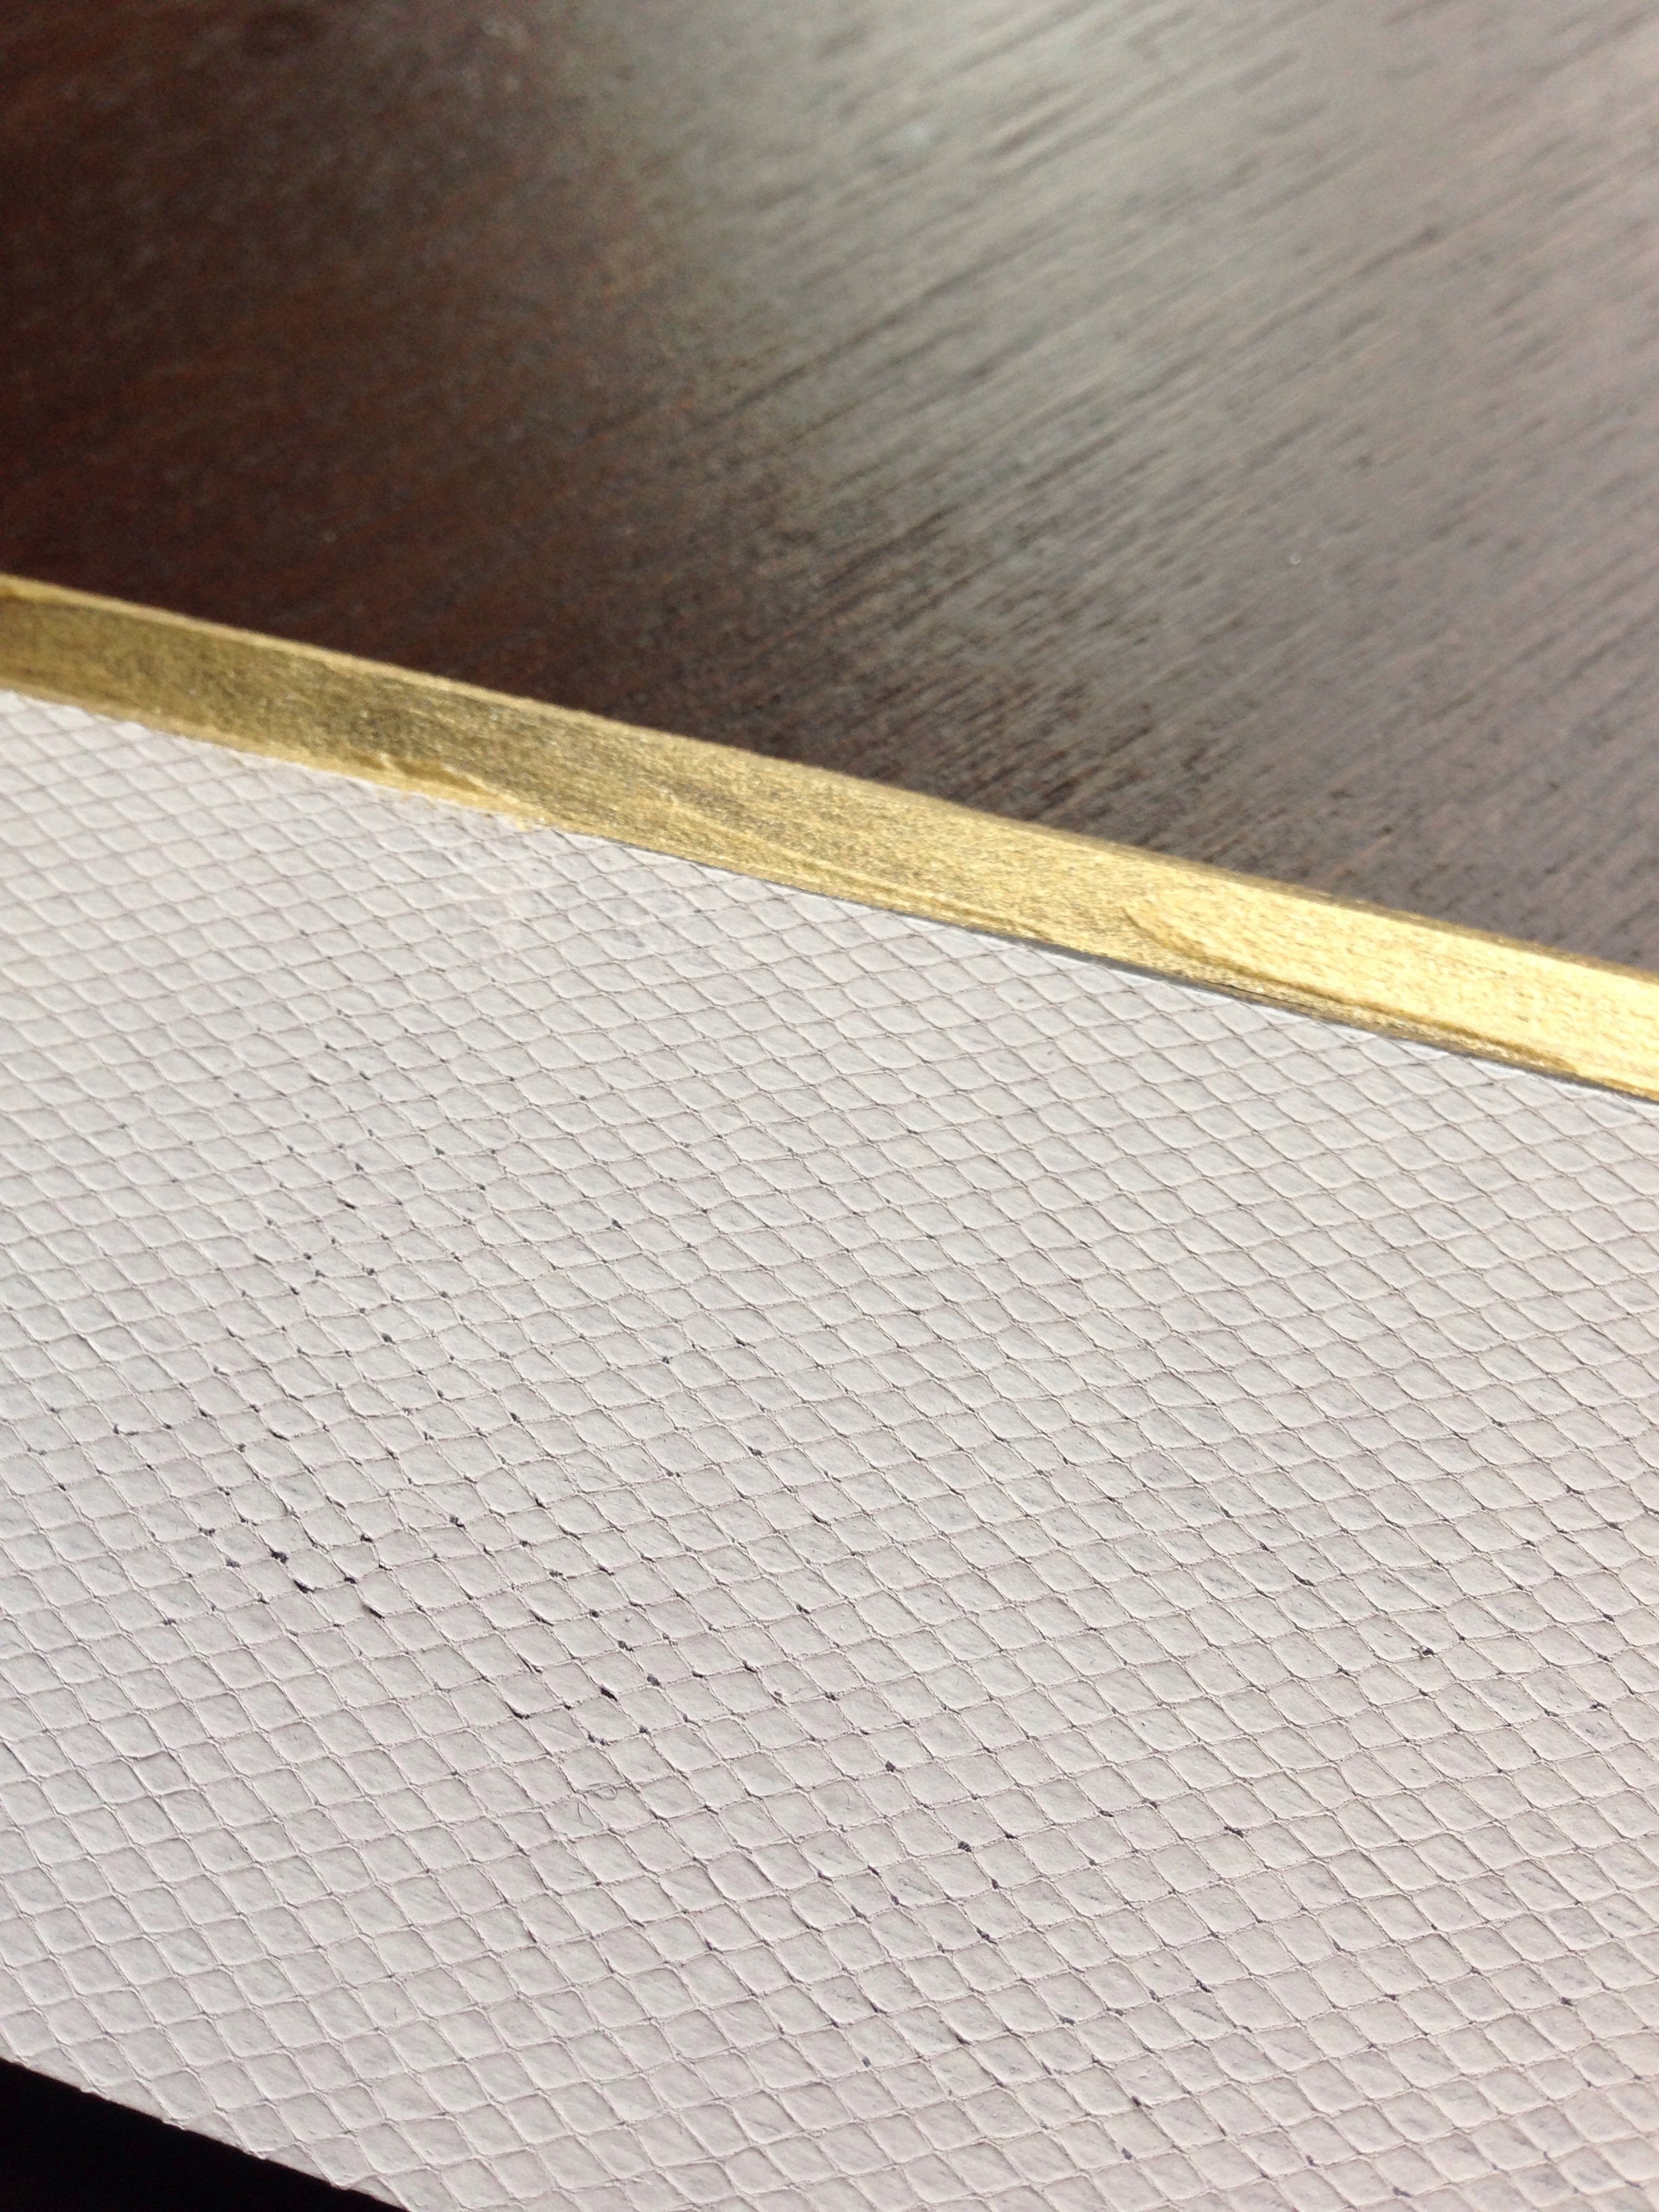
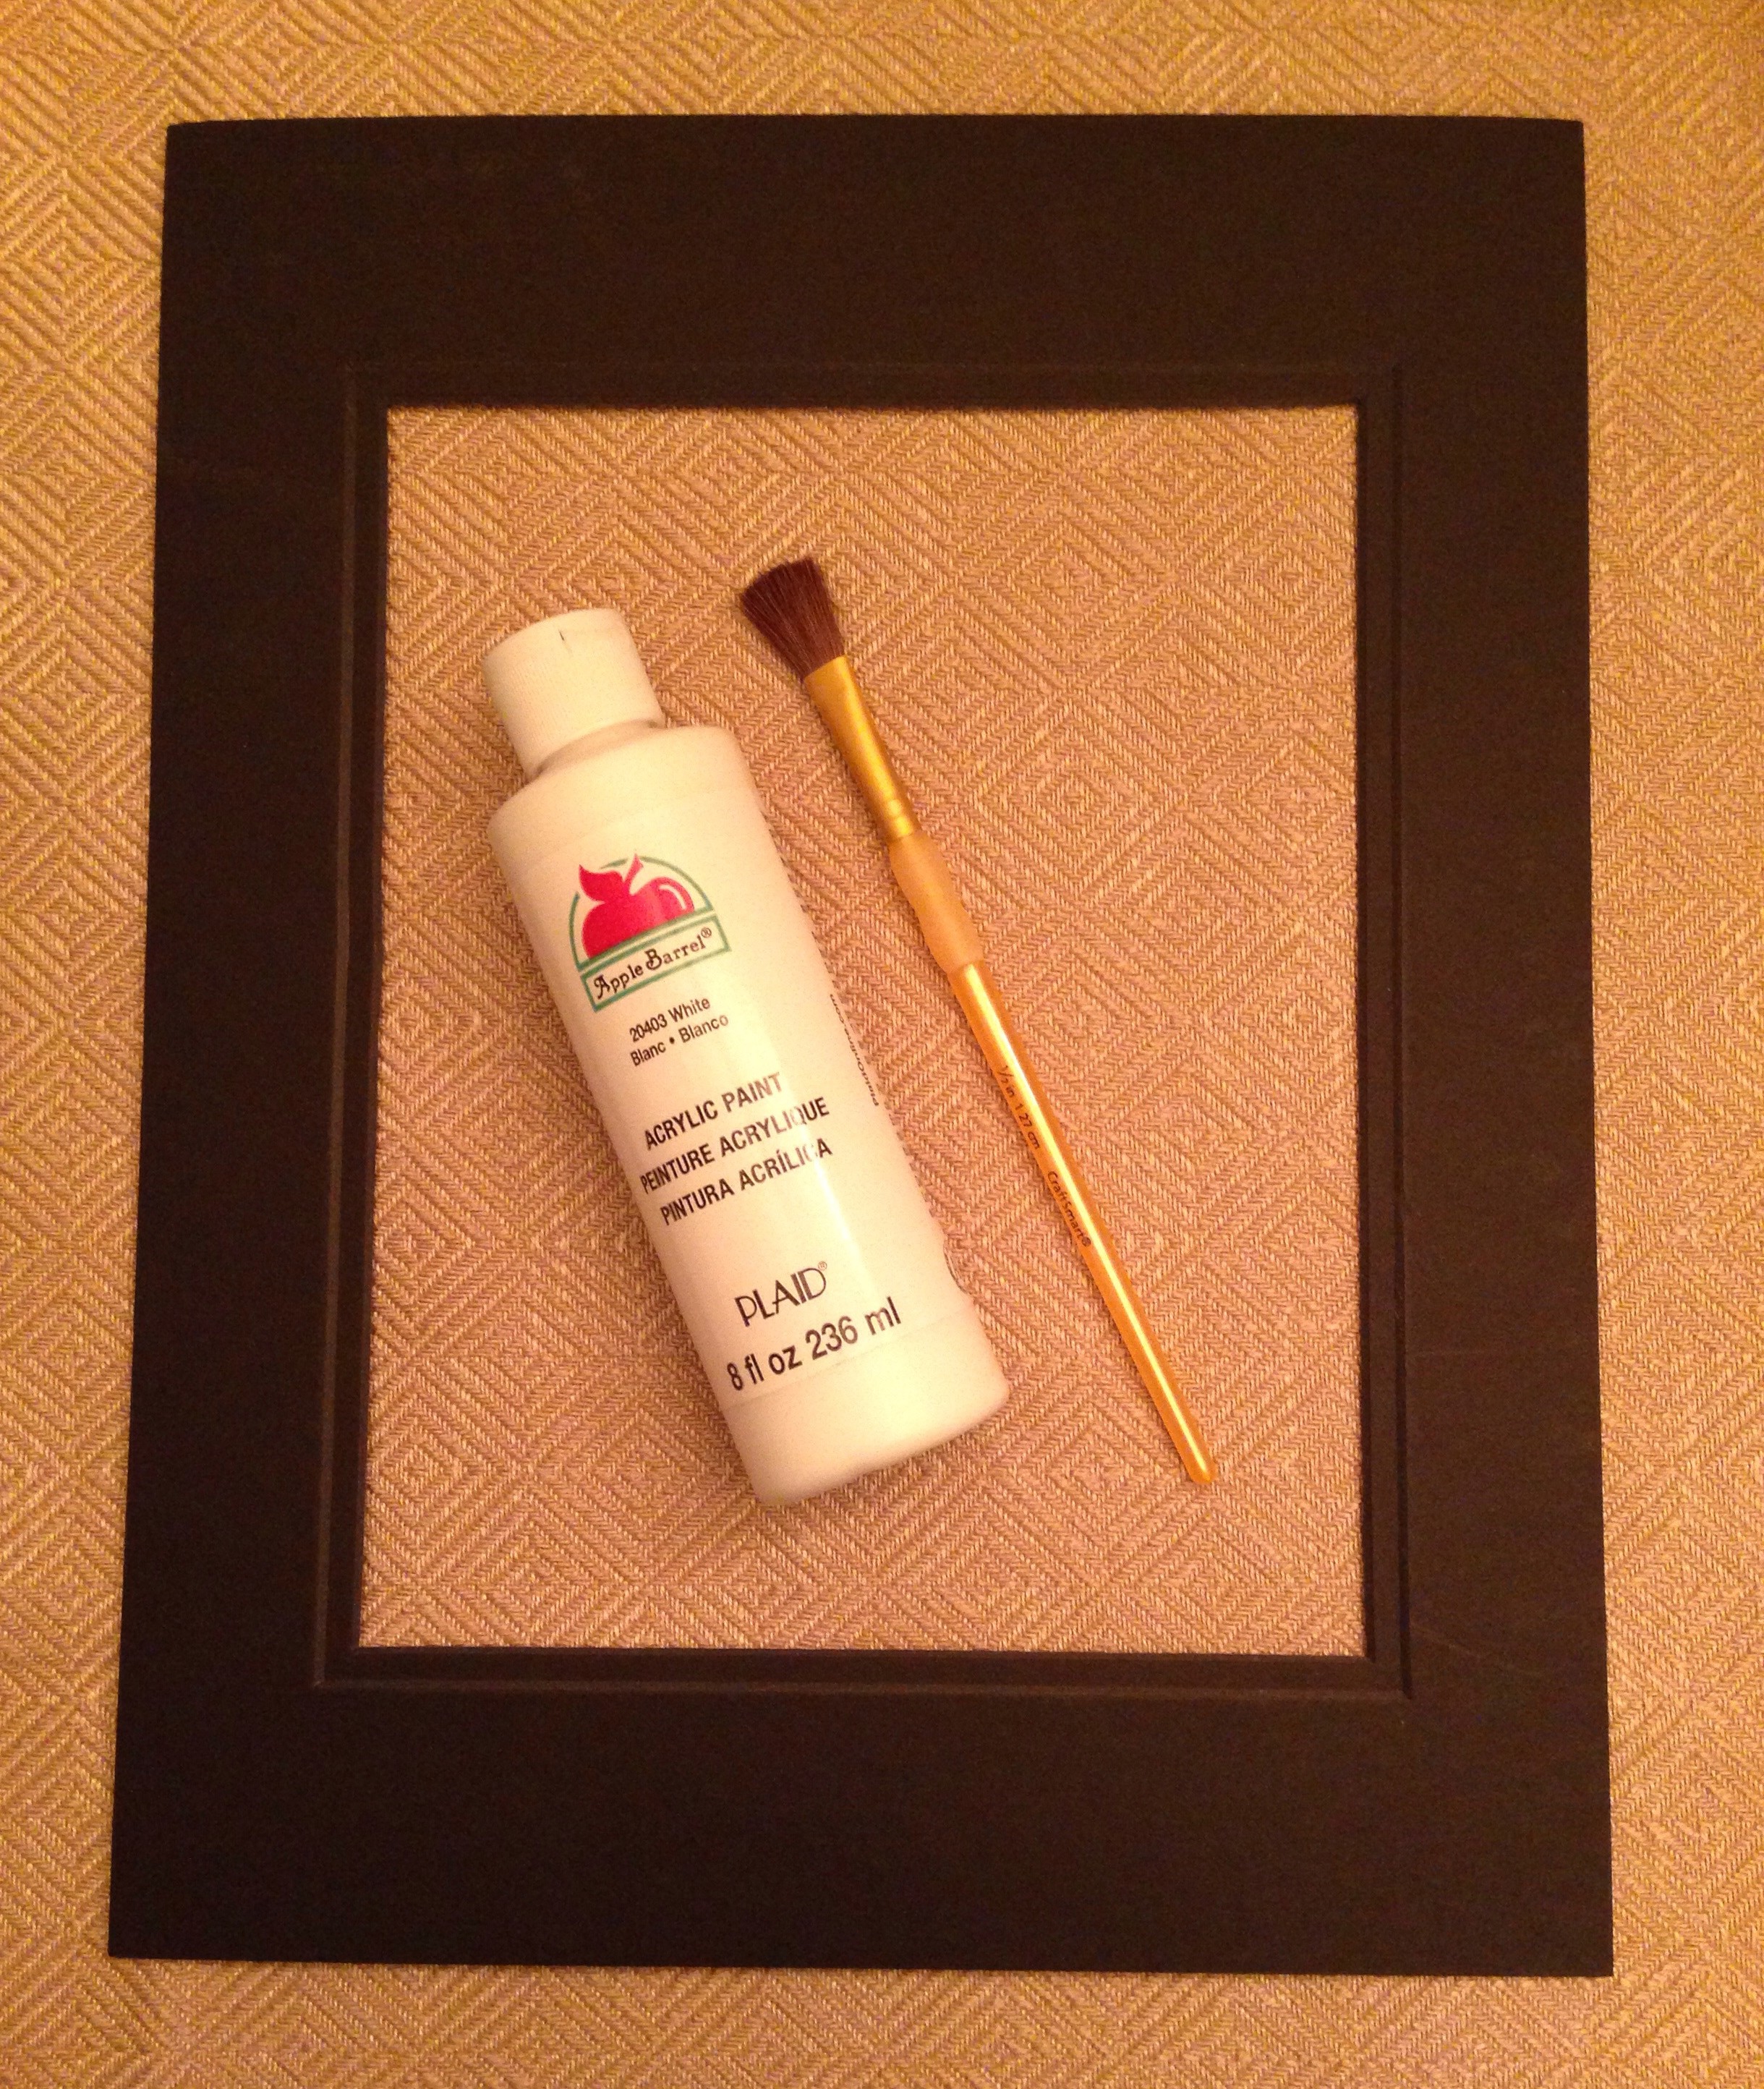
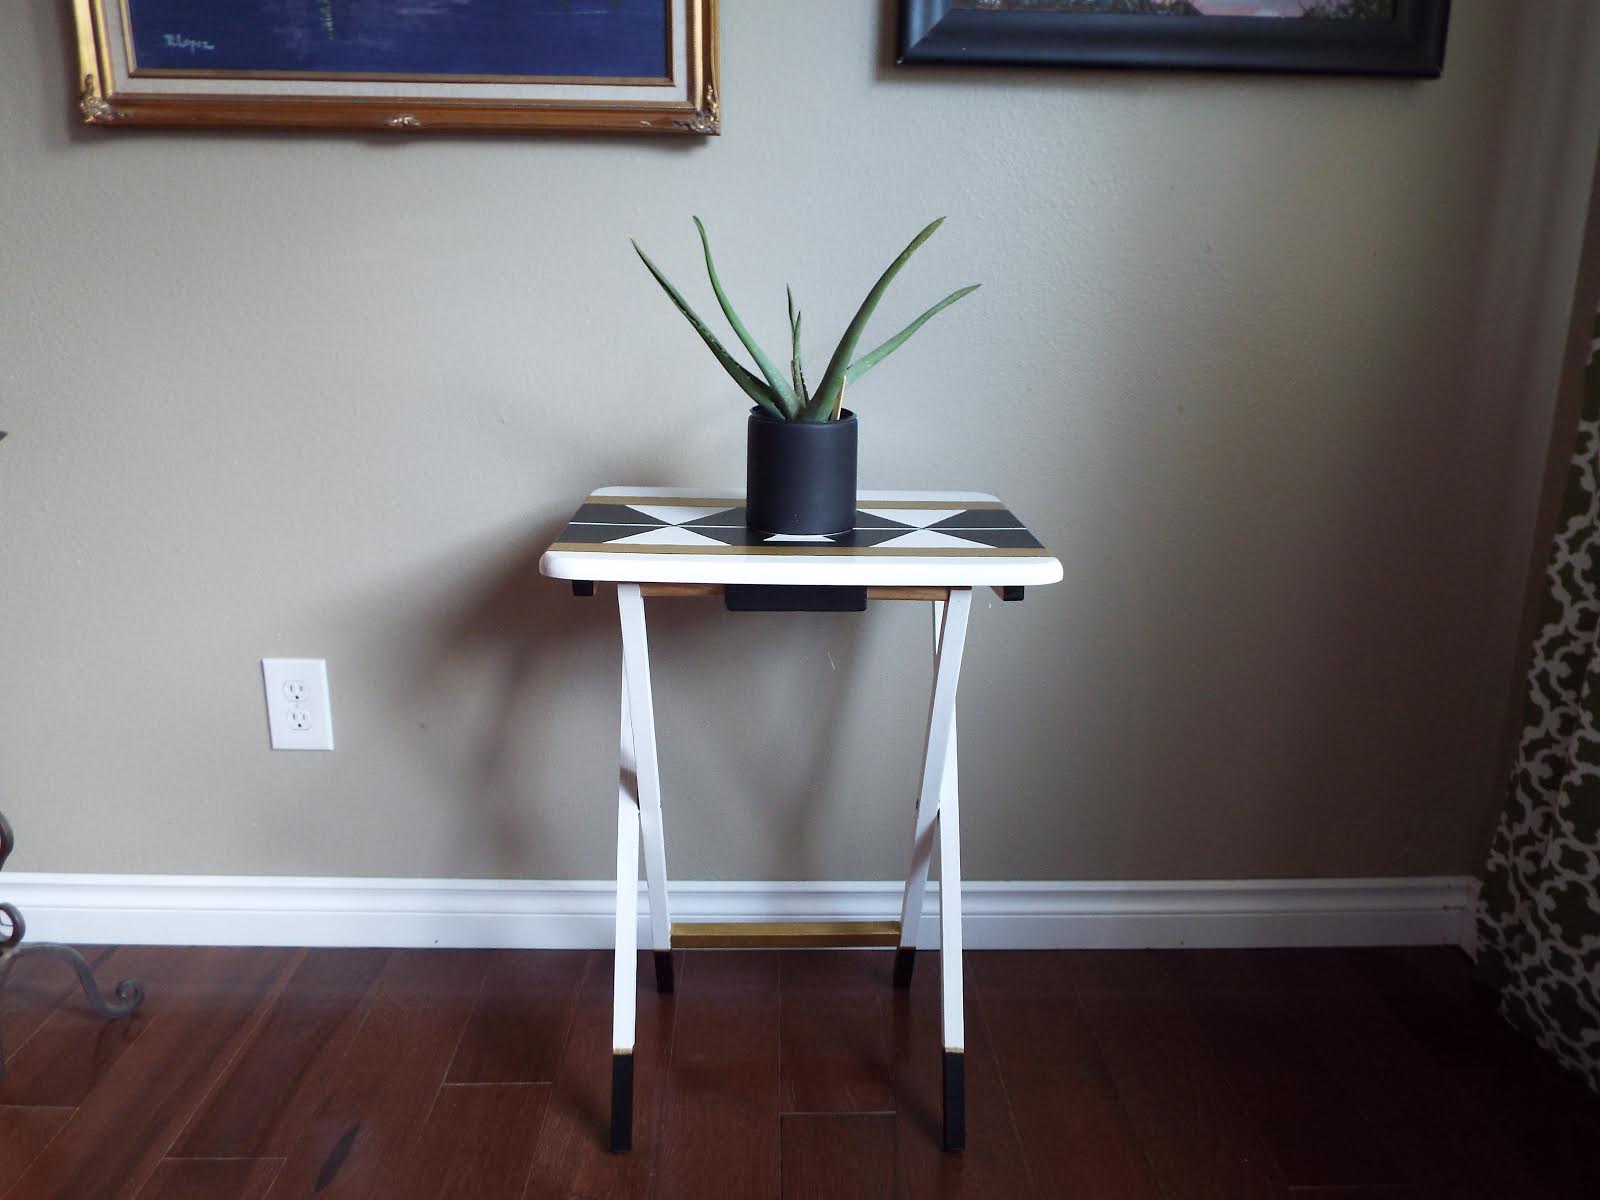
The weekend was supposed to be devoted to the bedroom, deep cleaning and closet/dresser organizing, buuuuut, it was sunny here this weekend and I was finishing off the tray table…oh, and did I mention the laundry?! Endless laundry. I kid. Excuses aside, I am off by a day, so I will work on the bedroom in the early part of the week, simultaneously with whatever this January Challenge throws my way.

But seriously, look at this sunshine and the blue sky…too good not to be outside.

20140127-094518.jpg

How’s the challenge for you?

xo

Gallery Wall, Trinkets & Pics

This project has been in the making for a very, very long time. Every time I’d stop into the thrift store, I would be on the search for fun pieces I could incorporate into the gallery wall. I have been admiring gallery walls put together by some of my favorite bloggers and images that I have found on Pinterest, so this project was really fun for me. Once I gathered enough pieces to make the grouping substantial, I began playing with the layout, and really it’s all about balance and what looks good to you. Also very important, significance. Not each piece was given to me by a loved one, but each one holds significance. The pieces thrifted from the antique mall were picked up on a really fun day I spent with one of my dearest friends, Keely. The other thrifted pieces were gathered over time, so it reminds of how much I enjoy the hunt and finding the perfect pieces to bring into our home. What you enjoy doing is such a large part of who you are, and I love the part of me that likes breathing new life into old pieces. Looking up at this brings me joy, and I am so happy that it is finally up and enjoy the thought of adding to it over time.

Here is the before, all laid out on the dining room table and without photos.

20140116-190210.jpg

From the top left: the letter “P” was thrifted from an antique mall // the small gold frame was thrifted from Value Village // the framed gold rose set on black velvet was thrifted from Value Village // the vintage mailbox door was thrifted from an antique mall // the double frame was thrifted from Value Village // the black and gold clock in the center was a gift from my Dad.

And, here it is on the wall, FINALLY.

DSCF1913

The top frame holds a simple print of the word “love”, and the bottom double frame holds a beloved photo of my husband and I on our wedding day. This is us. All of the posed wedding photos are nice, but in terms of capturing us as a couple, it’s this photo.

DSCF1913

Have a great rest of your Thursday!

xo

Mason Jar Photo Frames

I was able to add a personal touch to our kitchen overhaul this weekend, by the way of these mason jar photo frames. I loved this idea when I saw it on A Beautiful Mess, and it is so easy to duplicate. The best part about this project is that it takes all of five minutes to complete and the hardest part is deciding which photos to use.

20140121-201442.jpg

Are you working on anything crafty?

xo

January Challenge: Kitchen

It’s that time again, January Challenge check in… (If you’re new to this, find out more on Apartment Therapy, here.) Saturday was 100% devoted to kitchen cleaning and organizing in our home. I managed to clear the clutter, reorganize cabinets and give the kitchen a good cleaning, and I feel great. Knowing that this project was going to be a big one, I started the day with a list of goals to maintain focus.

1 // Clear off the countertops, move everything to the dining room table
2 // Empty the dishwasher, do the dishes in the sink
3 // Wipe down countertops, stove, oven door, sink, cabinet doors
4 // Pantry clean out, discard expired items and group items accordingly
5 // Base cabinet clean out, broken appliances and unused appliances go to the outbox, reorganize
6 // Upper cabinet clean out, pull everything out and rethink organization
7 // Clear the fridge doors, photos go into an album, recipes into a binder, reminders into my phone calendar
8 // Wipe down fridge doors & microwave
9 // Wipe down inside of cabinets
10 // Put it all back together

My counter now houses…

Microwave
Fruit Bowl
Paper Towel Holder
Drying Mat
Coffee Pot
Vase for Wooden Spoons
Olive Oil

This may seem like a lot still, but these are all things that get frequent use and serve a purpose, and in some cases the items add some style and personality. The functionality of this space has improved exponentially. Here are the before and after pics, focusing on our biggest problem areas.

BEFORE
20140120-175123.jpg
AFTER
20140120-175337.jpg

BEFORE
20140120-175253.jpg
AFTER
20140120-181114.jpg

BEFORE
20140120-181739.jpg
AFTER
20140120-181137.jpg

My favorite updates:

*Using a gorgeous white vase to house my wooden spoons.
*Switching out the dish soap into a pretty glass dispenser.
*Adding some personal photos to the window ledge. More on that tomorrow!

Even if you’re not participating in the January Challenge, I strongly encourage doing this. The project took me about 4 hours to complete, but it was so worth it. Also, for those of you who don’t know, our home is a fixer upper on its way to being all fixed up, so please know that the kitchen is in progress. My husband is working on the remaining concrete countertops, we have ordered a new sink, and I’m shopping for a faucet and thinking about backsplash tile, so this kitchen is about to be perfection (for us anyway). Stay tuned for all of the aforementioned projects.

xo