
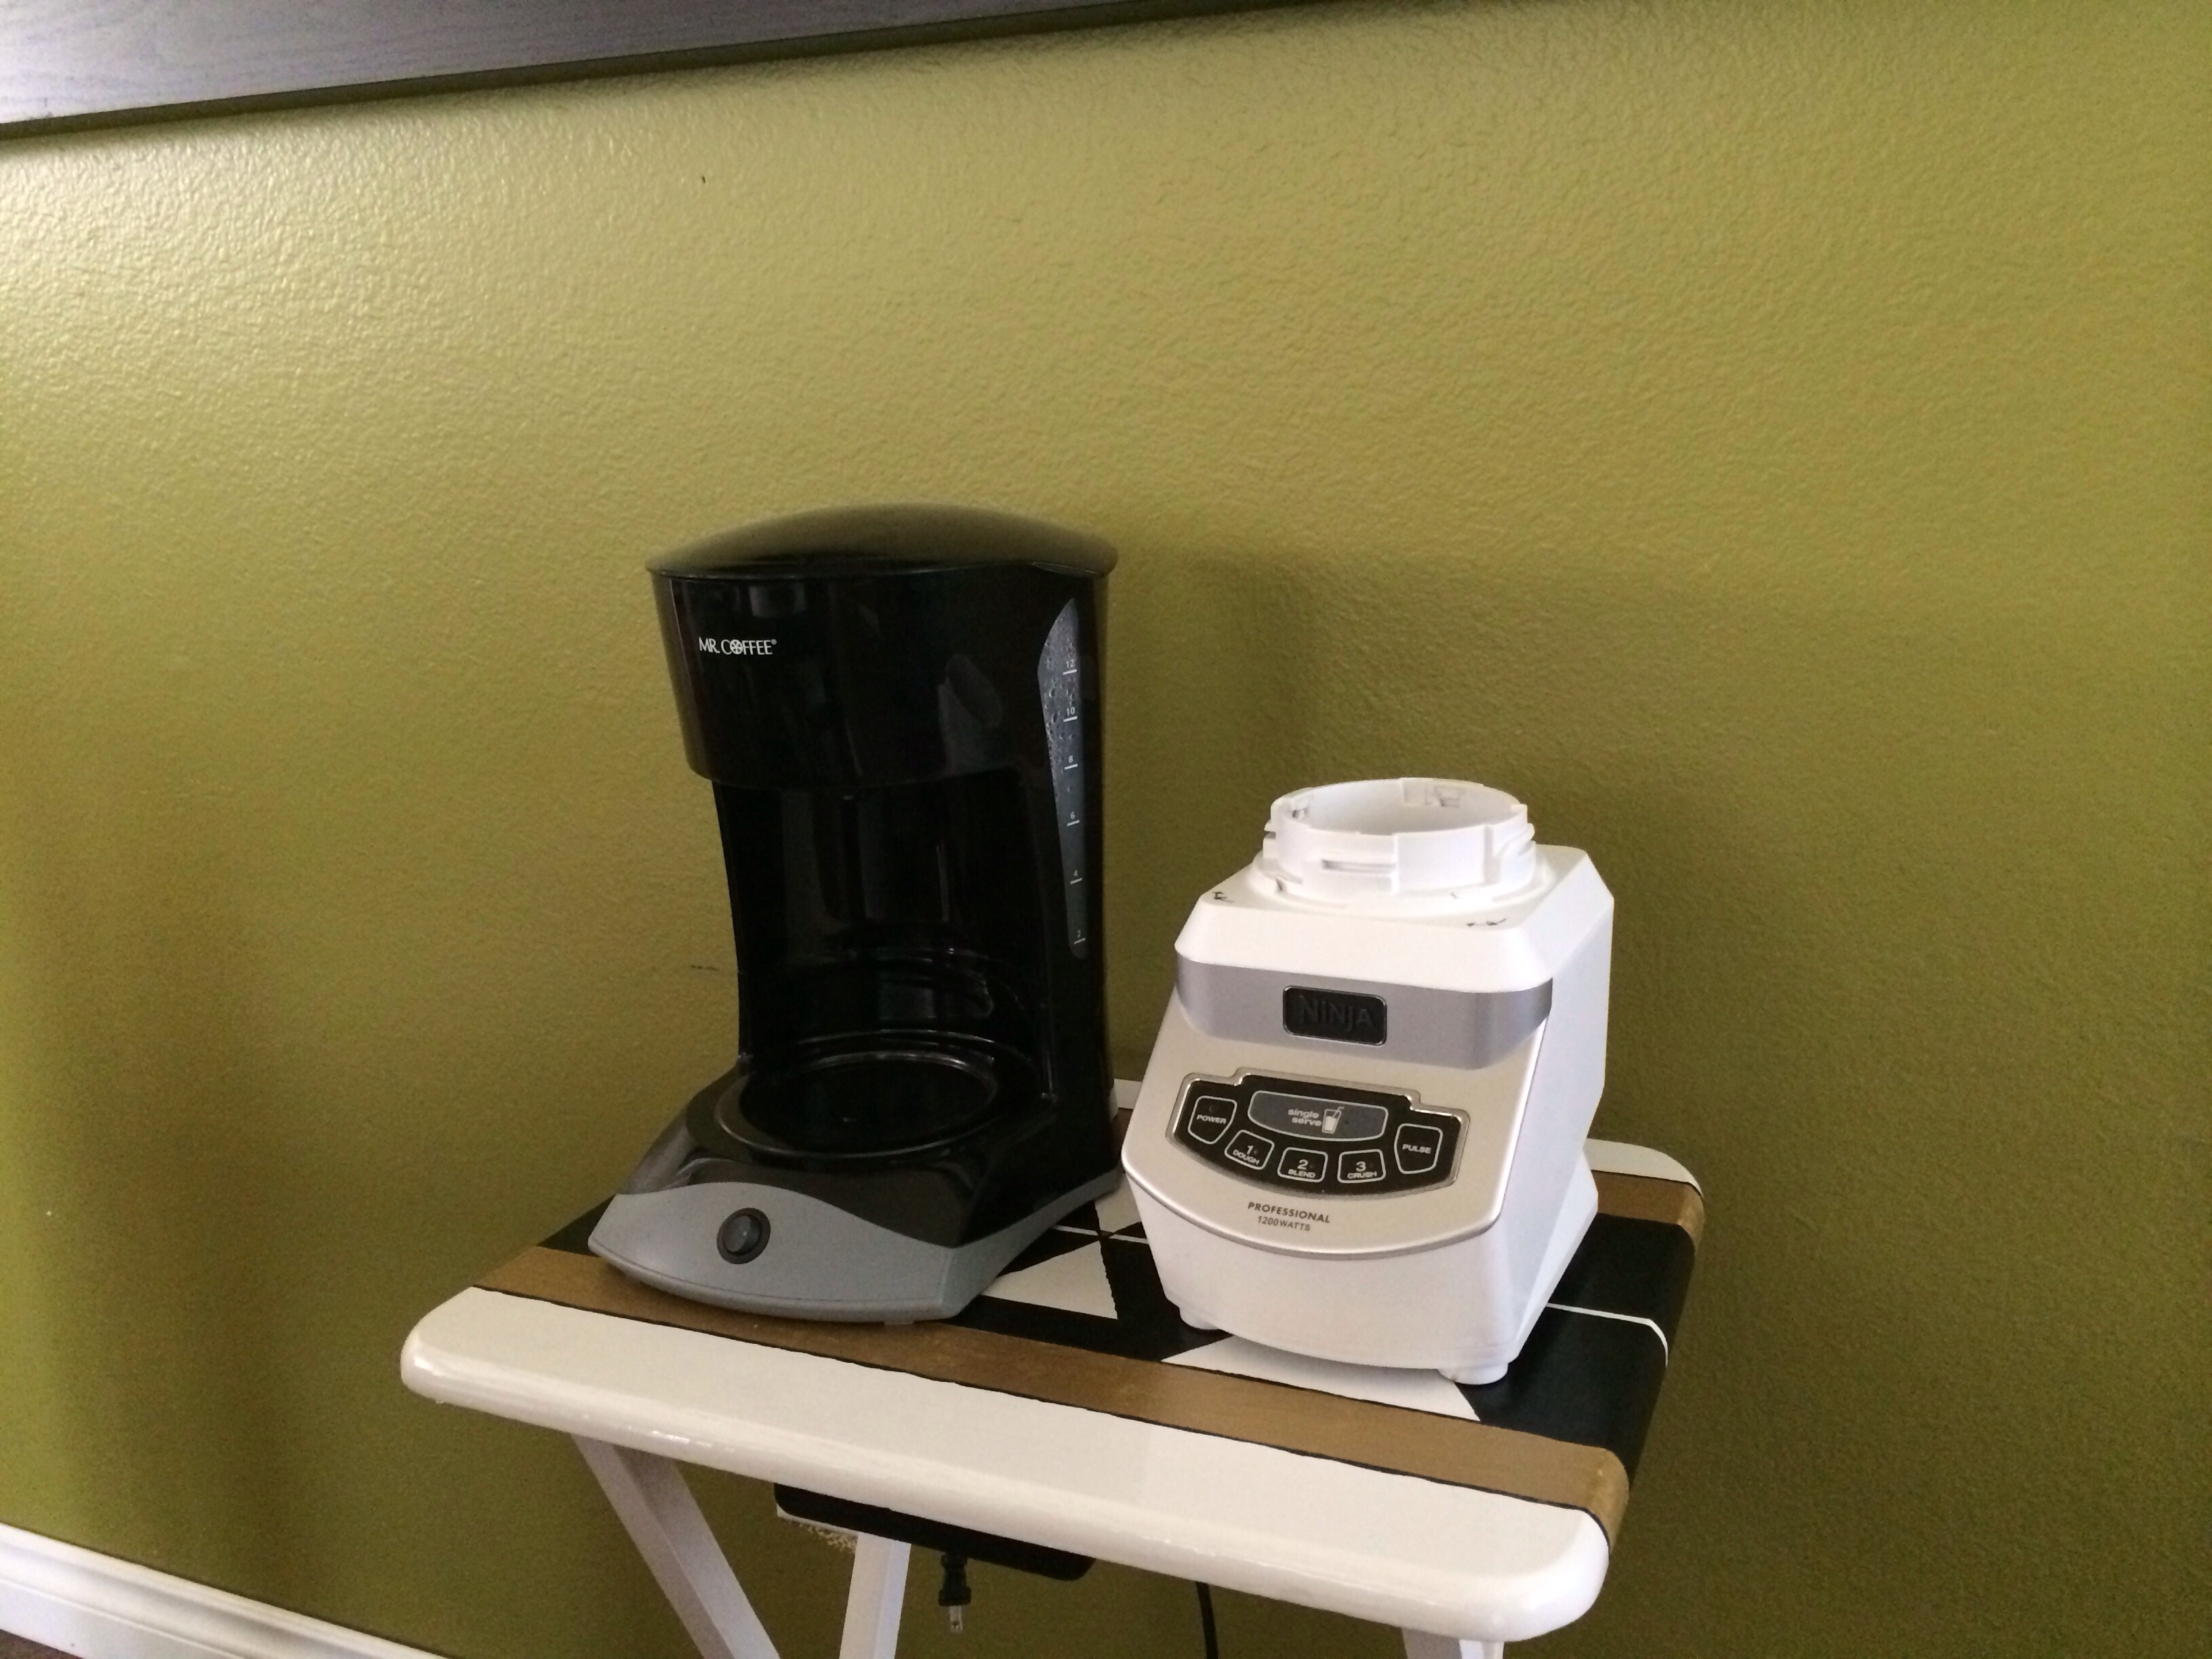
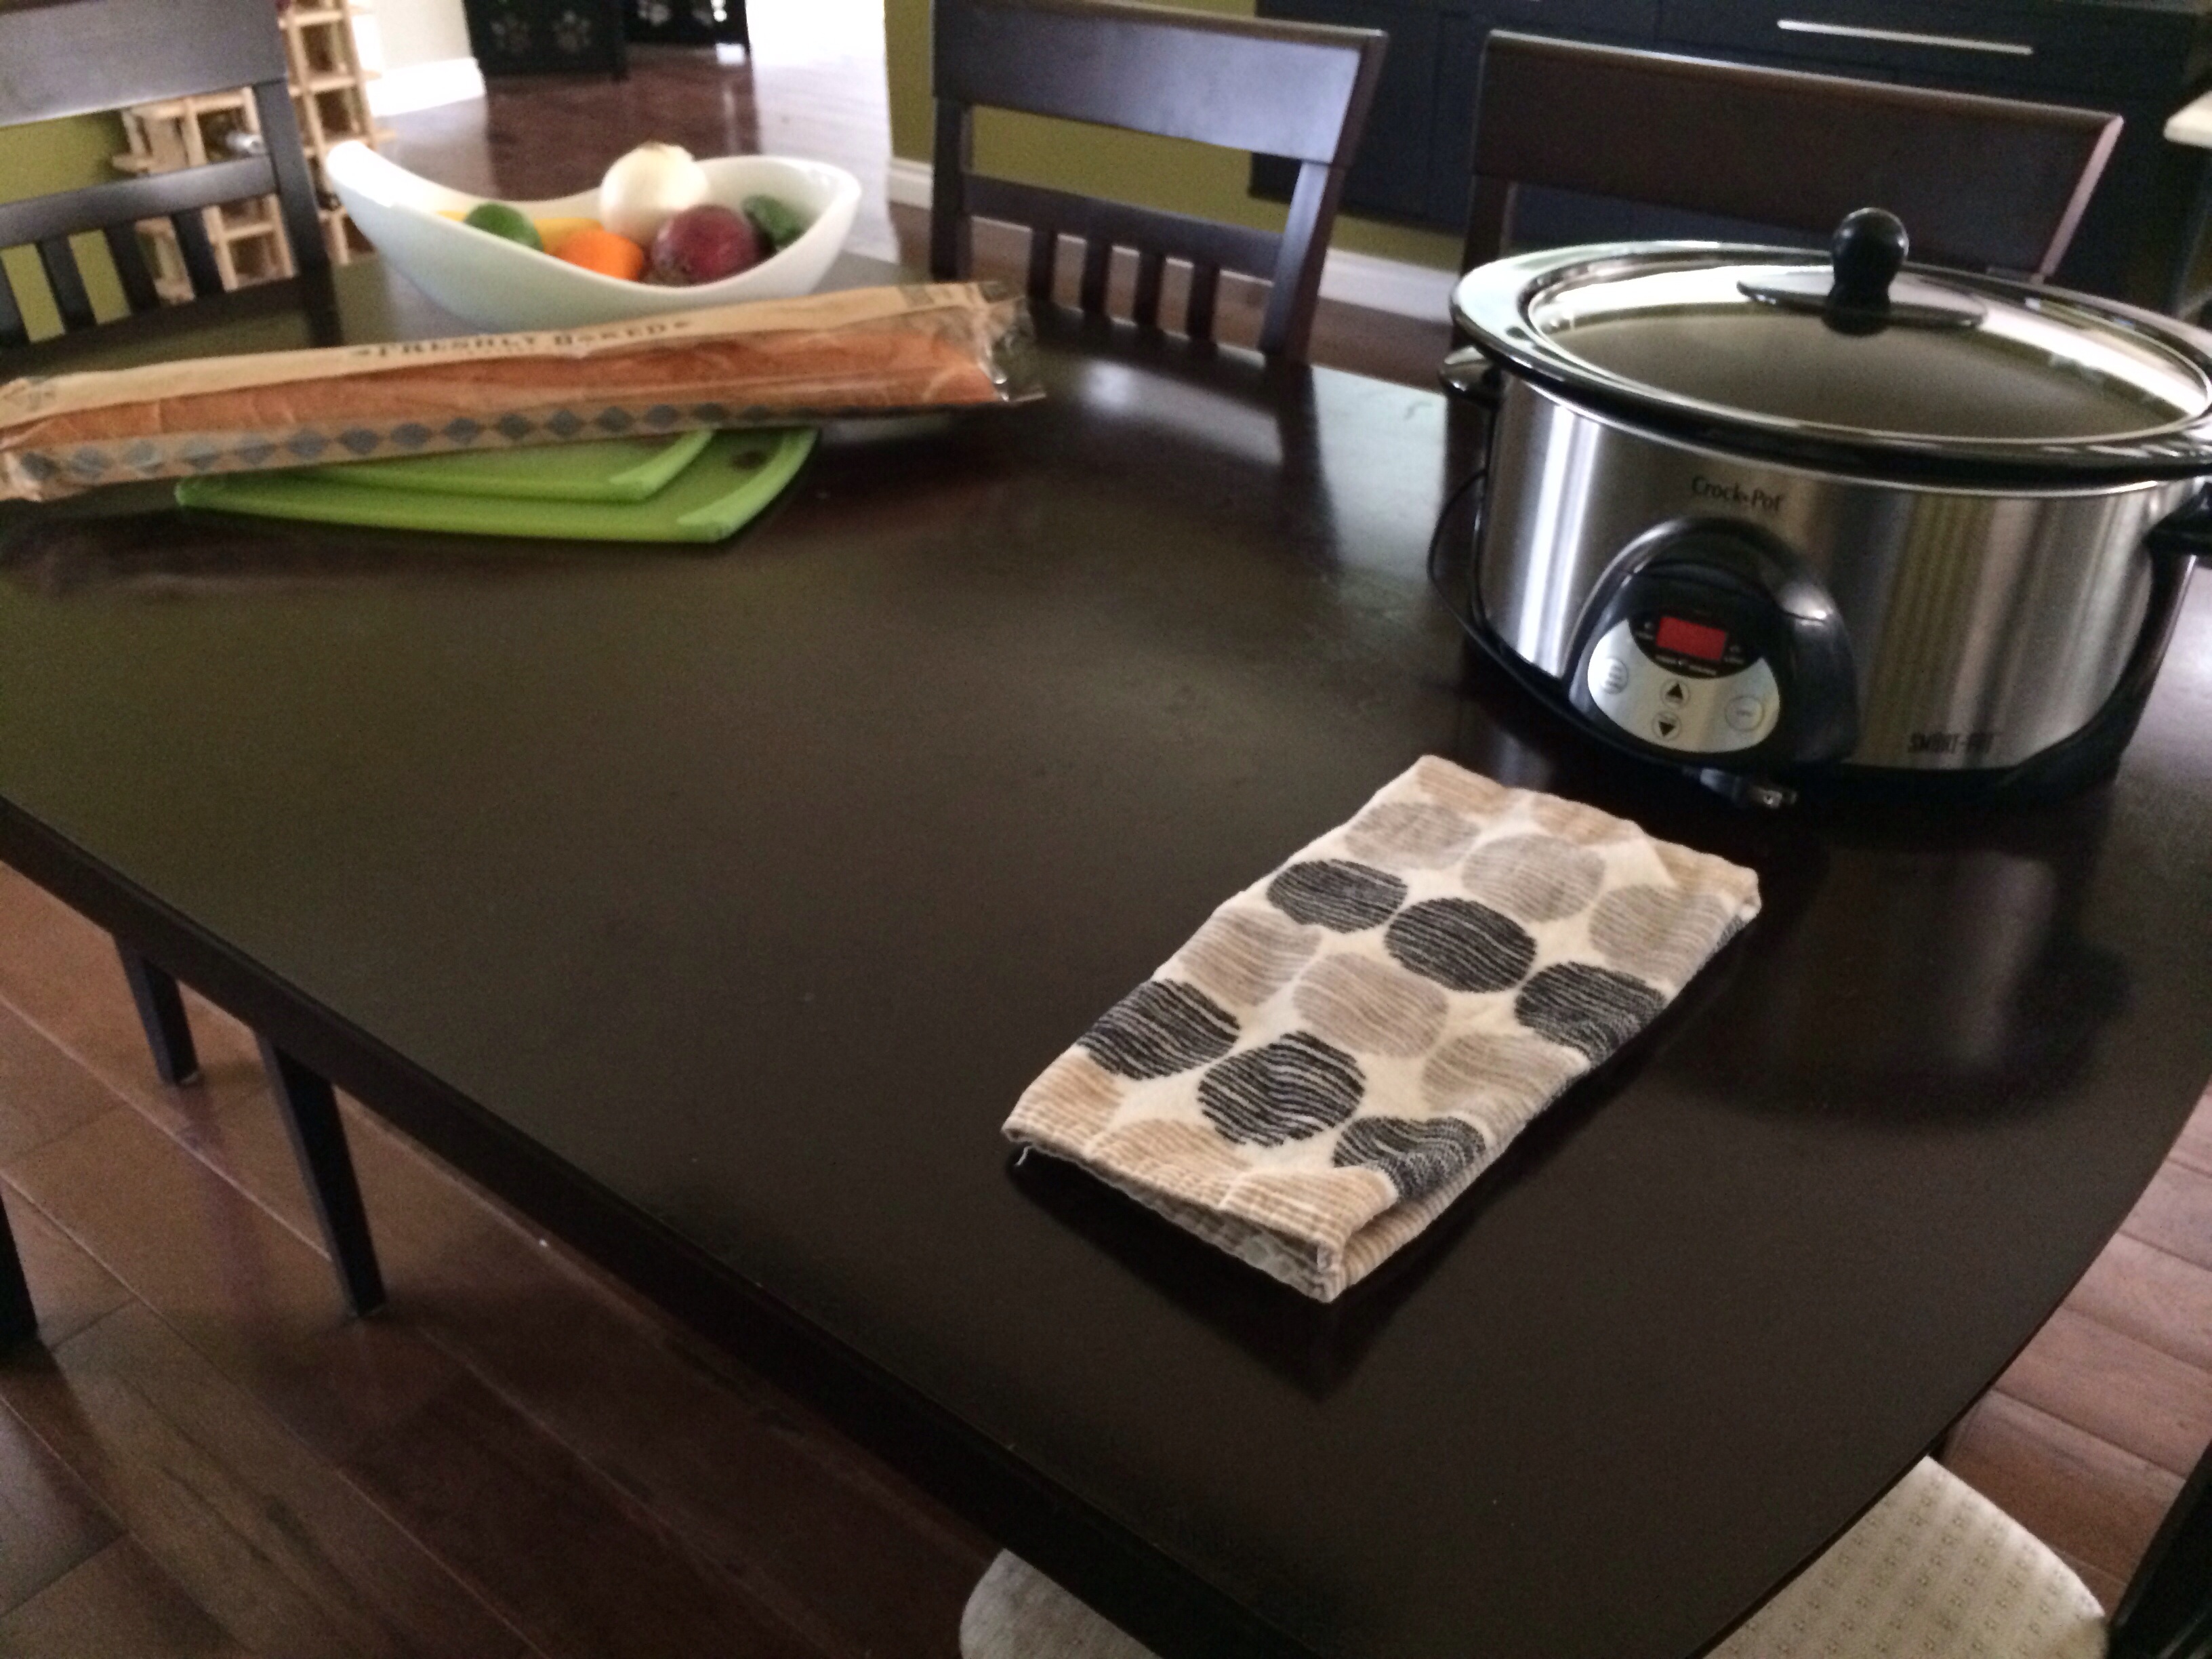
We have been through various home renovations and none pose the same level of inconvenience as a kitchen remodel. When we overhauled our master bath, we used the guest bath and vice versa. When we remodeled the master bedroom, we slept in the guest bedroom. There was always somewhere else for us to be with the other rooms in the house, but when it comes to the kitchen, there is nowhere to go. Our kitchen has been through a lot –more on that later– but this was the first time ever I thought to create a makeshift kitchen for us, so we could (kind of) carry on like normal. Although this helped tremendously, dinners were still difficult for us, and we did not eat very well this week. Where it DID help, was in the mornings. I am a devoted smoothie and coffee drinker in the morning, so I set up my tray table with the coffee maker and blender so I could easily to get to them and prepare my favorites with ease. I also thought to place a cutting board on the dining room table, along with my crockpot, and the fruit bowl, so I could prepare food in the dining room, if needed. I pulled our chest into the dining room as well, so we had a place for the microwave, so really, we had enough to get by.
 Now that you’ve seen my sad makeshift kitchen, let’s move on to the fun part –the transformation in our kitchen! We have come a long way, and I’ll get to that later, but to give you an idea, this is what our kitchen looked like when we moved in, back in 2009.

Our kitchen has gone through many phases, but we are actually almost done now. One of the last pieces was the backsplash tile. We chose marble, and I’m in love.

After purchasing, we got home and I opened up a box to make sure my love was true. And it was.

Then my husband applied thin set, placed the tiles and kept it all straight and in place with spacers. We opted for a 1/8 inch grout line.

After the thin set dried the following day, he went back through to remove spacers and apply grout. Once the grout is applied, you have go back over everything with a damp sponge and remove the film the grout leaves behind.

And then, you sit back and admire. I am over the moon with this kitchen and what it has become.

 My husband’s talent and innate knack for this is so inspiring. I’m going to pick his brain and and do a more in depth post about what we have done in the kitchen. As you may have been able to tell, I’m not the most knowledgeable with describing what he did and how he did it. Anyway, a post to come soon with details on the concrete countertops and the rest of this transformation.
Also, a really fun side note…not only are the concrete countertops DIY, but my dad made us all new cabinet doors and trimmed the window (and all of the other windows in the house). This home is a true labor of love.
xo

I am so impressed by both of you and OBSESSED with the newest updates to the kitchen!!!
Thank you Keely!
Brittney, your kitchen is AMAZING like you guys 🙂 Please give Marvin and your Dad a huge CONGRATULATION from us. You have been literally building your home with so much love and dedication, I love it!!
Will do, Maria! Thank you!