
We have had the same dining room table and chairs for about 10 years. For all of those 10 years, I disliked that fabric on the seats, and for 10 years I said I was going to change it out. The day has finally come, and it was so easy that I cannot believe it took me that long to do it.
You’ll Need:
- Fabric (28in x 28in for each chair)
- Fabric Scissors
- Staple Gun
- Marker
- Iron & Ironing Board
First off, you all know that I like to use what I already have, so I used some upholstery fabric samples given to me by my mom’s friend. I chose a few different patterns that were in the same color family to create a cohesive look. Clearly, not everyone has upholstery fabric samples lying around, so I’d suggest digging through the remnants at your local fabric store, or perhaps buying an inexpensive sofa slip cover.

Since I chose three patterns and have four chairs, two chairs are in the center fabric (our favorite of the three) and the other two are in the other two patterns.
Once you have chosen fabric, be sure to measure prior to buying. The sample squares were more than large enough for each seat at 28in x 28in. You just need to allow for enough fabric to secure on the underside. I left a 2-4in allowance on the underside, all the way around.
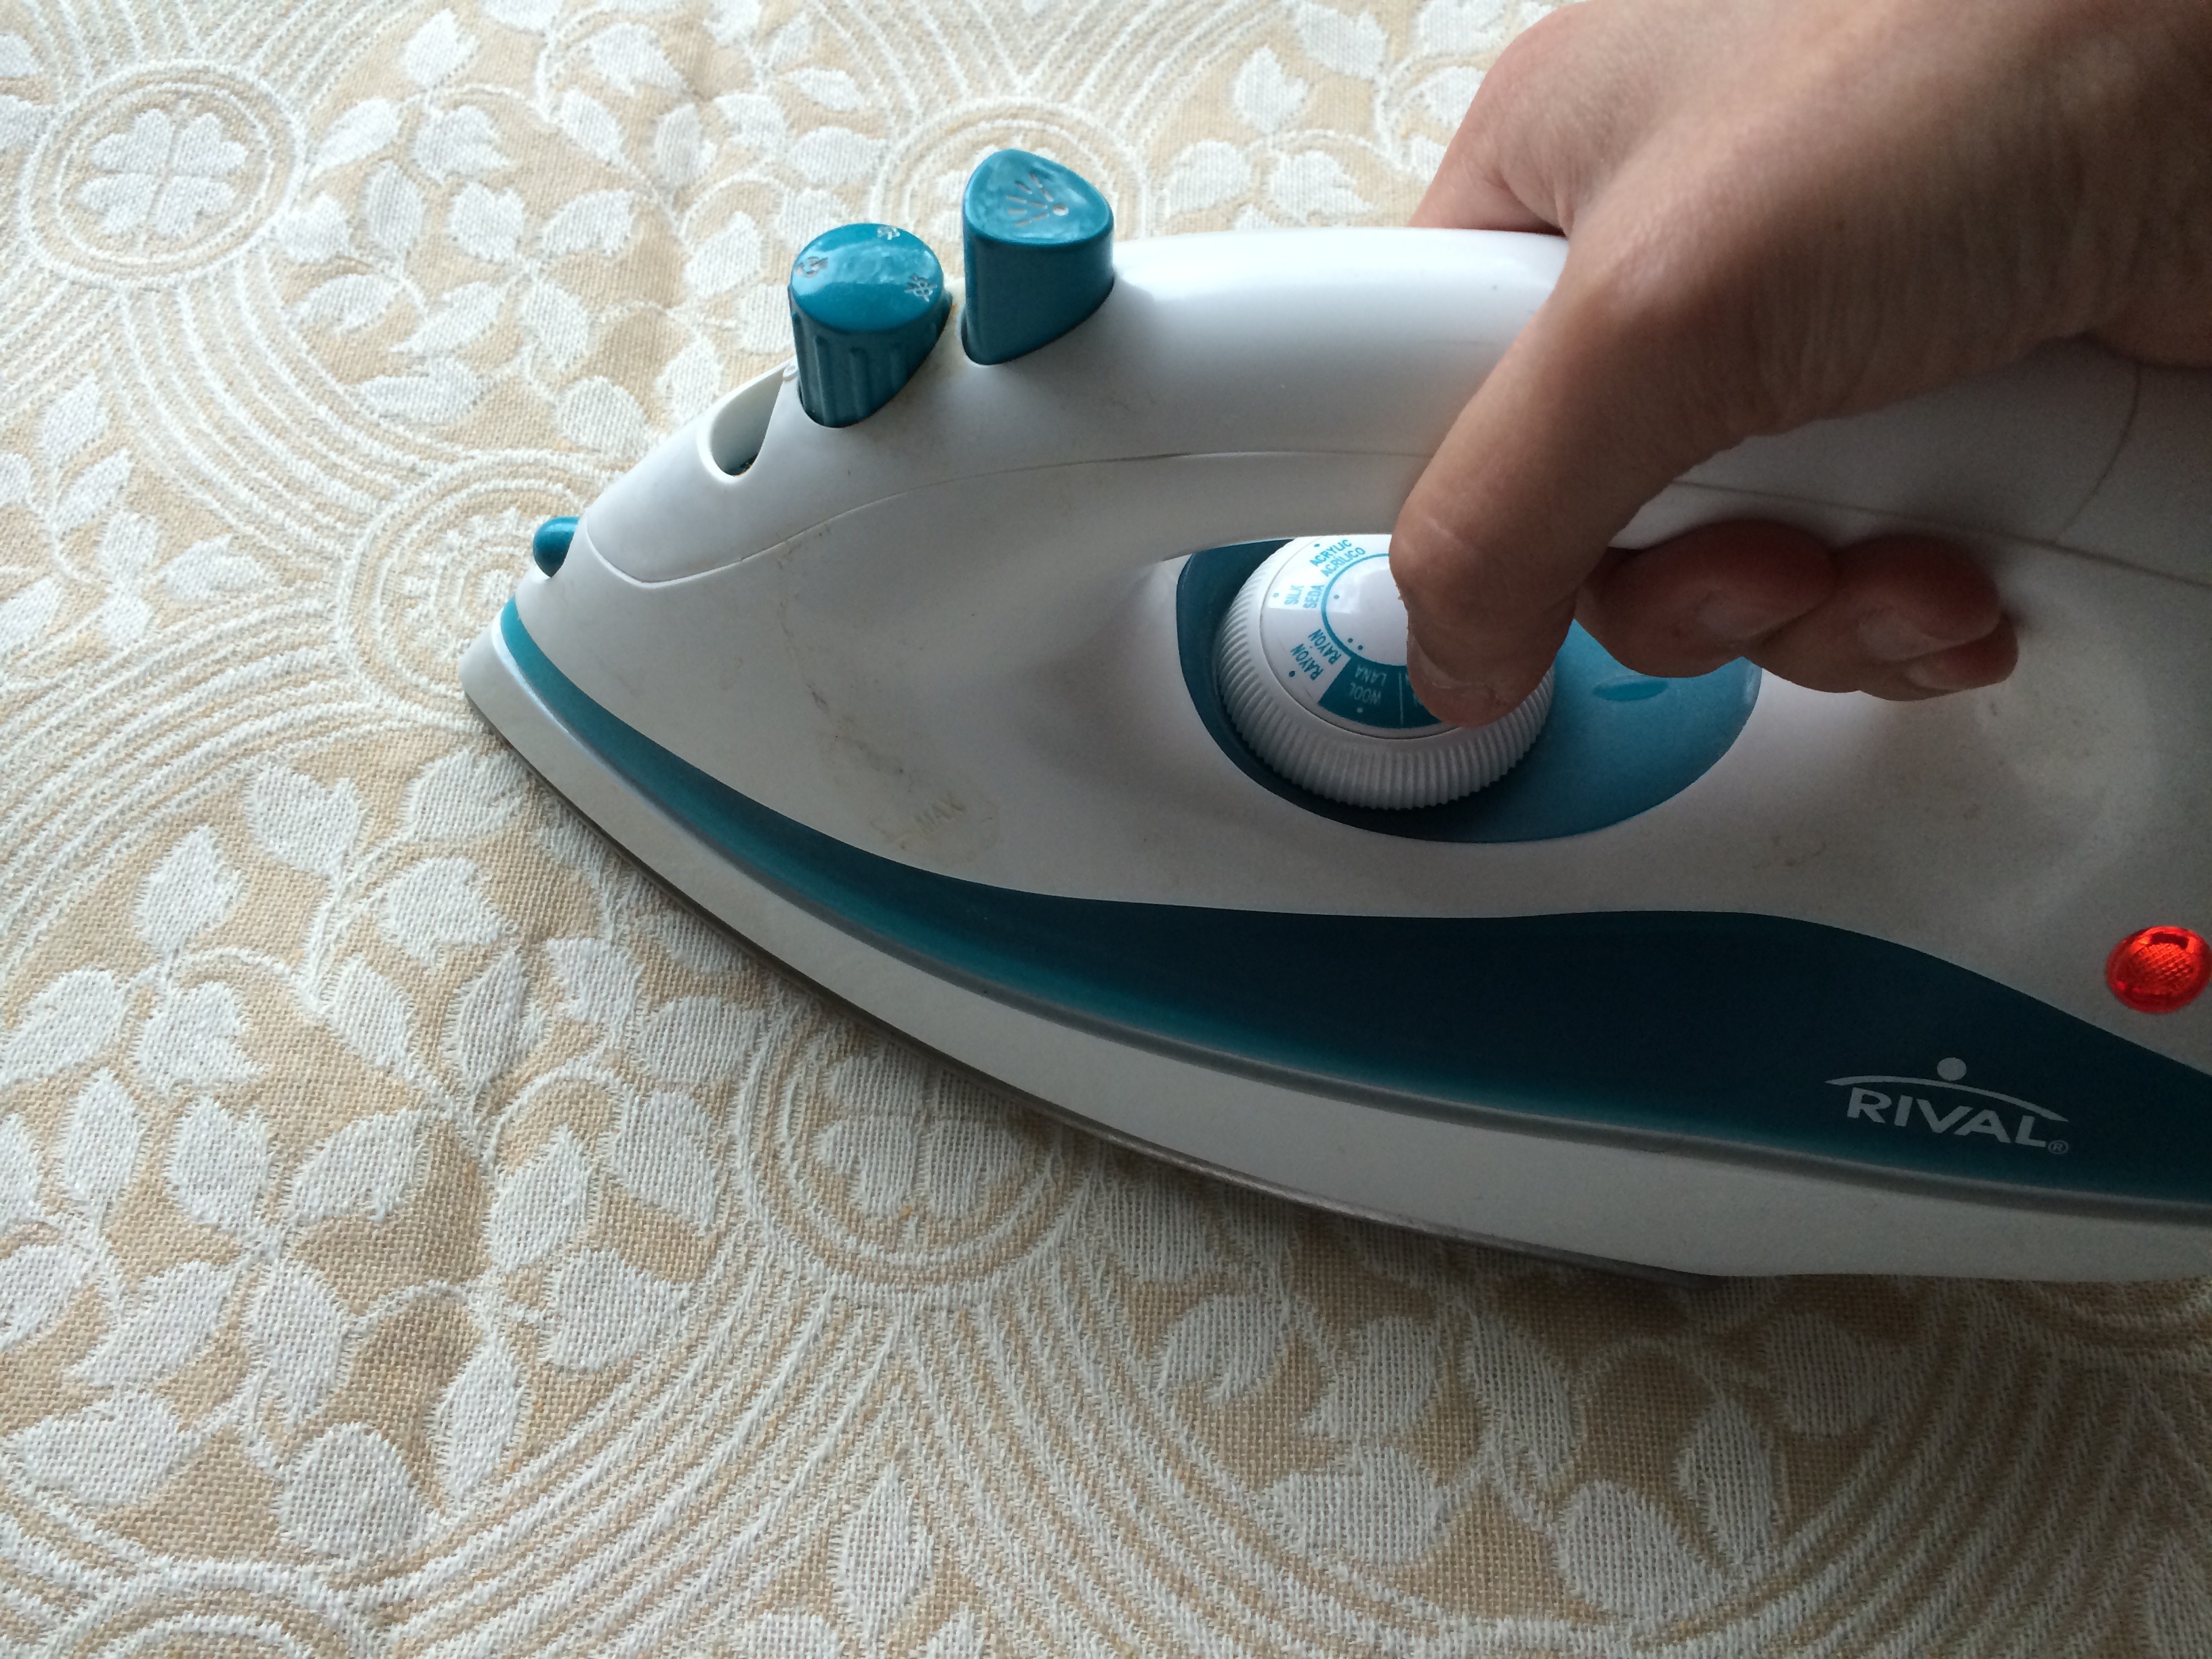
Okay, so you have found fabric you love, it’s the right size, so it’s time to wash it, and then press it and make sure there are no deep creases. I suggest pressing it on the wrong side of the fabric.
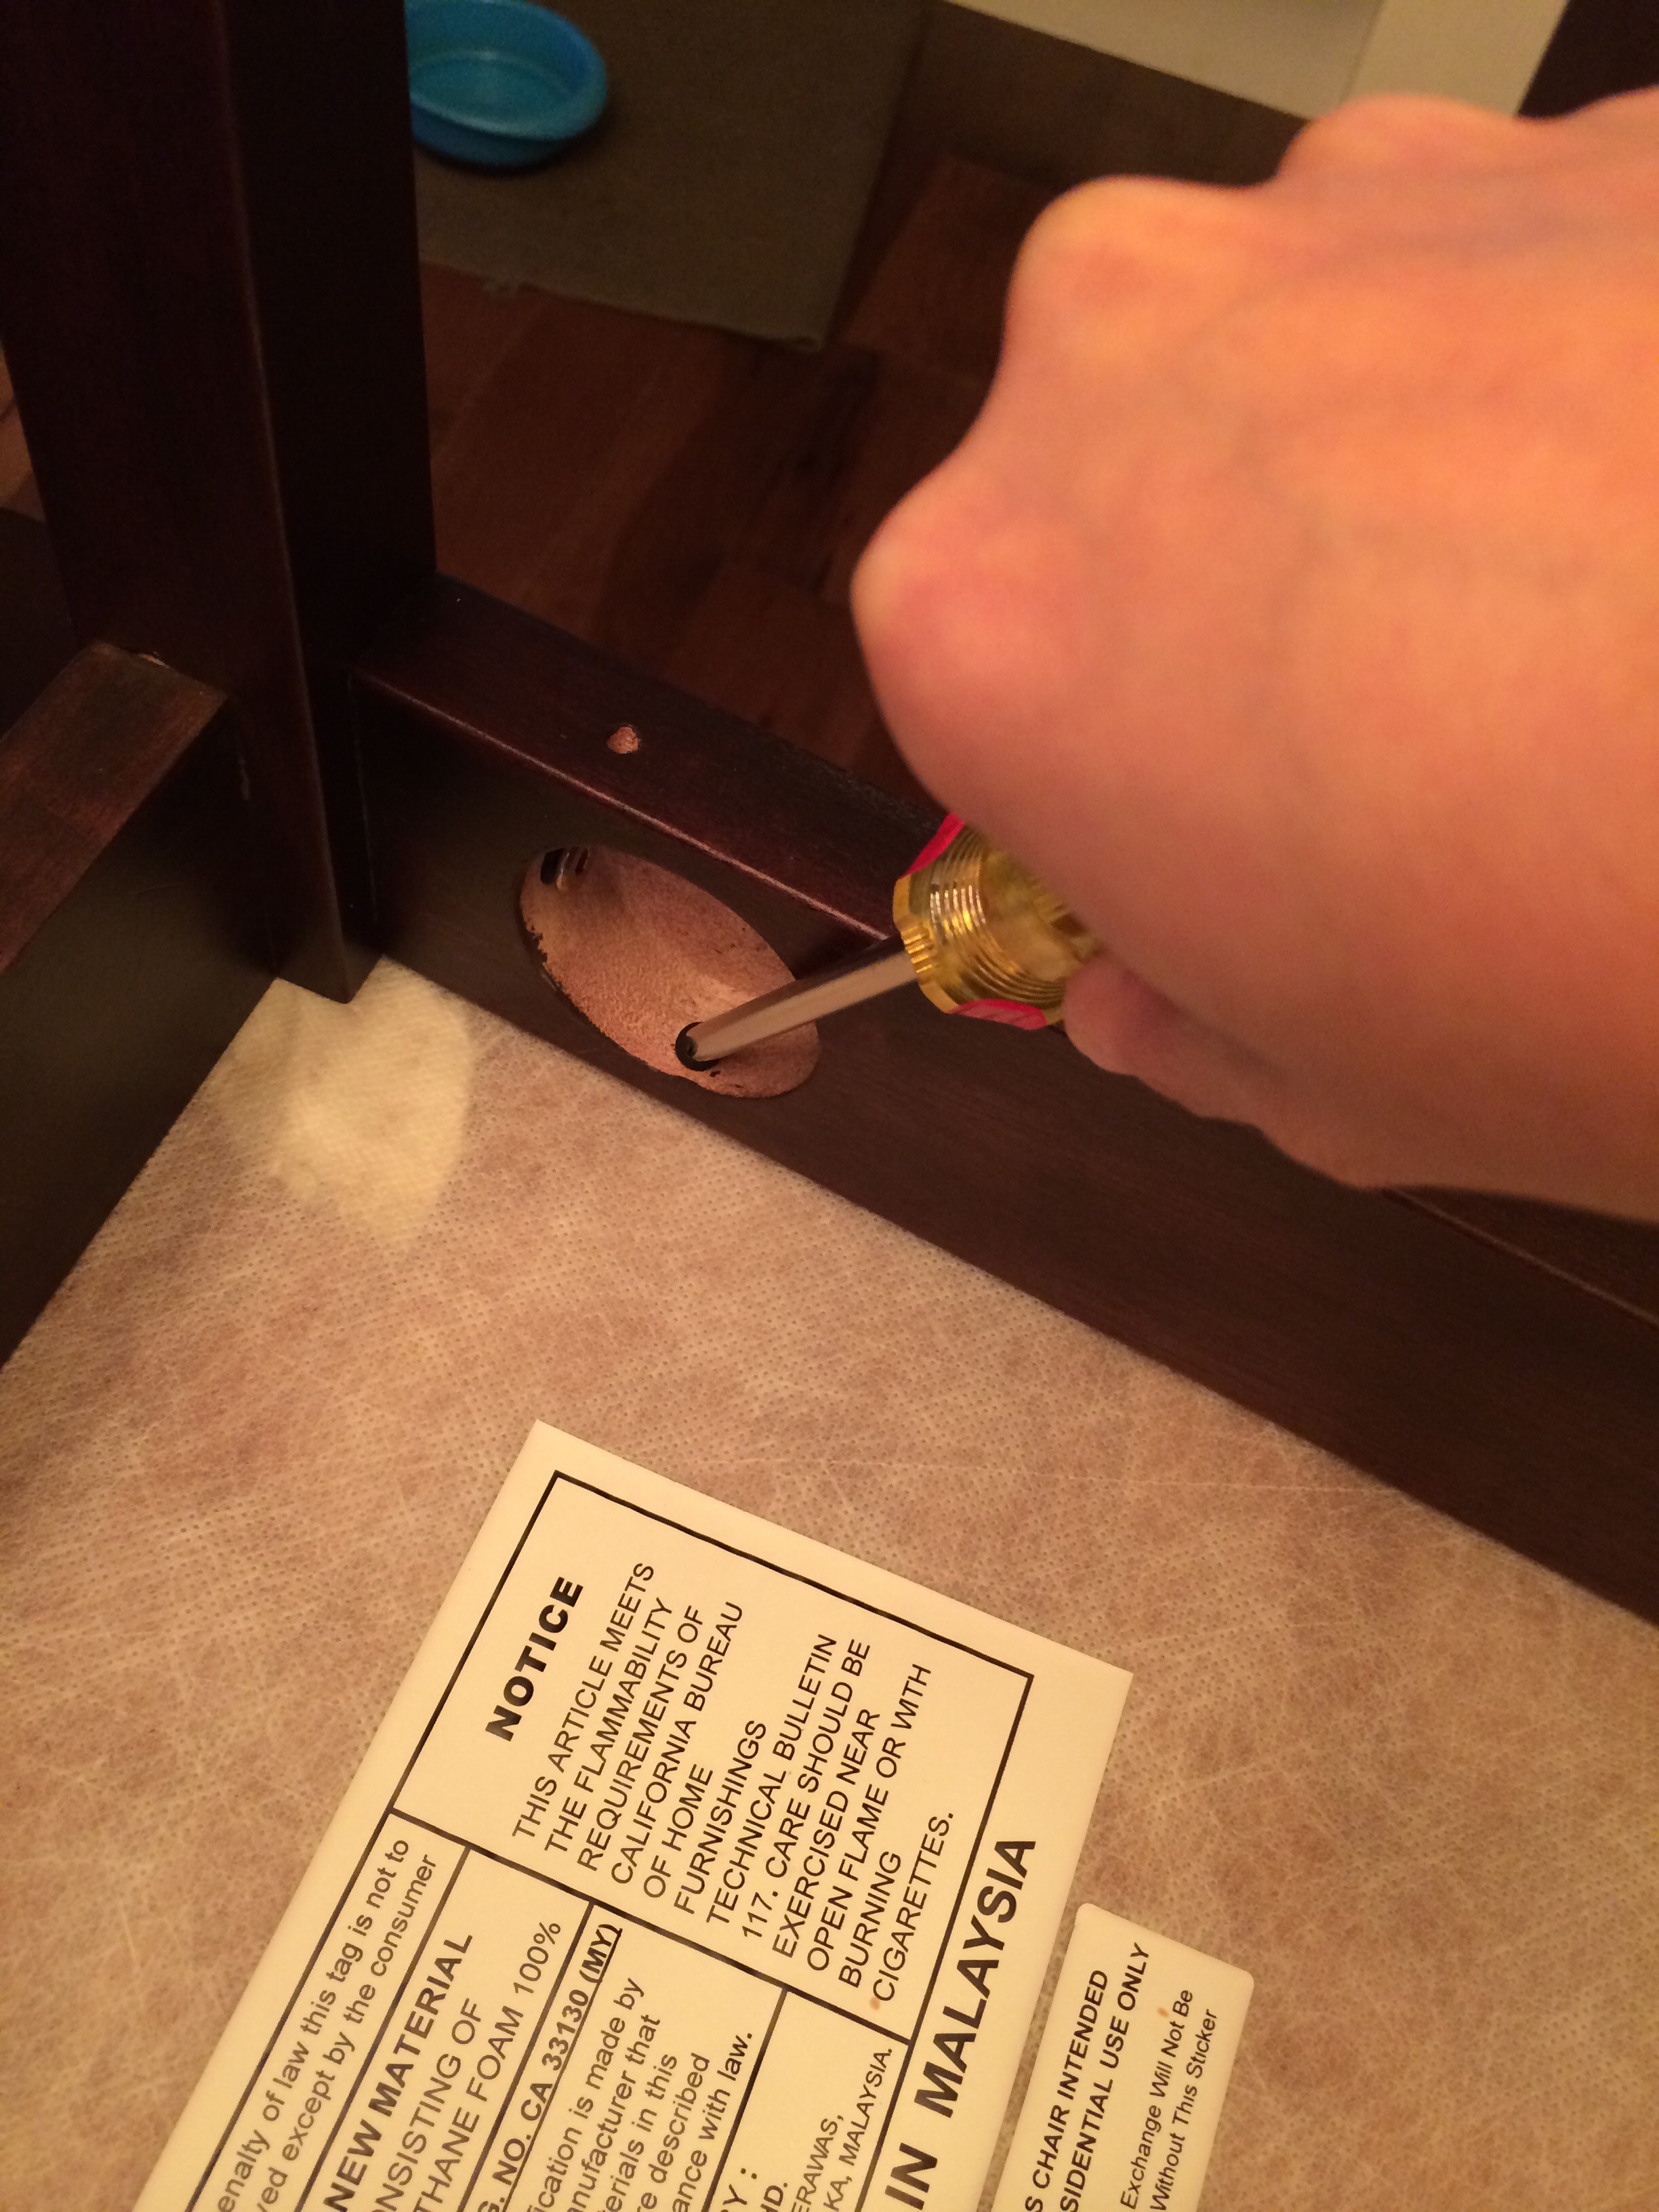
Set aside the fabric so you can remove the seat from the chair. My chairs have four screws underneath, so I just used a screwdriver to get those out. Once they were out, the seat popped right off. I chose to leave the original fabric on the seats and just layer on the new fabric.
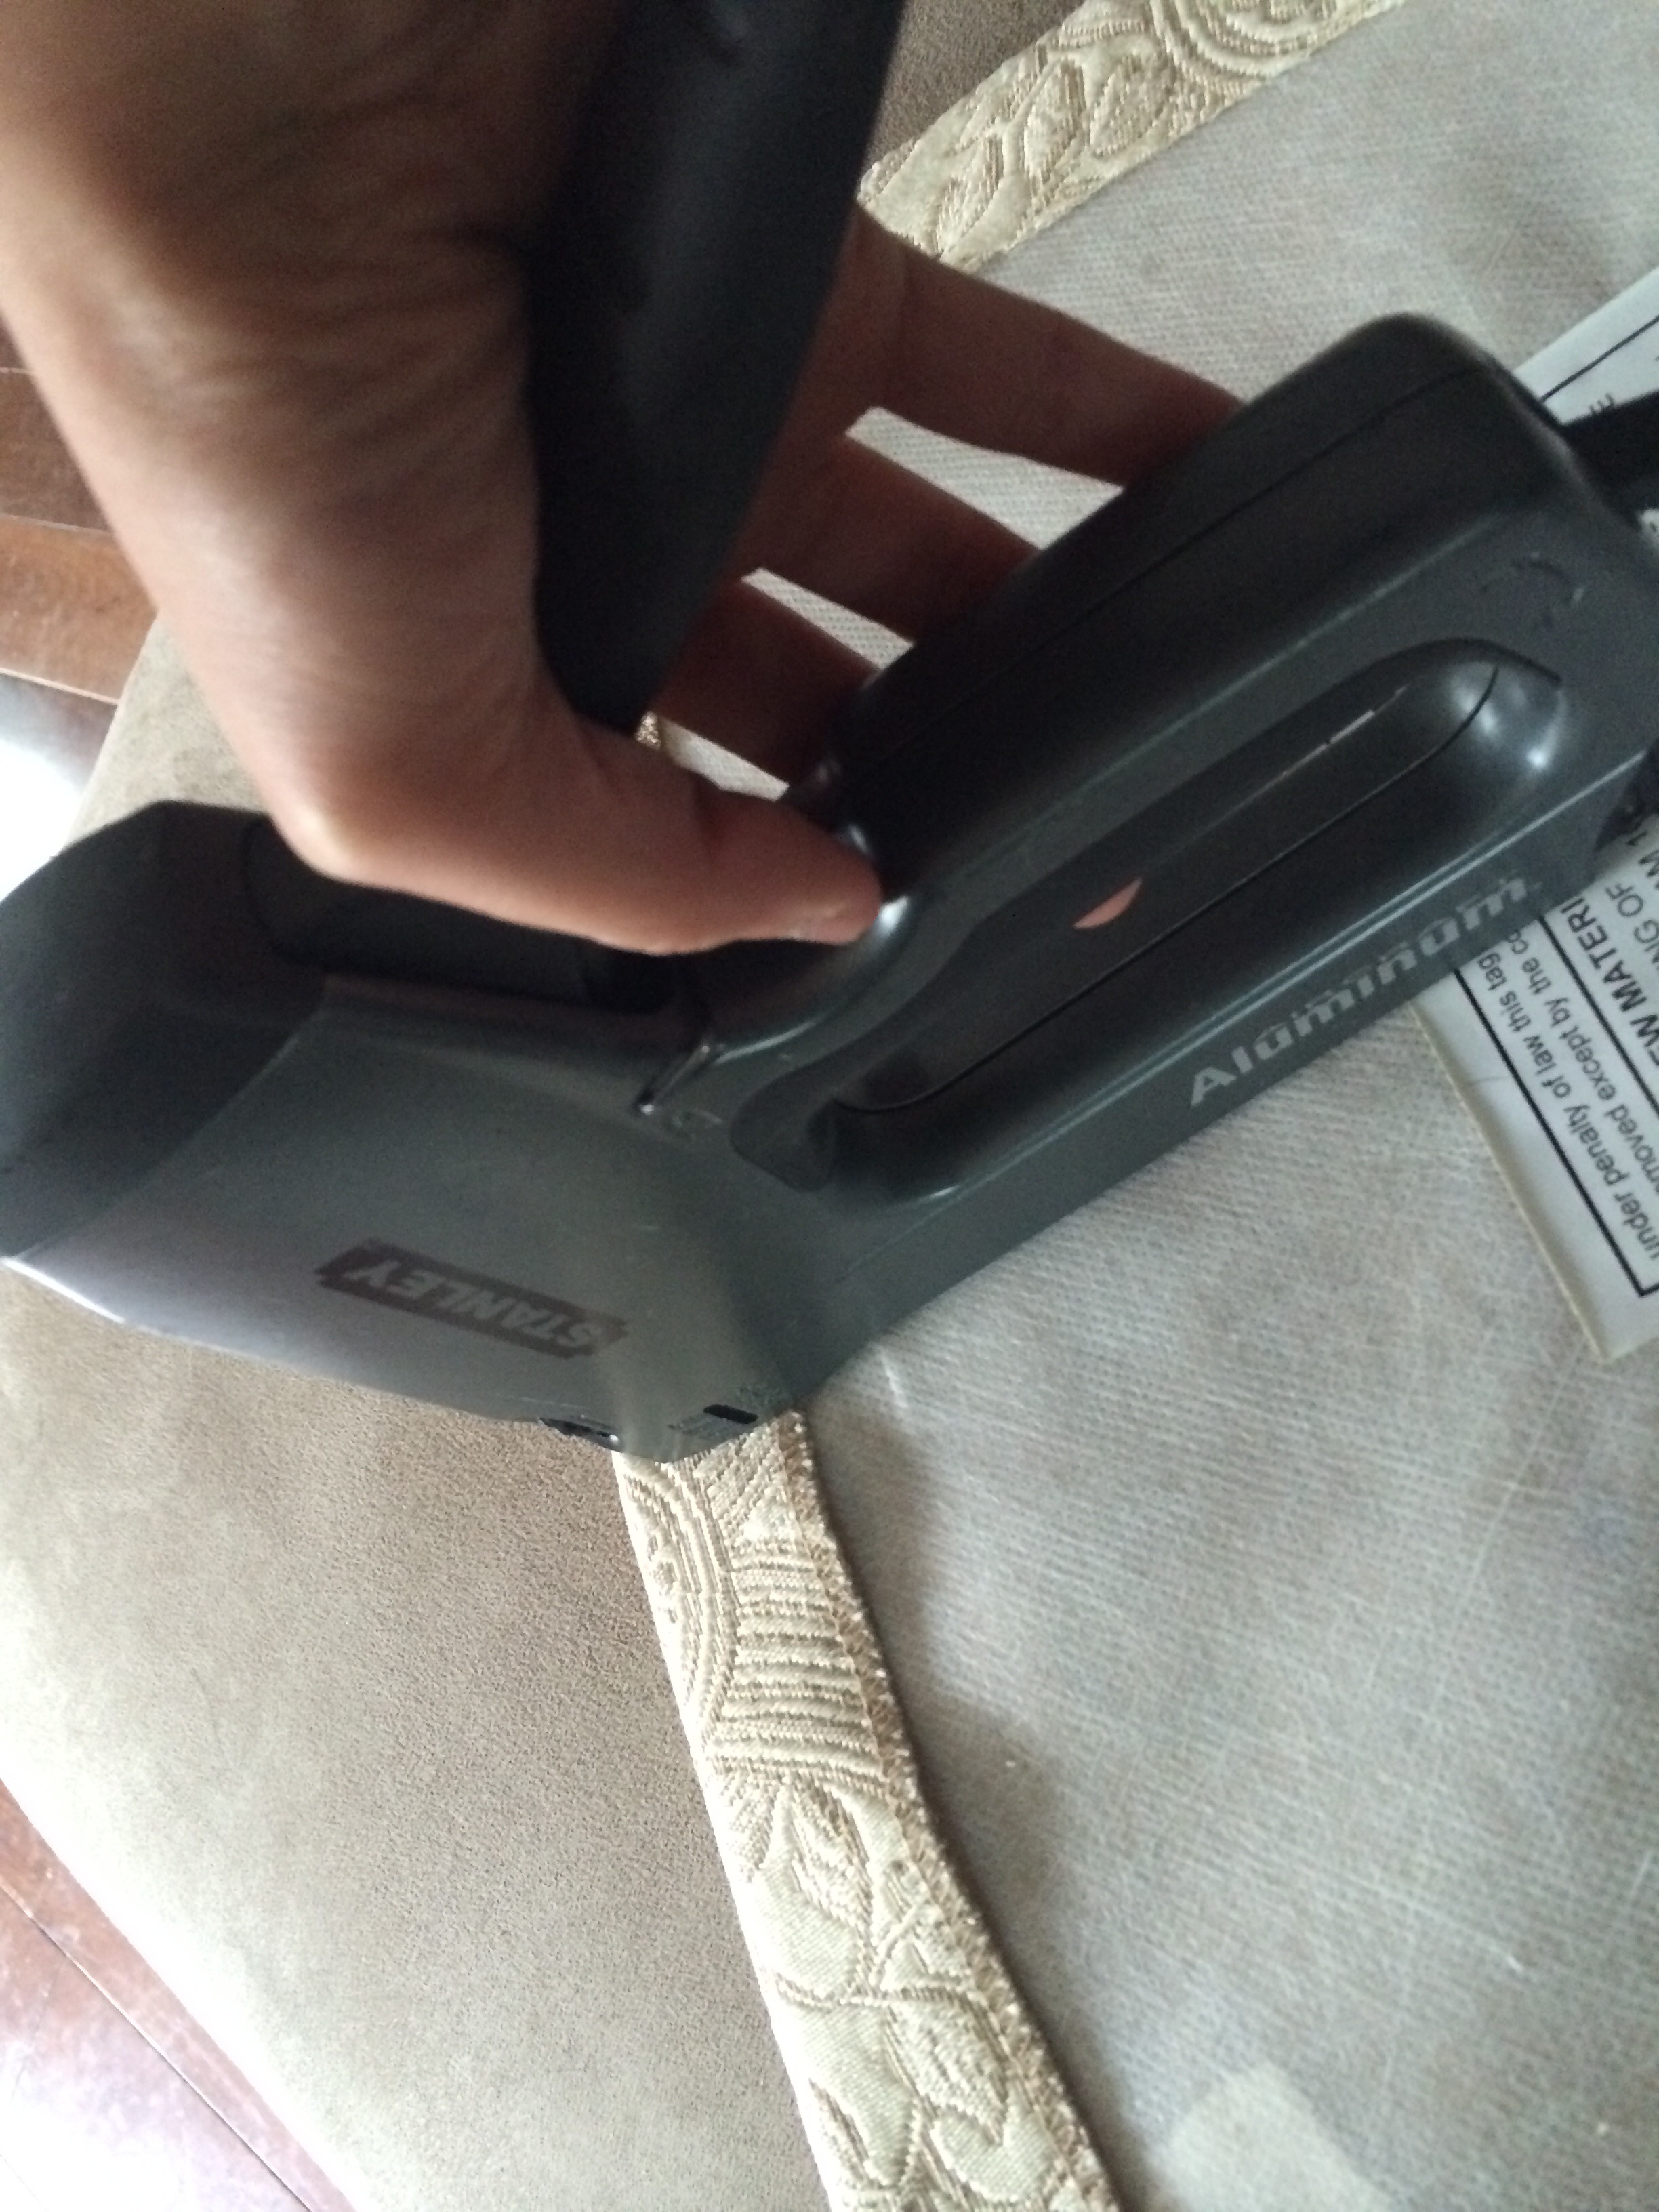
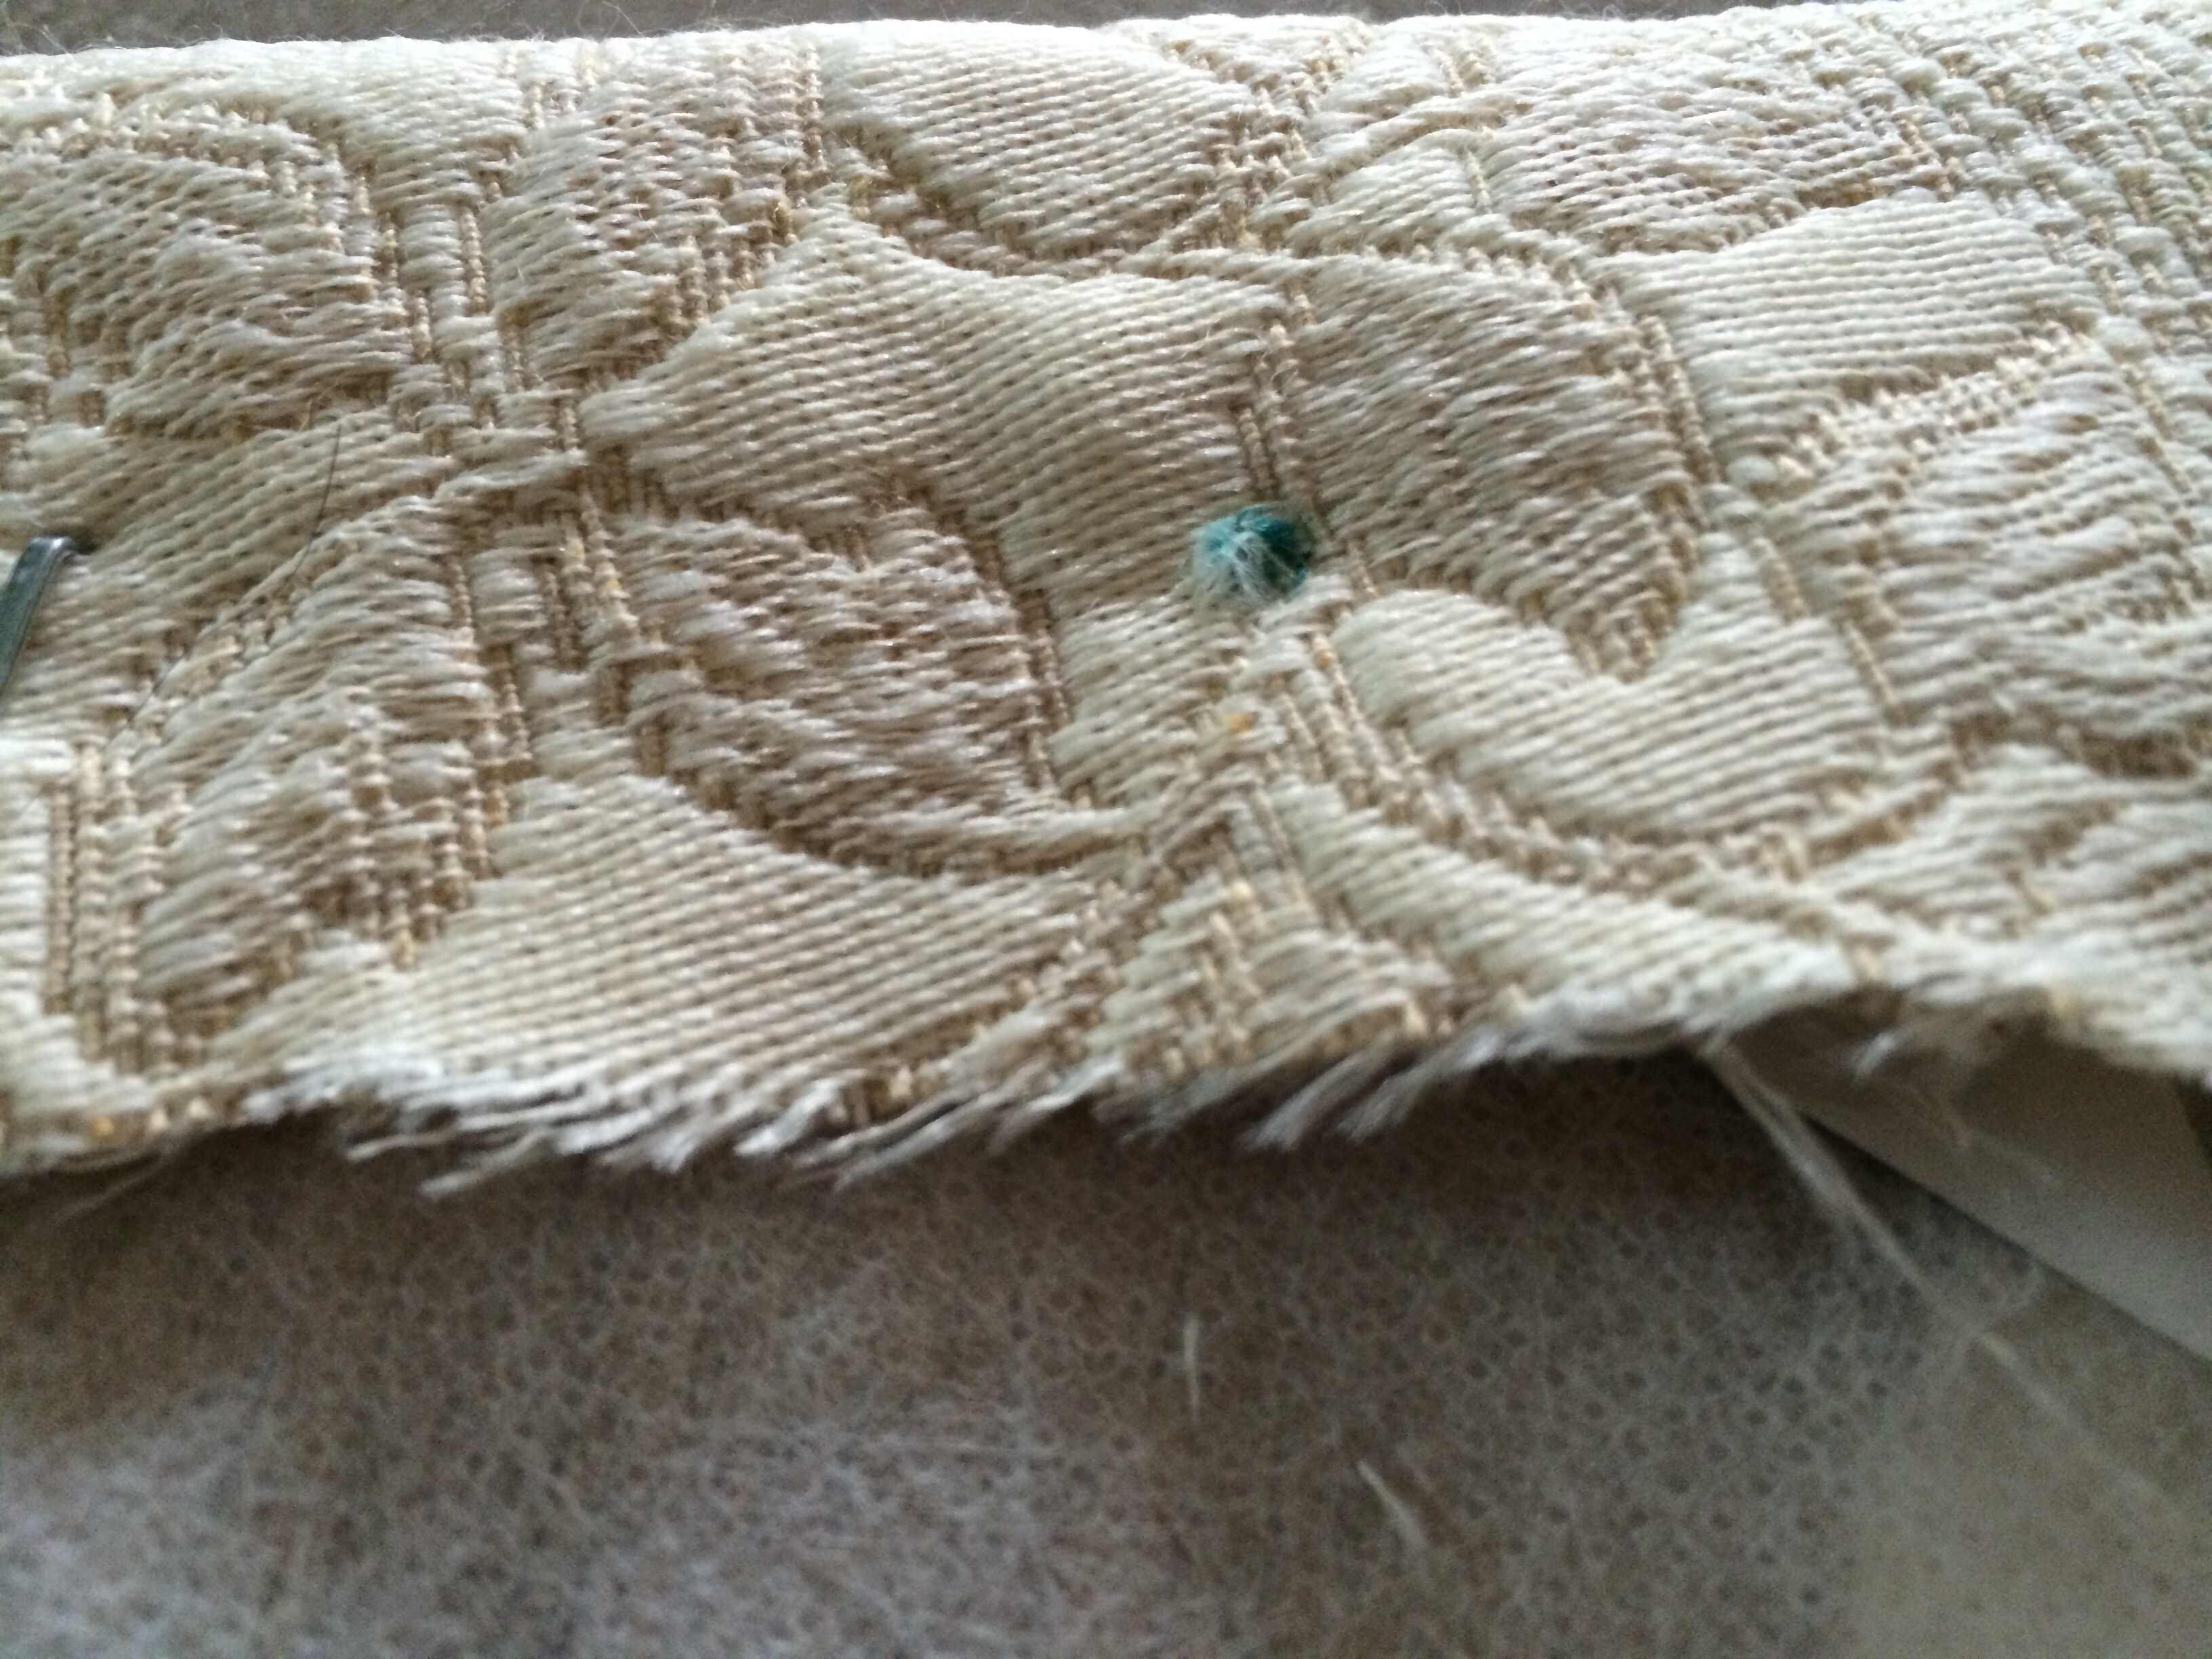
Next, take the fabric and lay it on a flat, sturdy surface. I worked my way from the center top (shorter side) to the center bottom (wider side), stapling about three to four times on each side. Make sure you’re pulling it tight (but not too tight) and making sure it looks smooth on the top and on the sides. From there, tuck the corners neatly and begin stapling the sides. If you need to trim some fabric to remove bulk on the corners, this is the time to do it.
Once all four sides are secured and you’re happy with the look, it’s time to put the chair back together. I placed the seat on tops of the chair frame and dry fit it, and then used a pen to mark where the screws needed to go. Using those markings, I cut small holes for the screws. Once you’ve done this, go ahead and put the chair back together. That’s it! It took maybe thirty minutes per chair, so this can be done in one afternoon.
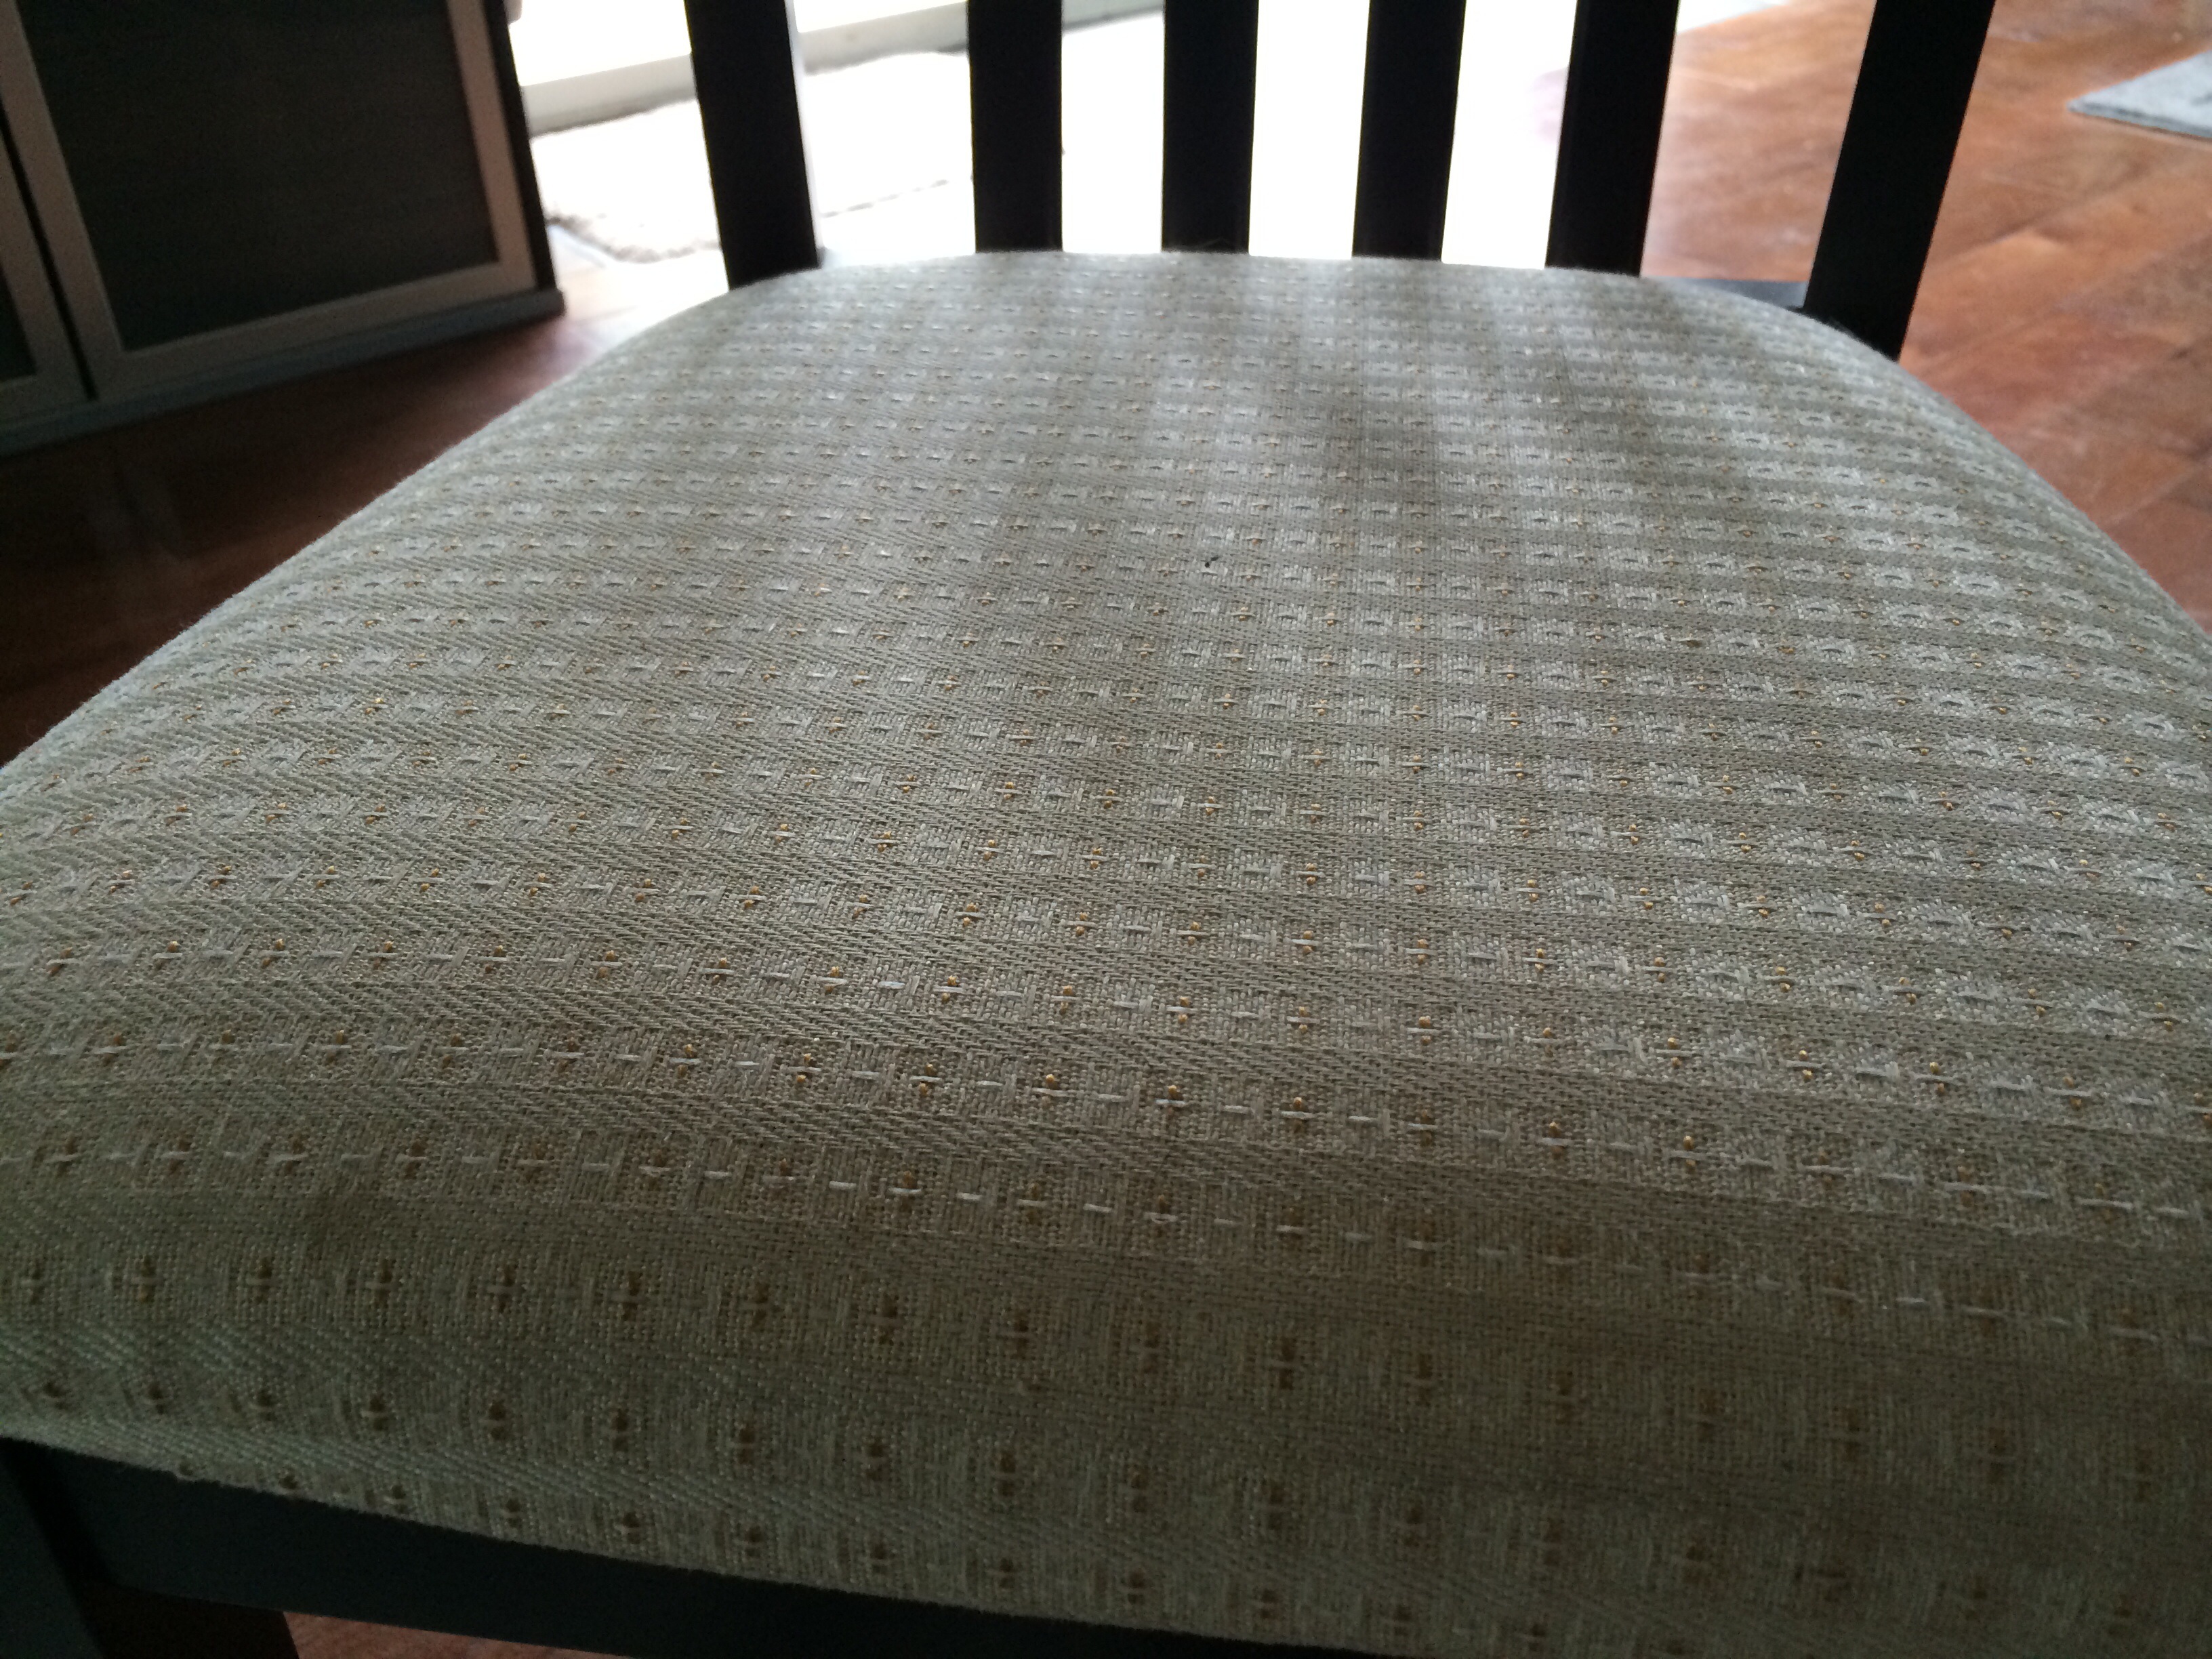
This is what the original fabric looked like. There is absolutely nothing wrong with it, but I wanted something a little different, and two of the four chairs had stains on them.
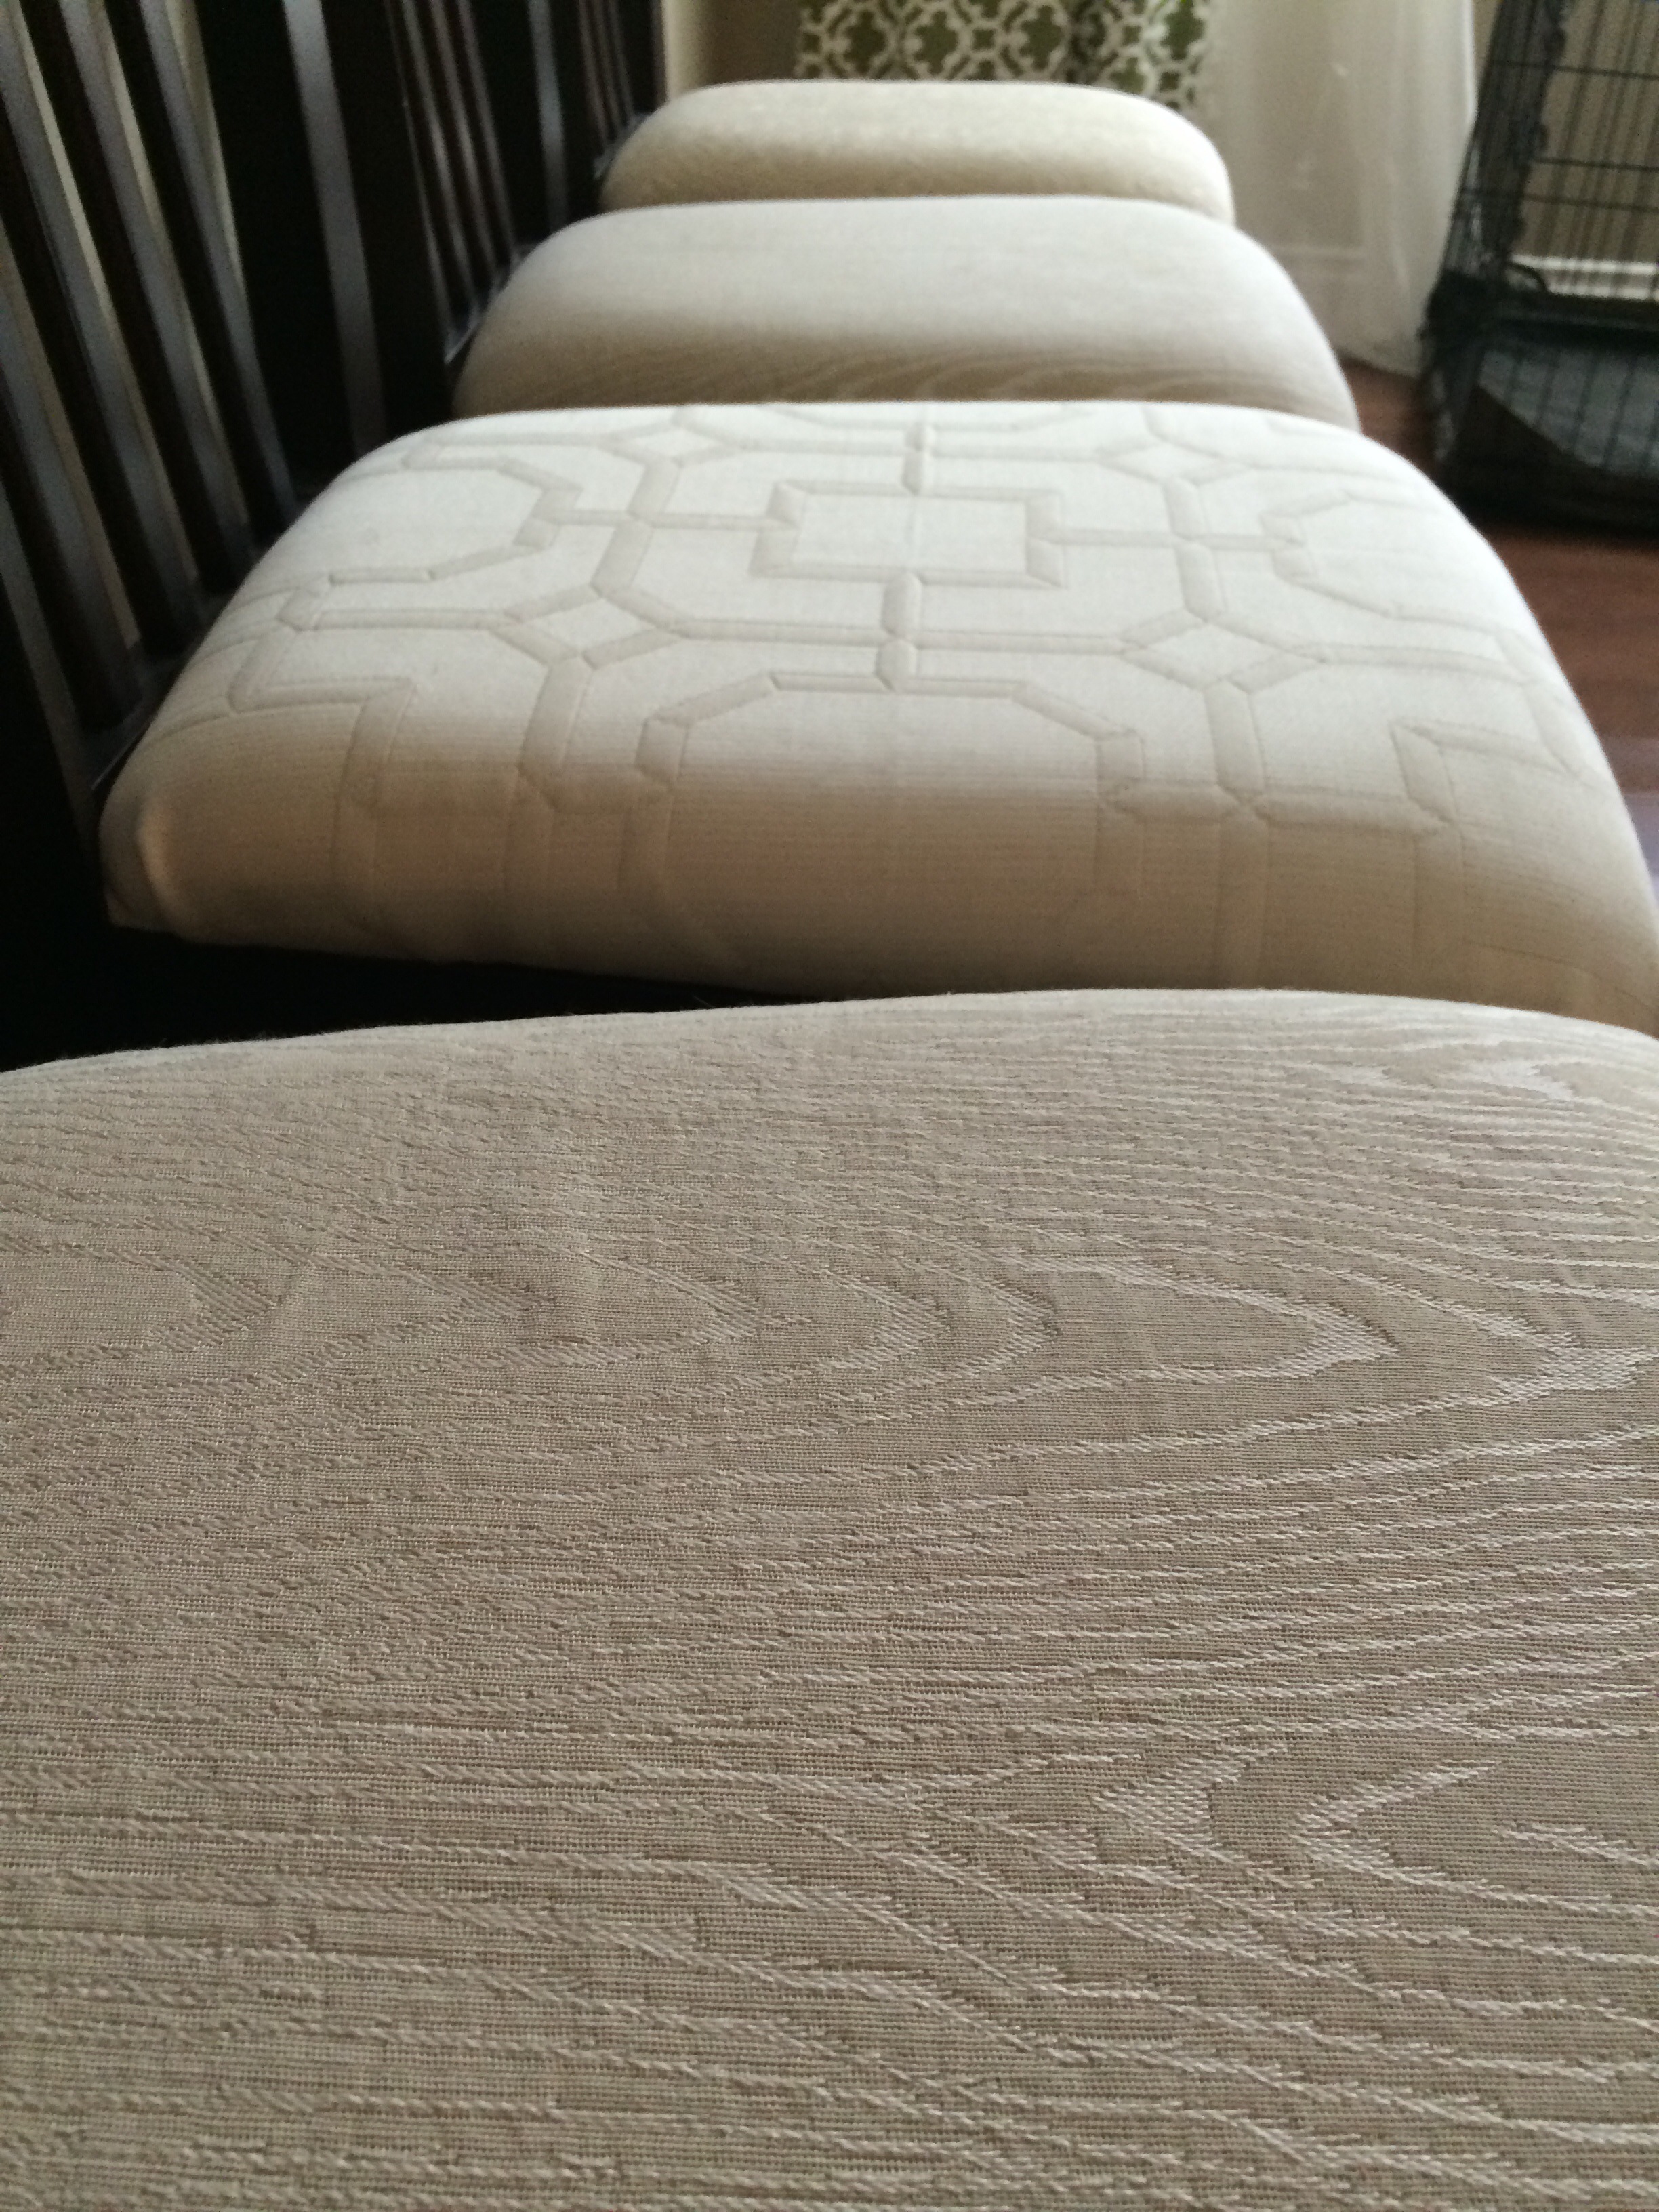
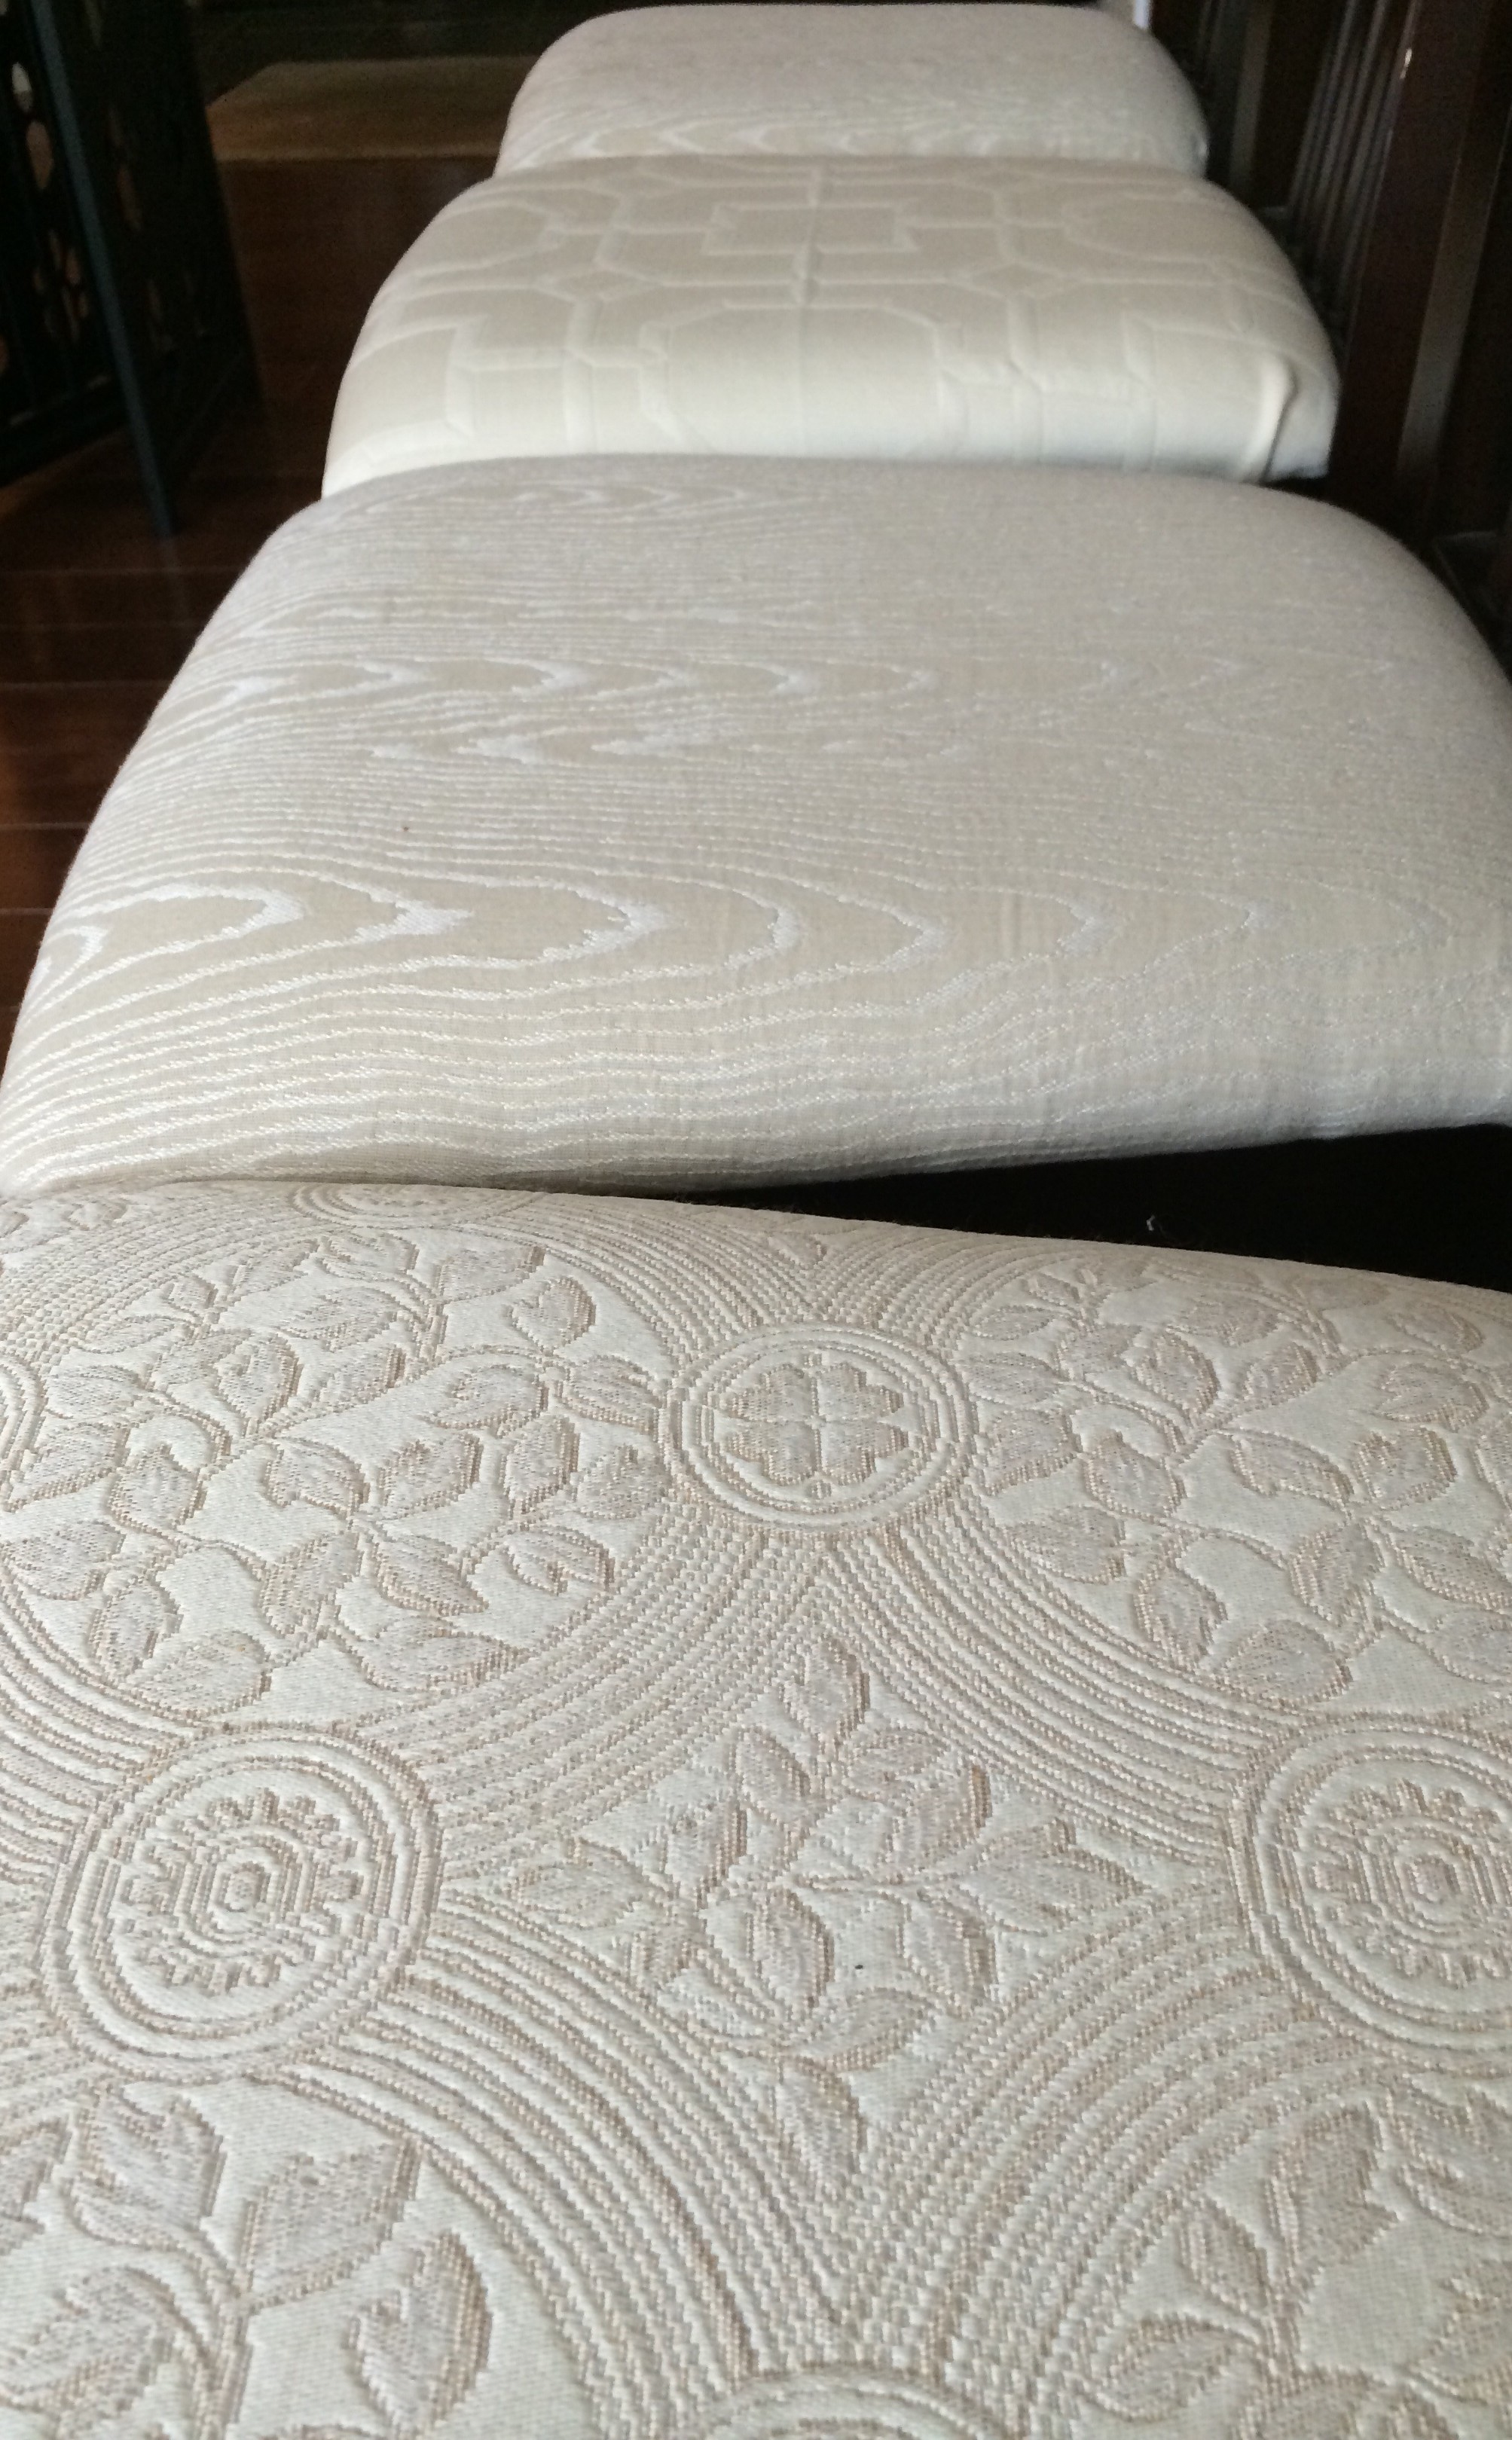
I’m much happier with this line up.
xo

Brittney well done!
The chairs look like new, love the fabric. You two are doing an amazing work with your home sweet home 🙂 Love you guys!